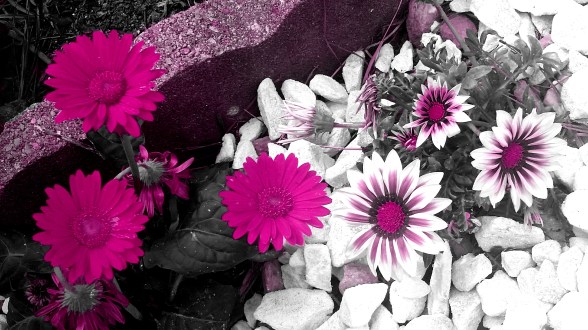
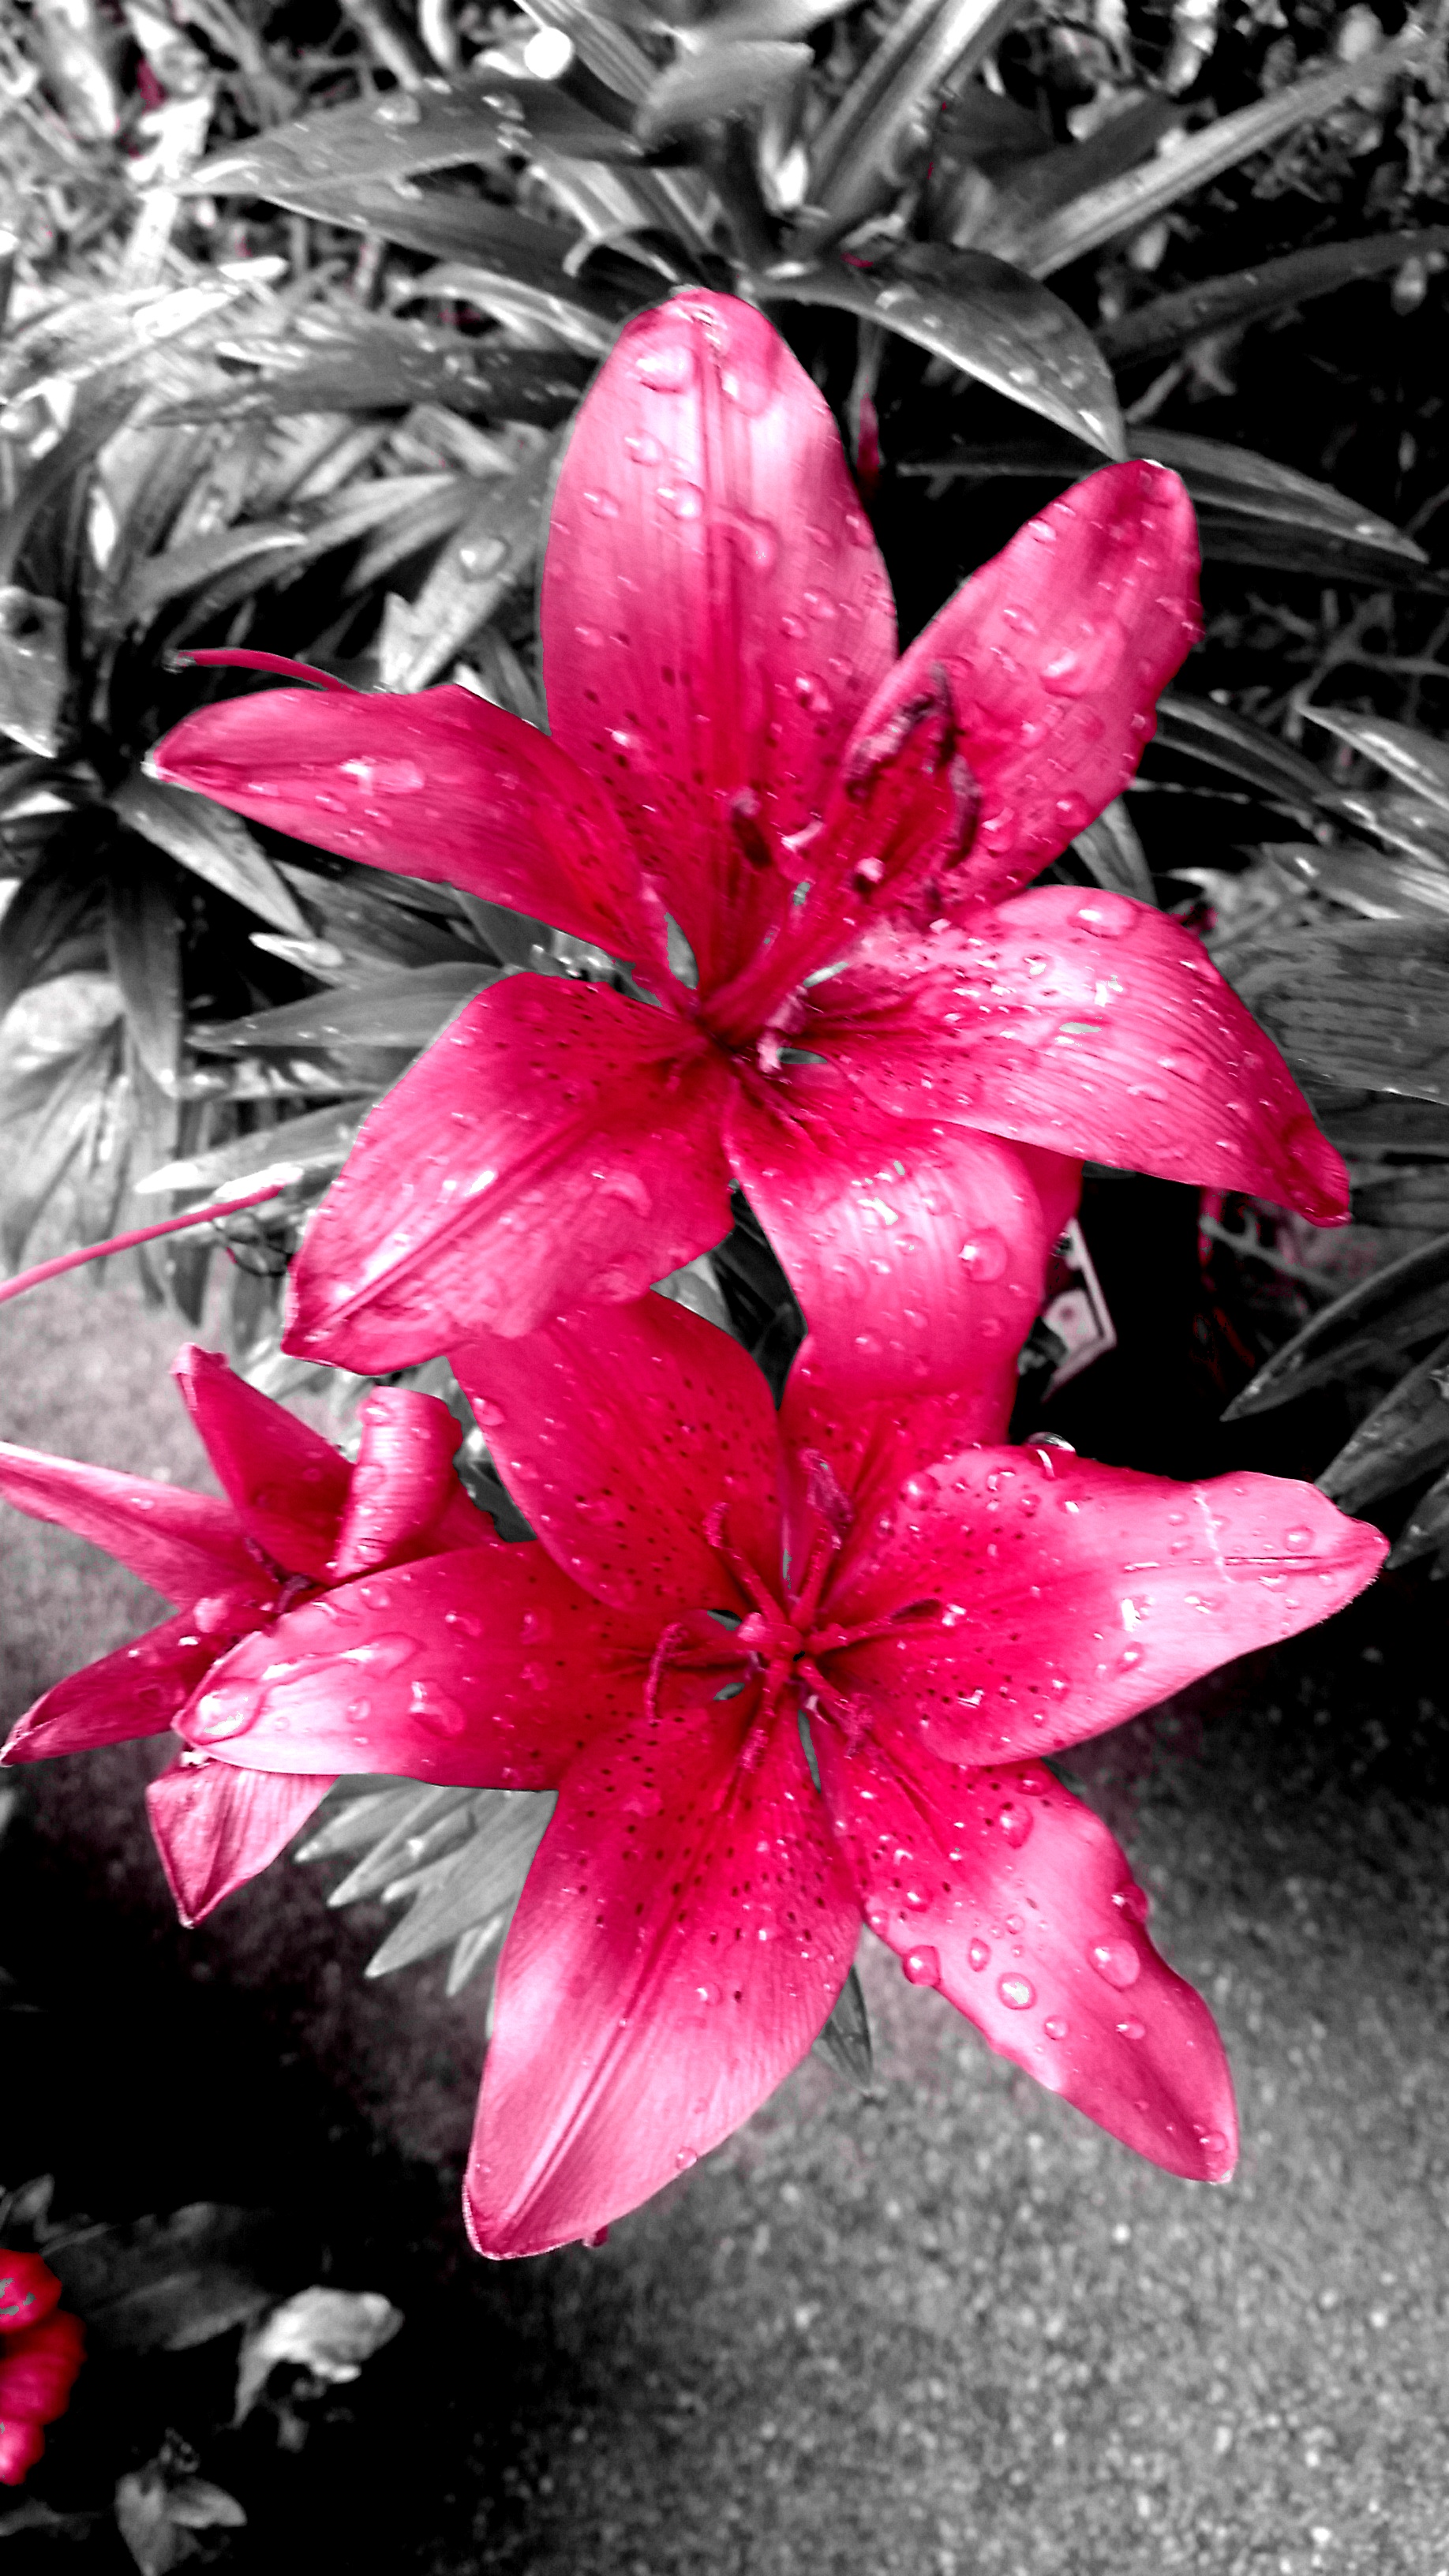
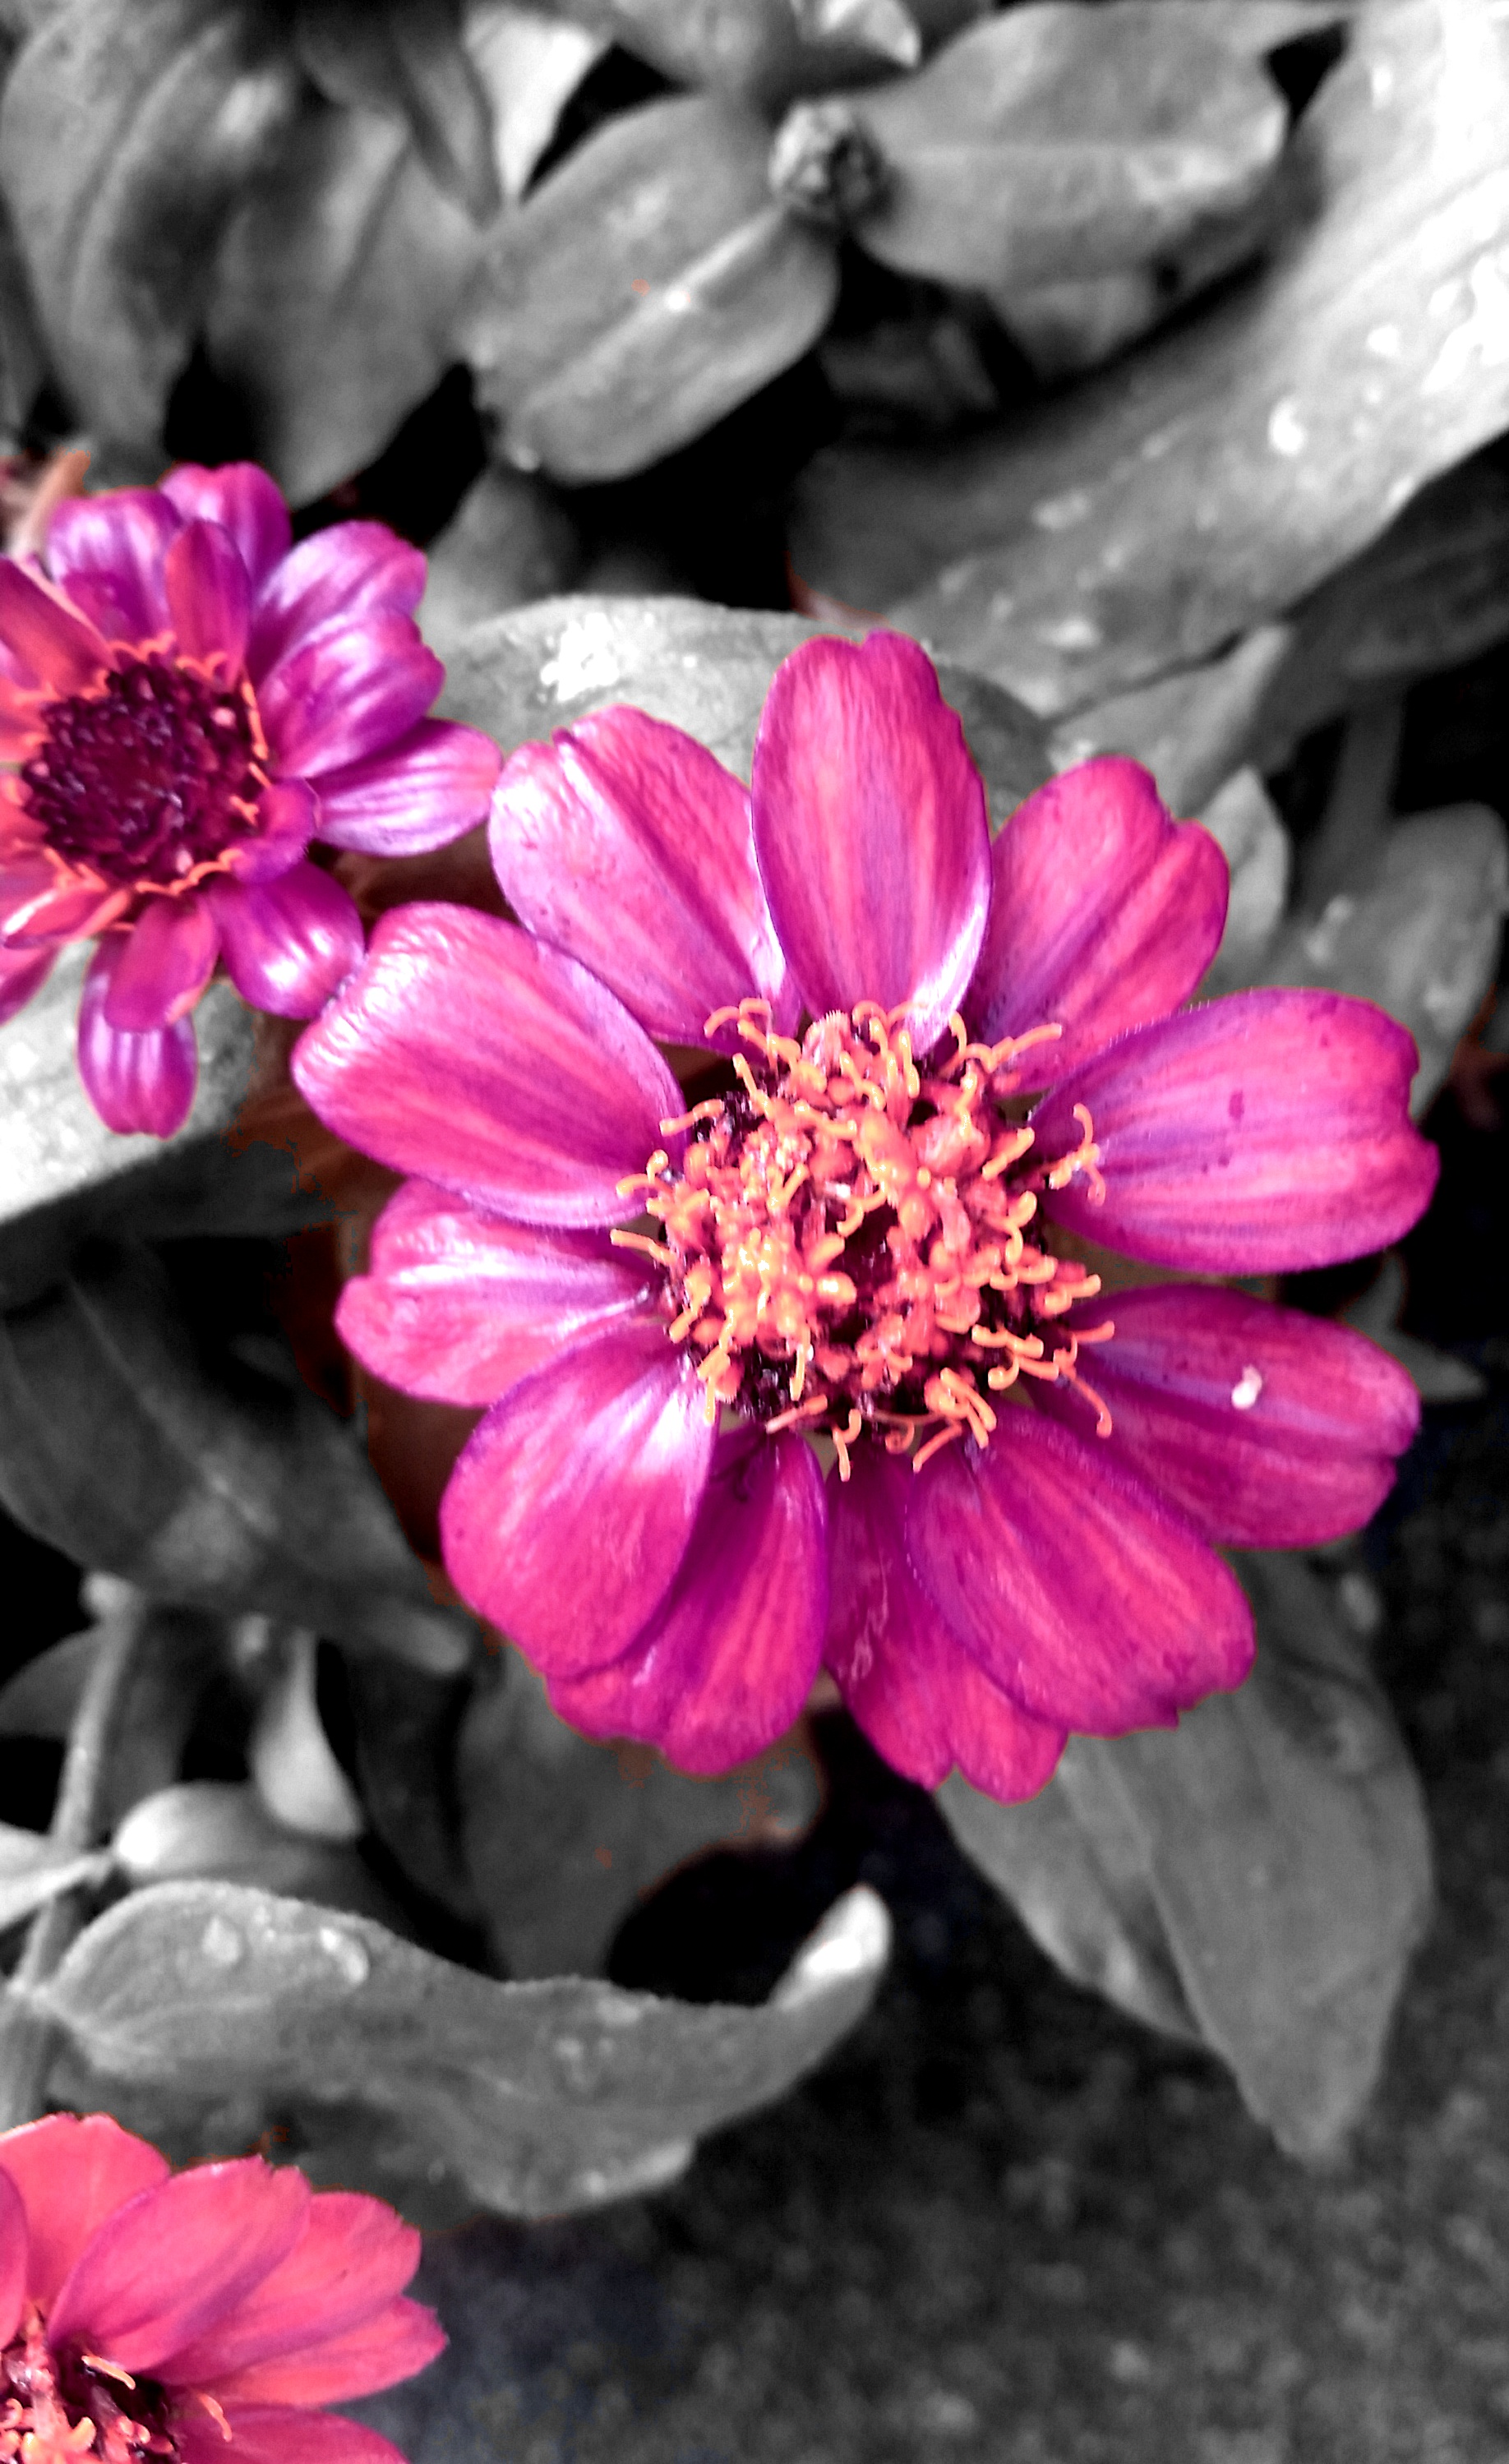
Too tired to write anything useful… or really anything that makes sense at all. So I’ve resorted to one of the many things I do when I can’t sleep. Tonight, I’m using an app to colorize random flower photos from my yard. They turned out pretty~ So, enjoy!
1. The real lilies are a brilliant orange:
2. Because of the contrast between the green foliage and purple petunia in this photo, it makes the colorized version look completely unreal:
3. Zinnias are my absolute favorite flower. My grandmother planted two rows on the side of her vegetable garden every year. They are wonderful for attracting all pollinators, but especially butterflies! The real ones are orange:
4. These are Gerber daisies. Their true color is almost as striking as this colorized version. The solid real ones are crayon-box red-orange:
The night air smelled of popcorn and fried food. I slung my skates over my shoulder. It had rained earlier in the day leaving large puddles to reflect the flashing neon lights on top of the building. I took a deep breath, this was it. Words to include in your story:
It was the last day of school. Children crowded at the ends of subdivisions waiting for busses. The morning was sticky, but golden light streamed through the trees and birds chirped happily overhead.
A blinding flash of light. A green spark sliced through the clear sky.
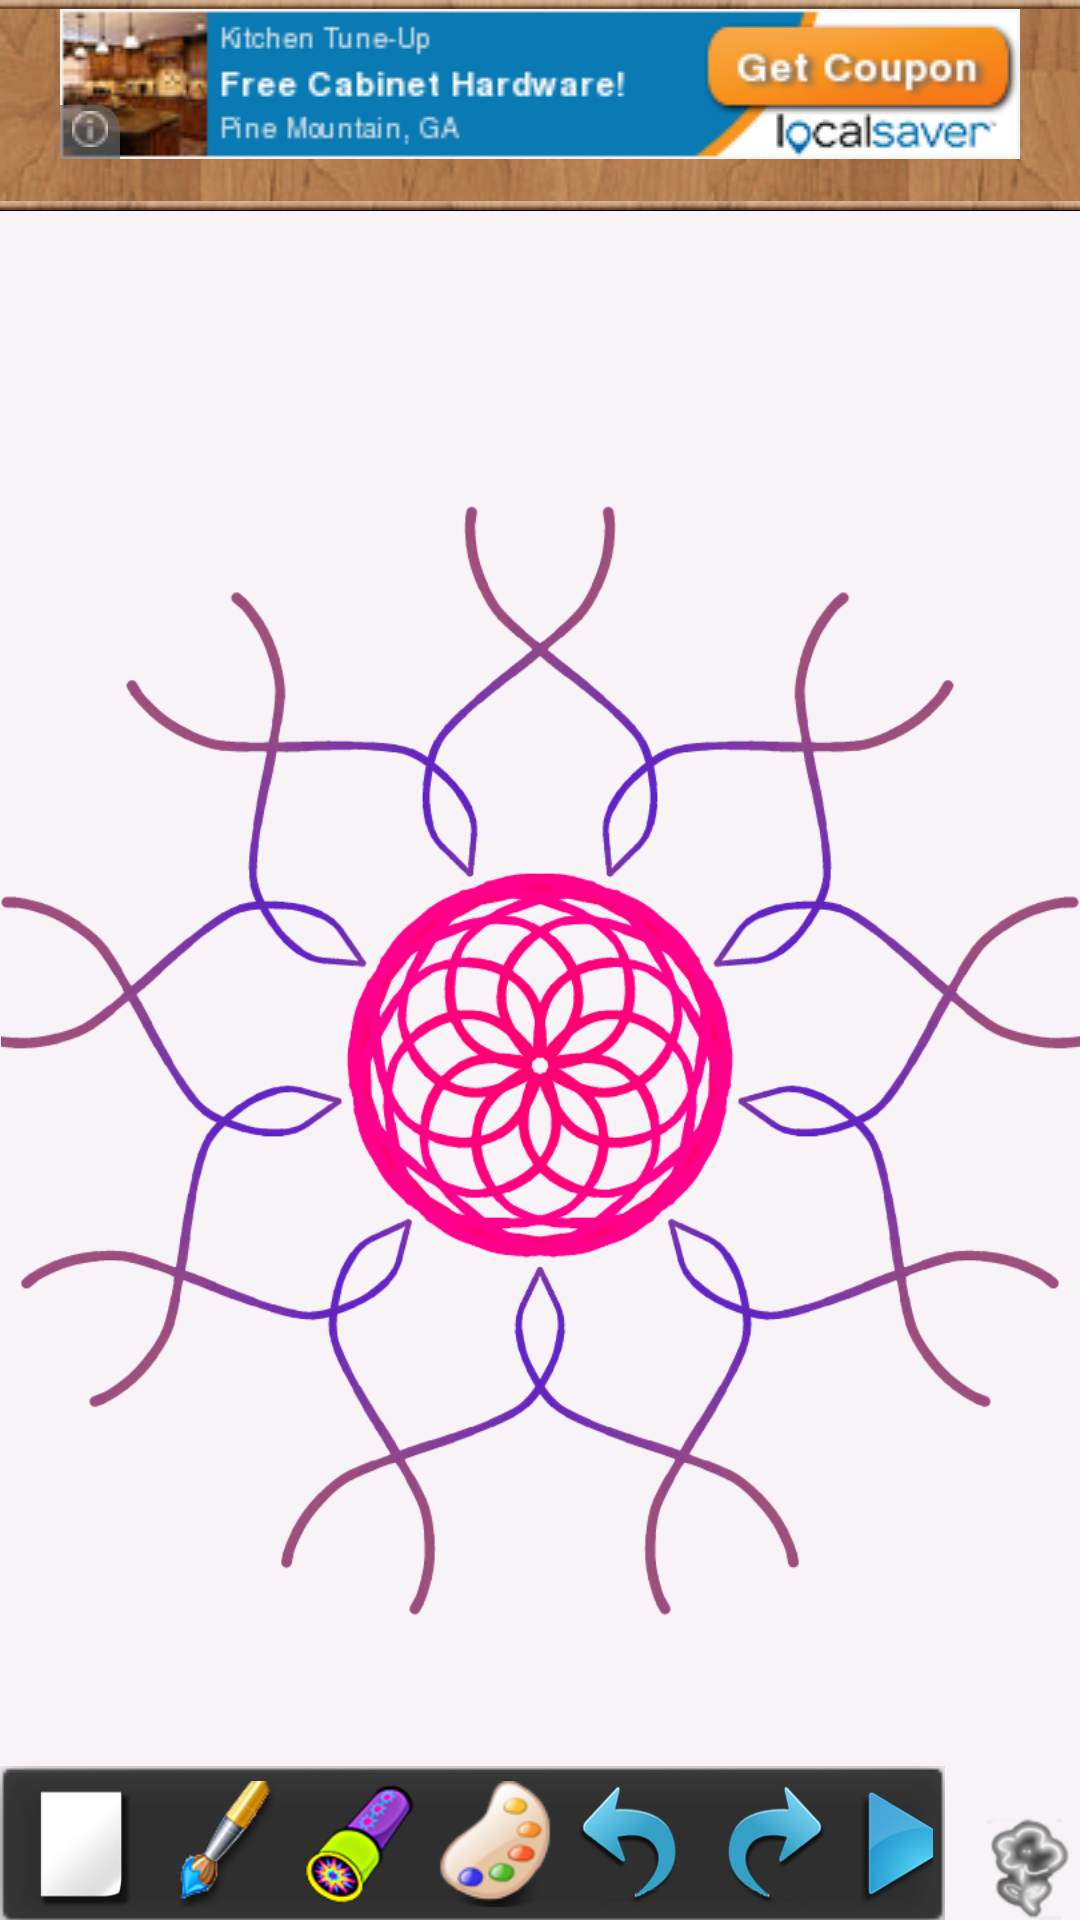
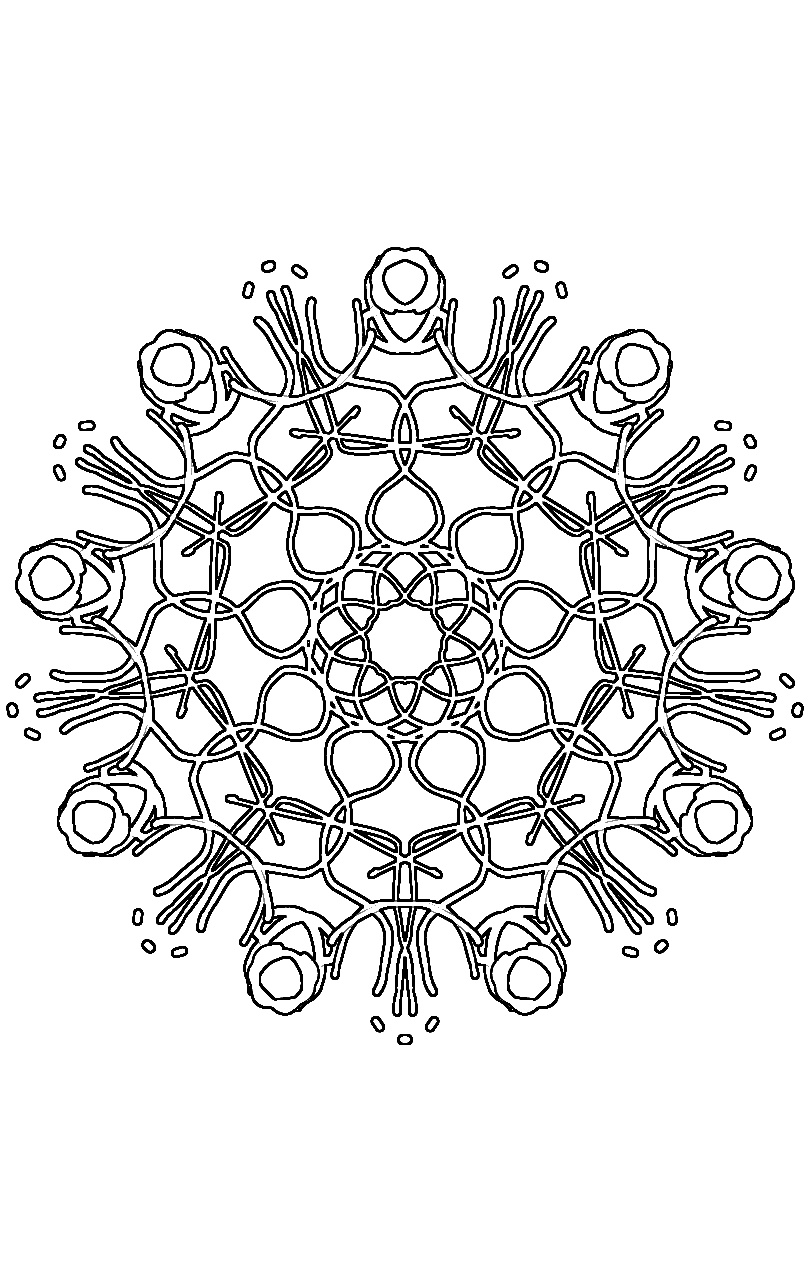
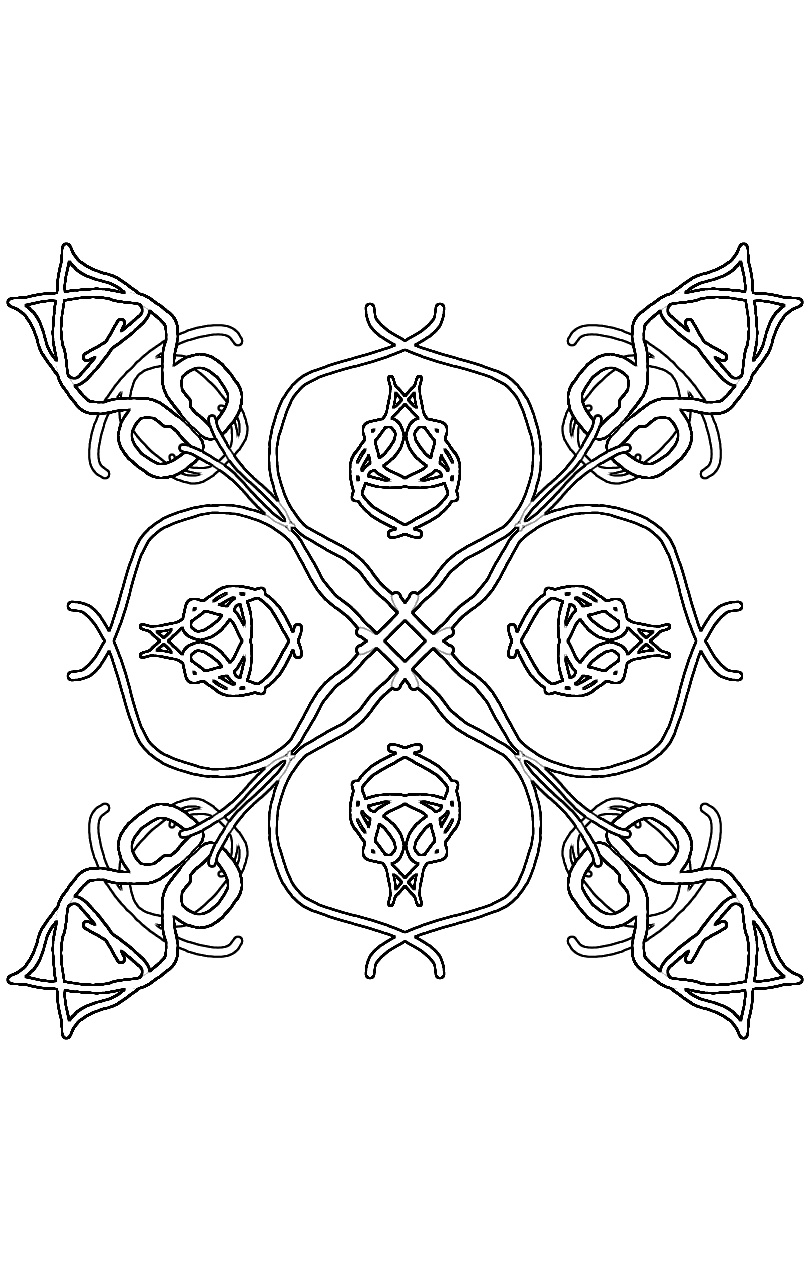
Makes images like these with a swipe of your finger:
That can be saved on your mobile device or tablet. This is quite fun all by itself, but with the help of a photo editor:
You can turn them into coloring sheets!
First open the image in the photo editor app (click on ‘Gallery’ to find your images). Then click on ‘Effect’ at the bottom and find the ‘Edge’ function. *Make sure to slide the contrast bar all the way over for the most crisp and clean lines*. Click the check mark at the top.
Then go back to the ‘Effect’ menu:
And click ‘Invert’. This does exactly what it sounds like, it inverts the colors and makes your coloring sheet! Click the check mark again. To save the image click on the box and arrow where the check mark usually is. You will have the option to save it in many different formats, but the easiest for this little project is to select ‘gallery’.
And that’s it! If you go to your photos you will find your coloring sheet. You can treat it just like any other photo! Share, upload send away!
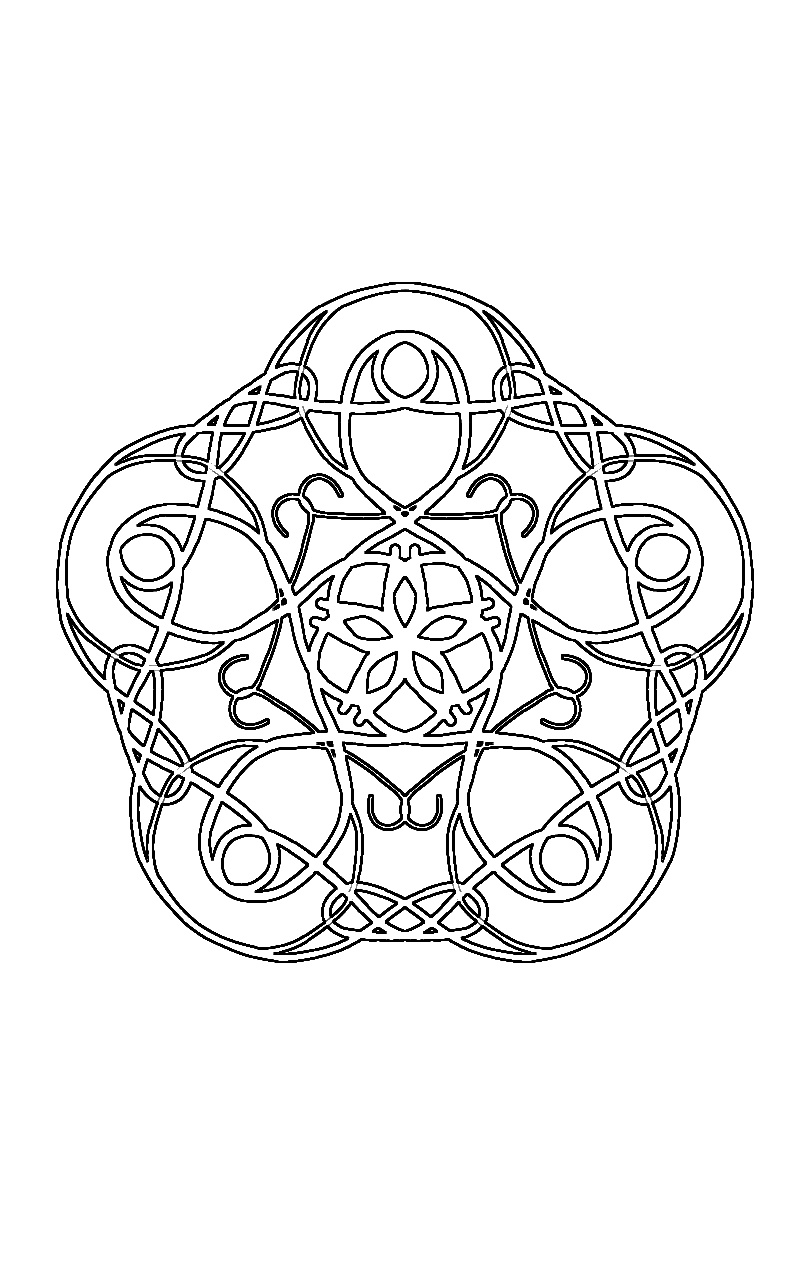
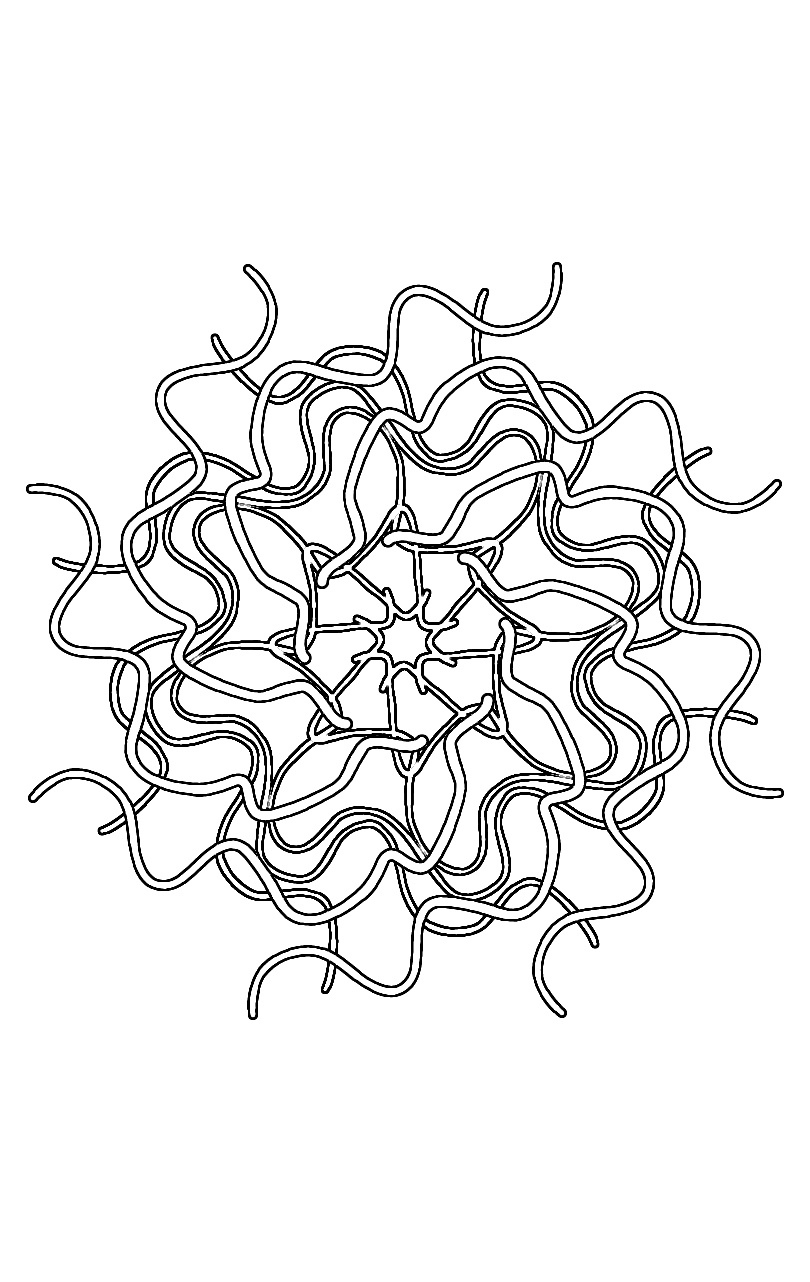
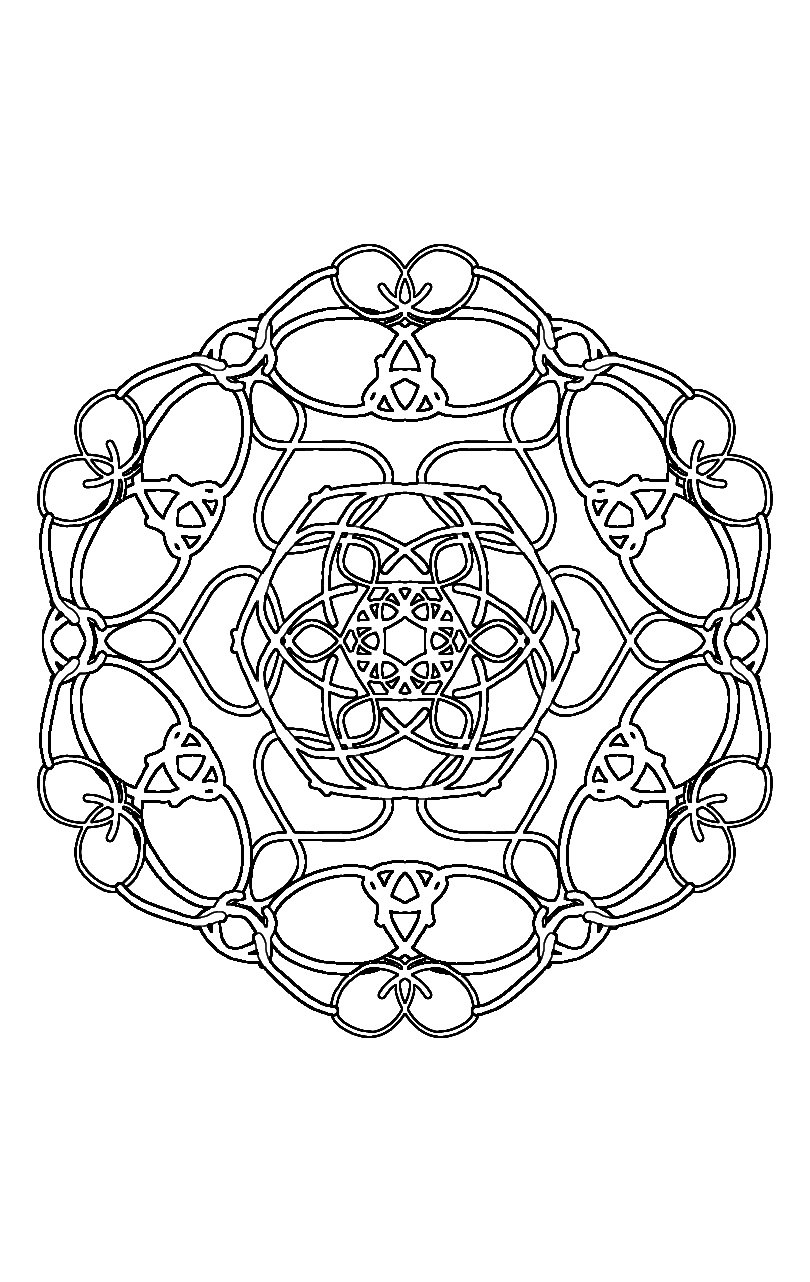
Here are a few of the other ones I’ve made with these apps:
As always, if you have any questions feel free to drop me a line!
I actually did this project a few months ago. After visiting the pet store and seeing that one of similar height ran about $60, I decided that making my own scratching post couldn’t be that hard. *I’m including YouTube videos at the bottom that might help should you decide to embark on this stupidly easy project :)*
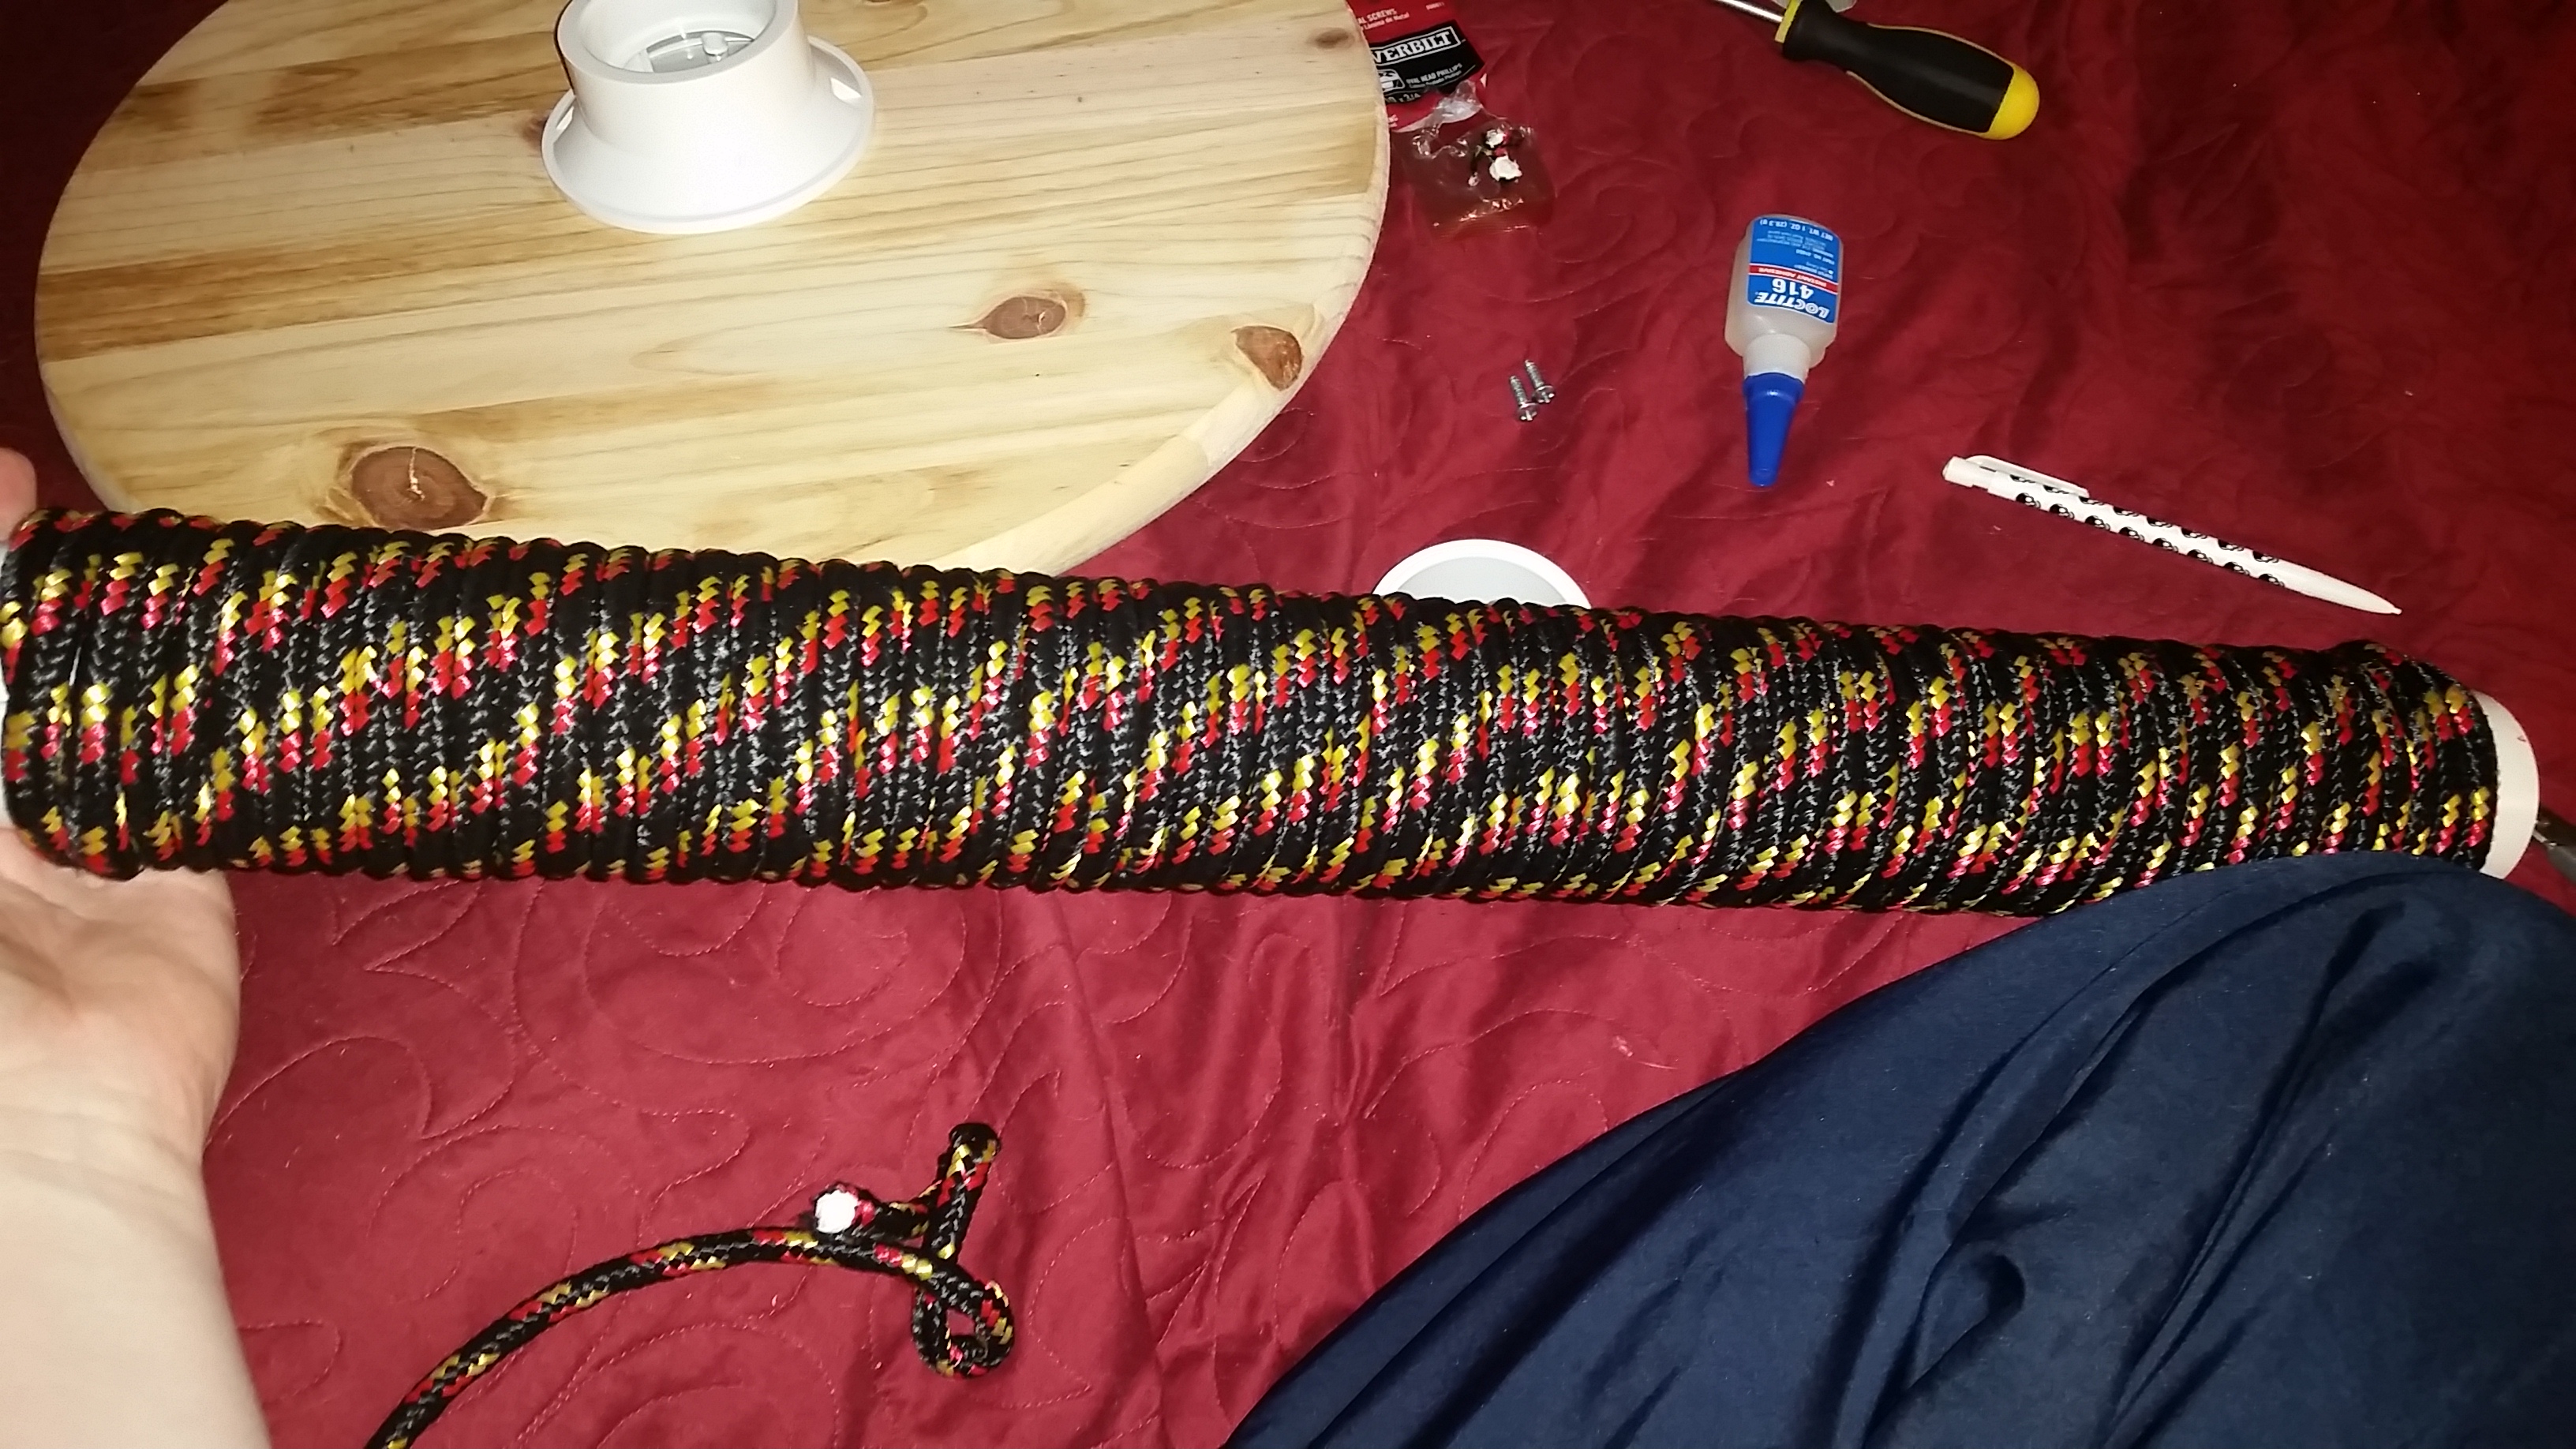
Okay, so to be honest, I think I spent more time walking around Home Depot trying to figure out how I was going to attach the PVC to the wooden base than actually doing the project. This is what I came up with (the screwdriver and Loctite glue were already on hand at home):
Scratching Post Components
My total came out to $28 and change, but I do have enough rope left over for another scratching post (I measured).
The PVC was a pre-cut 2 foot long by 2 inch diameter. There were whole cart fulls of pre-cut PVC. On the same aisle I picked up a 2″ cap for the top.
The round wood was already cut and sanded as well~ exactly what I needed for $4.88. This was in a bin in the lumber area.
The screws are #10 x 3/4″. I bought a pack of 6, but only used 4. I determined the size of the screws by trying different screws through the holes of the drain. I made sure of two things: 1. The head of the screw wouldn’t go all the way through the drain, and 2. the screws wouldn’t go all the way through the wood. (My fuzzy morons are clumsy, and do tip over other scratching posts. I didn’t want any chance of cut paws).
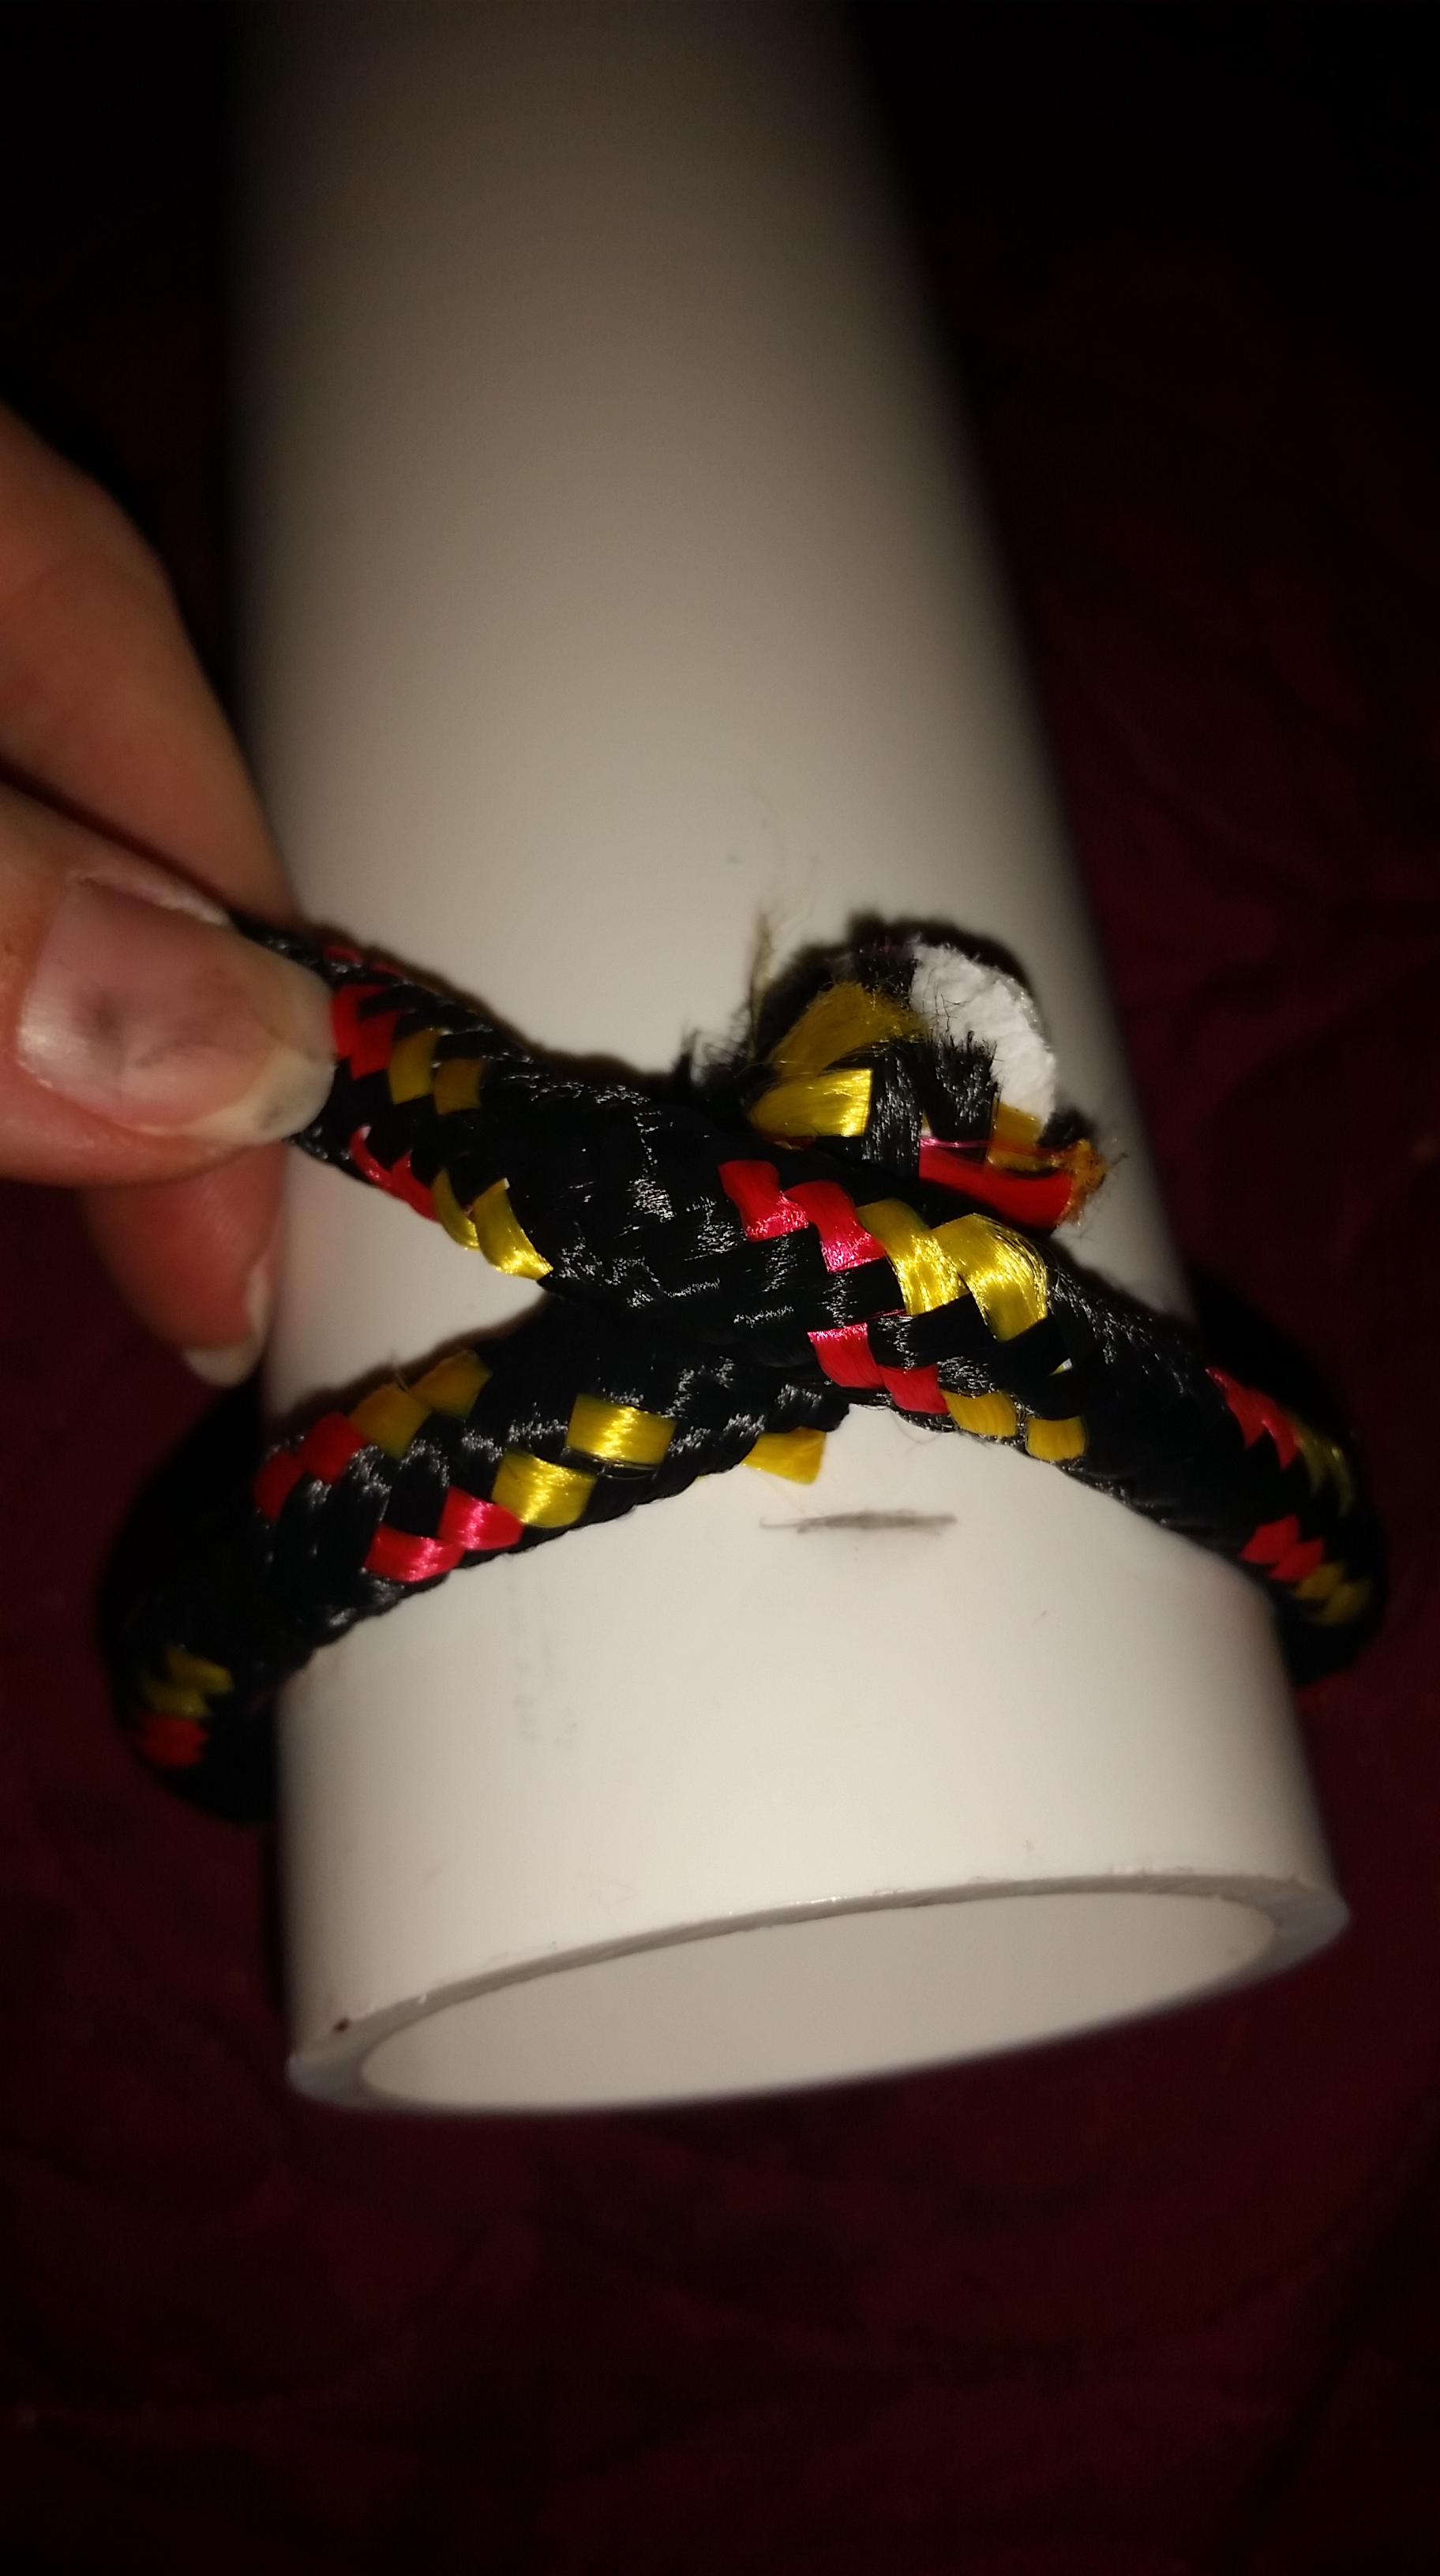
The rope was standard diamond braided poly rope. 100ft it was $9.99. *They do have natural fiber ropes that are a little more expensive, but I was going for durability.*
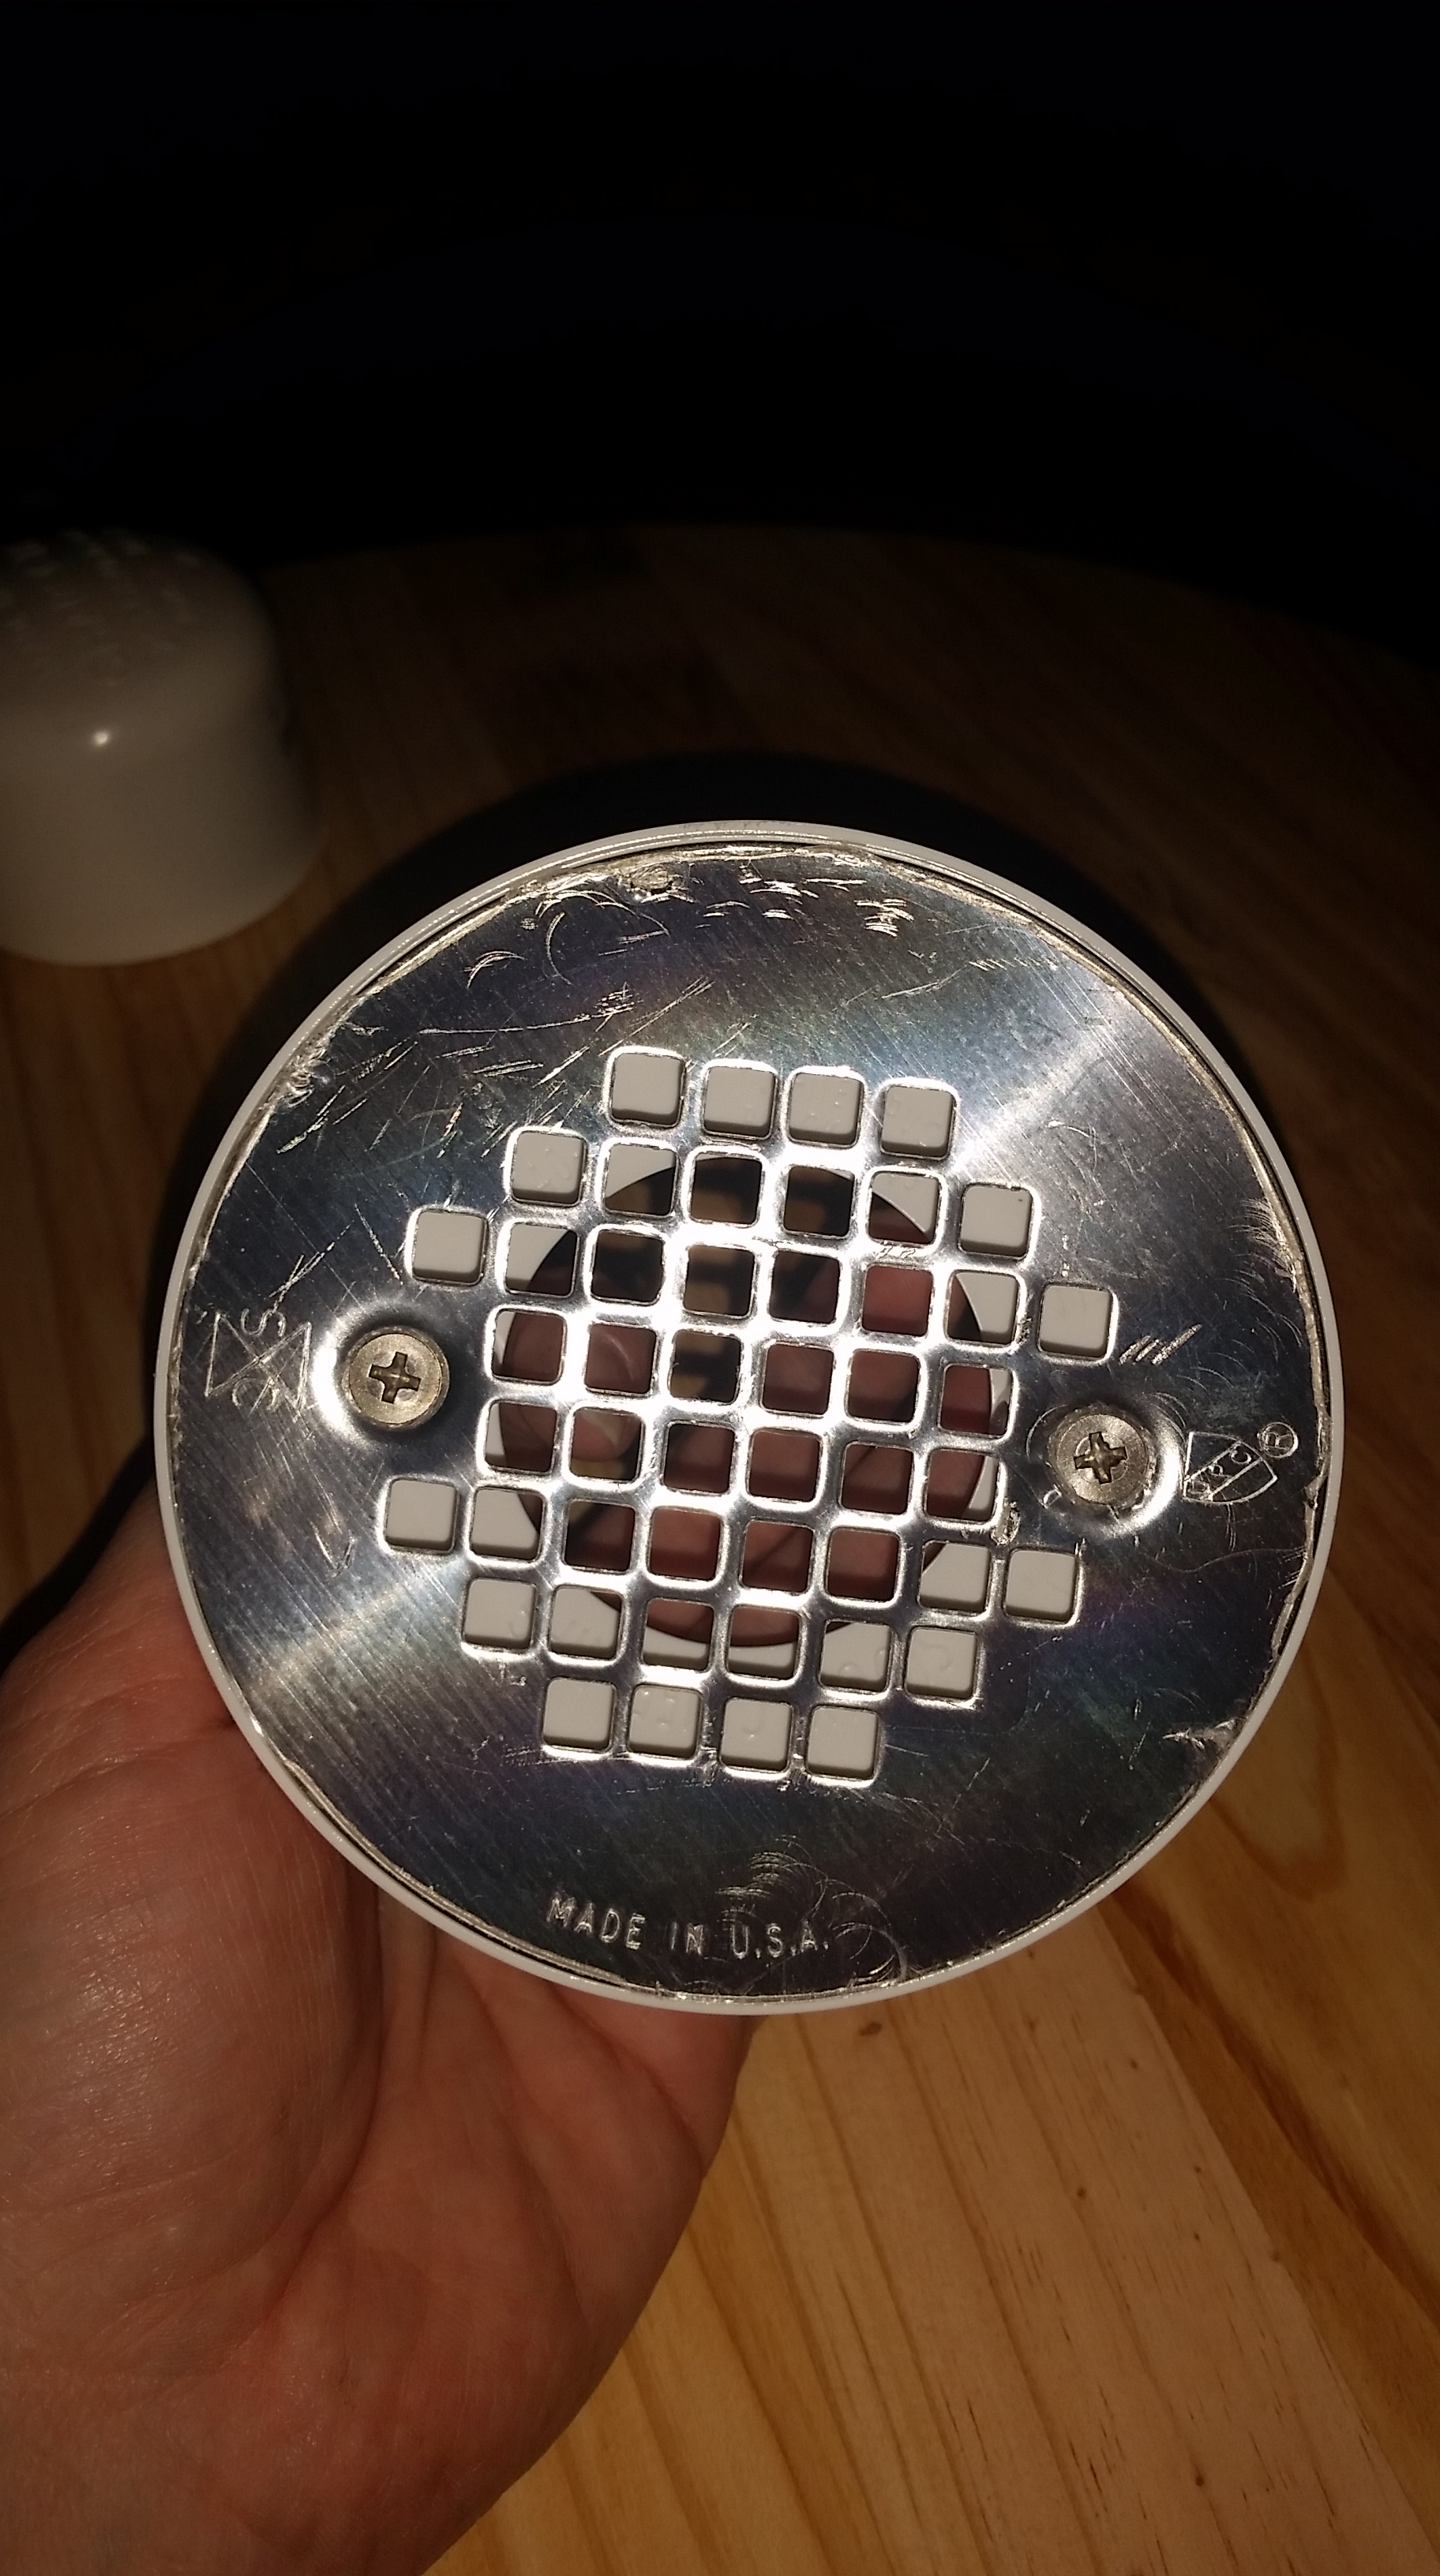
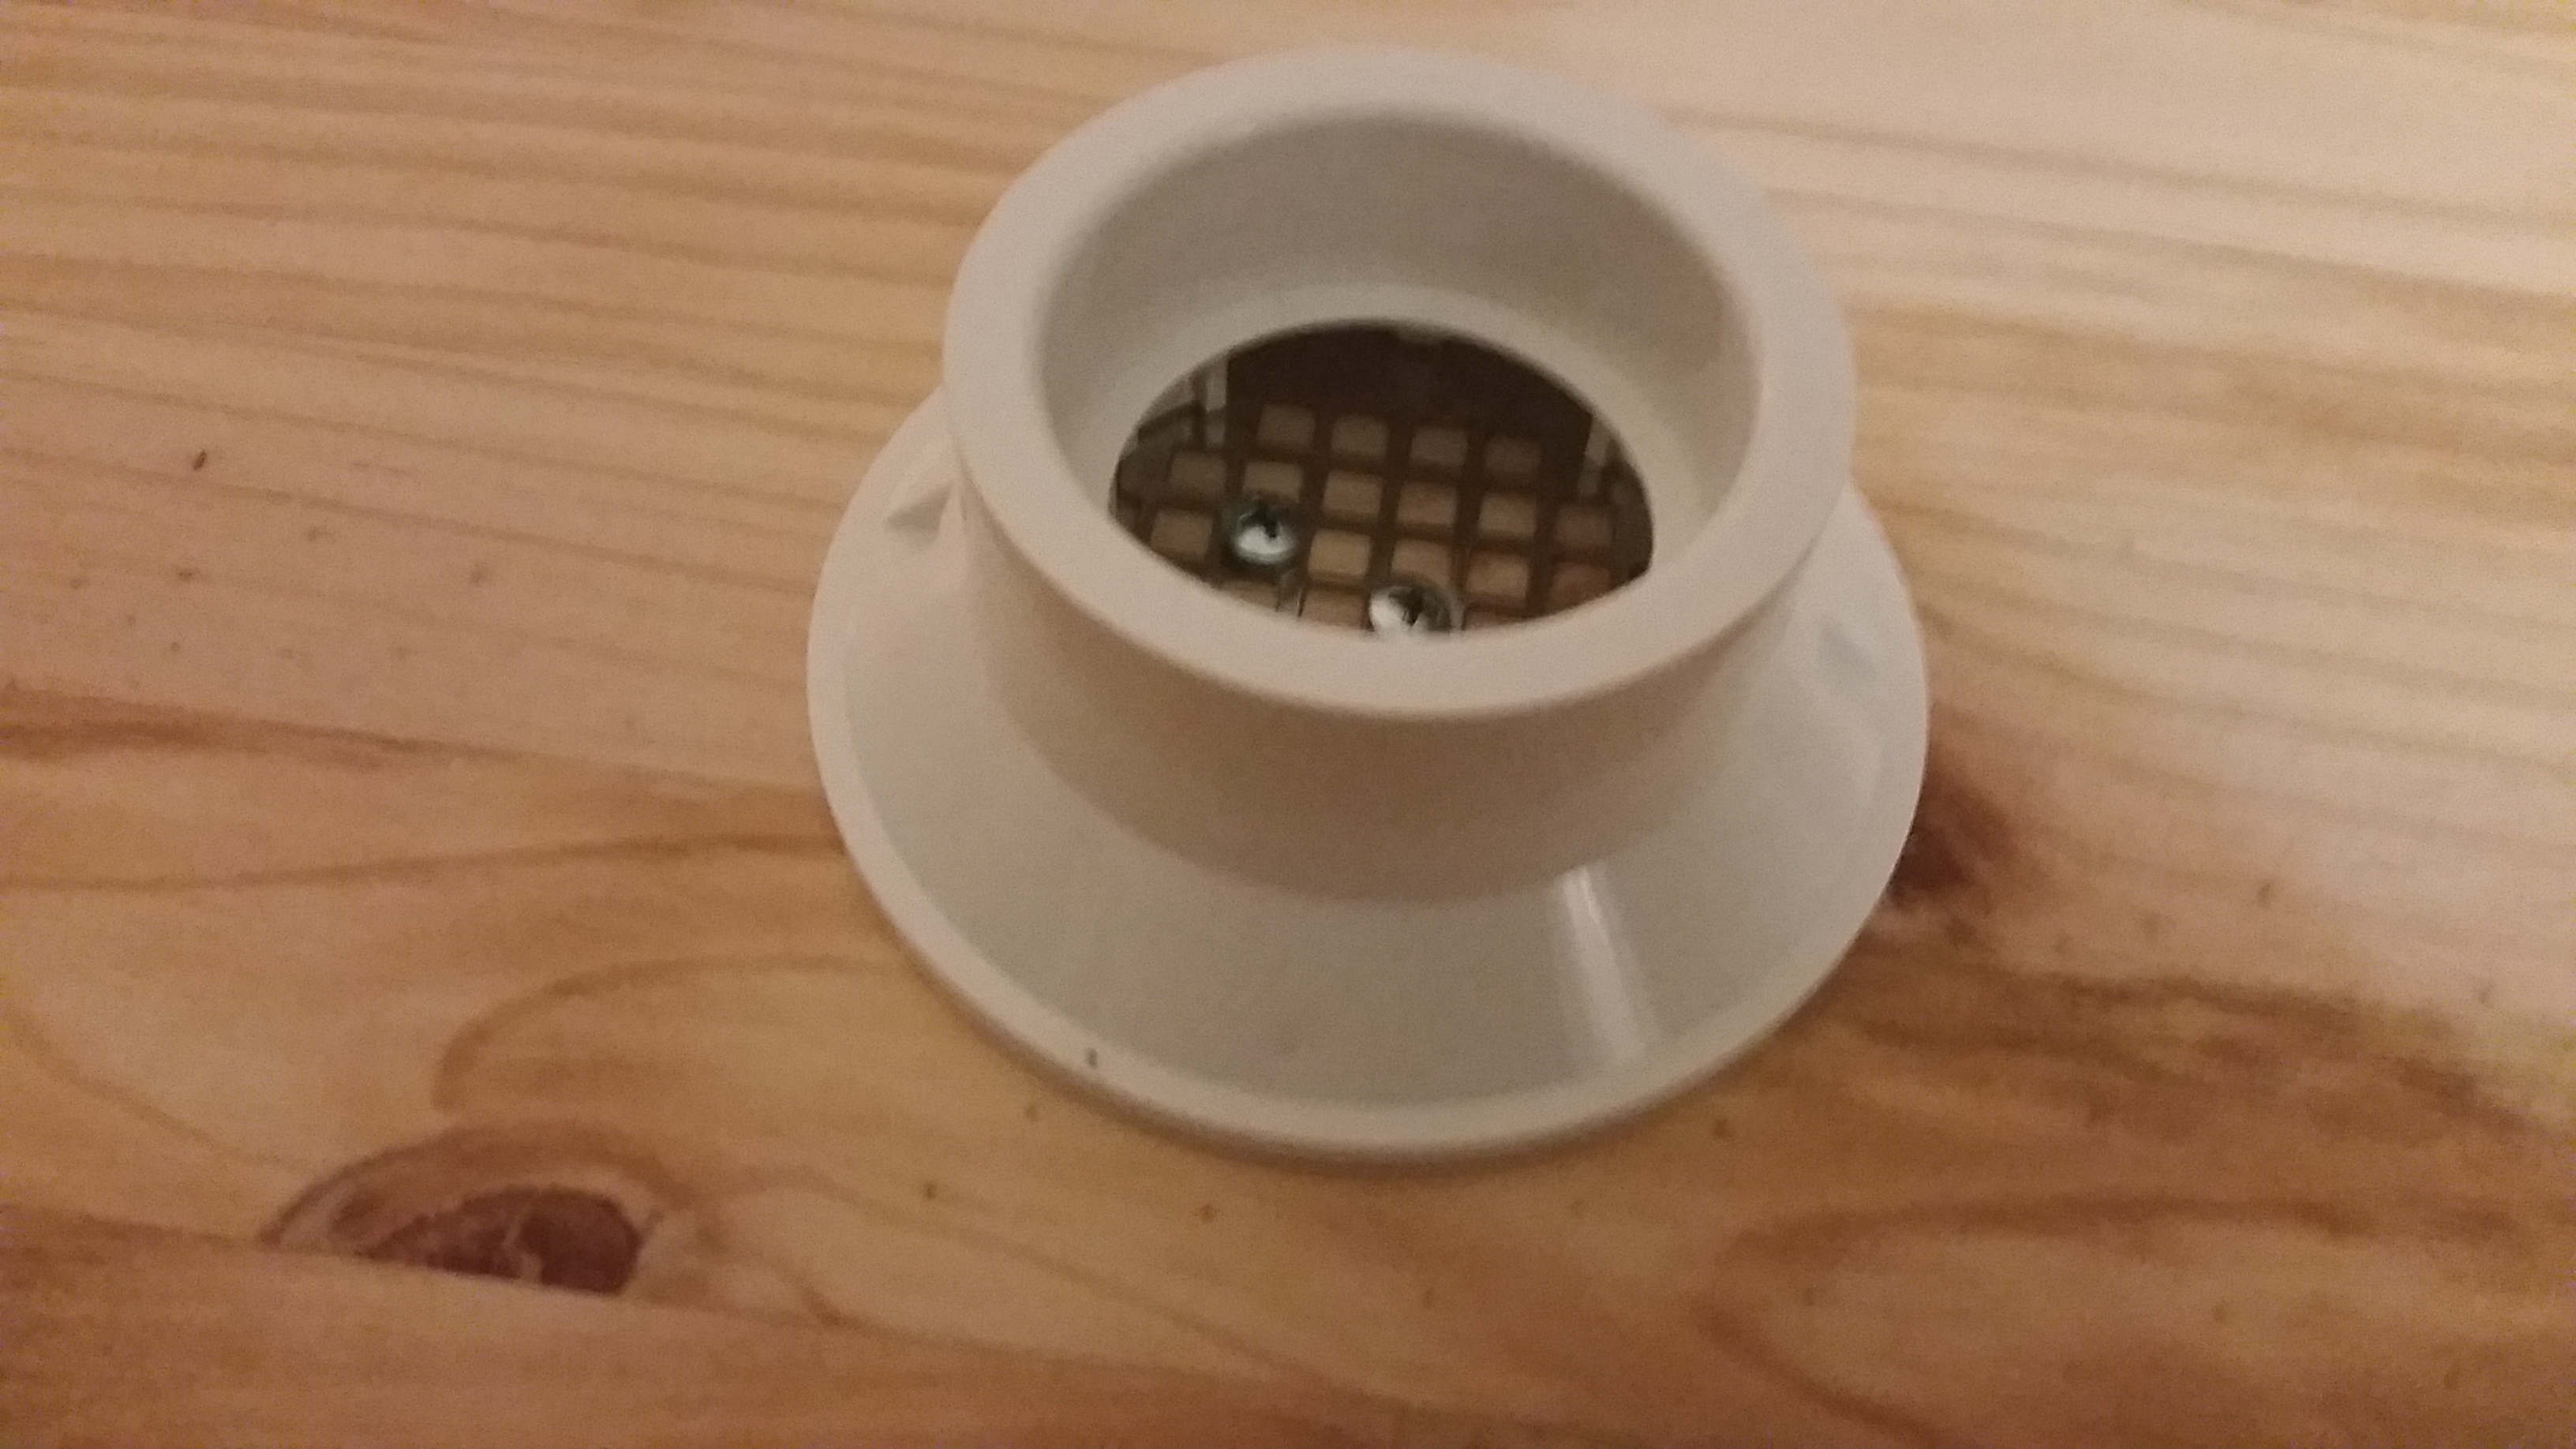
Home depot had a great employee who helped lead me to the idea to use the drain (though he did look at me a little funny. I’m guessing scratching posts aren’t usual weekend projects). He recommended I use a toilet flange, which would’ve been an awesome idea… if they were just a little smaller. But the flanges were right next to the drains. The first one I picked up was a perfect fit! Had he not led me to that particular spot I’d probably still be walking around the store:
The awesome drain that makes this project really easy
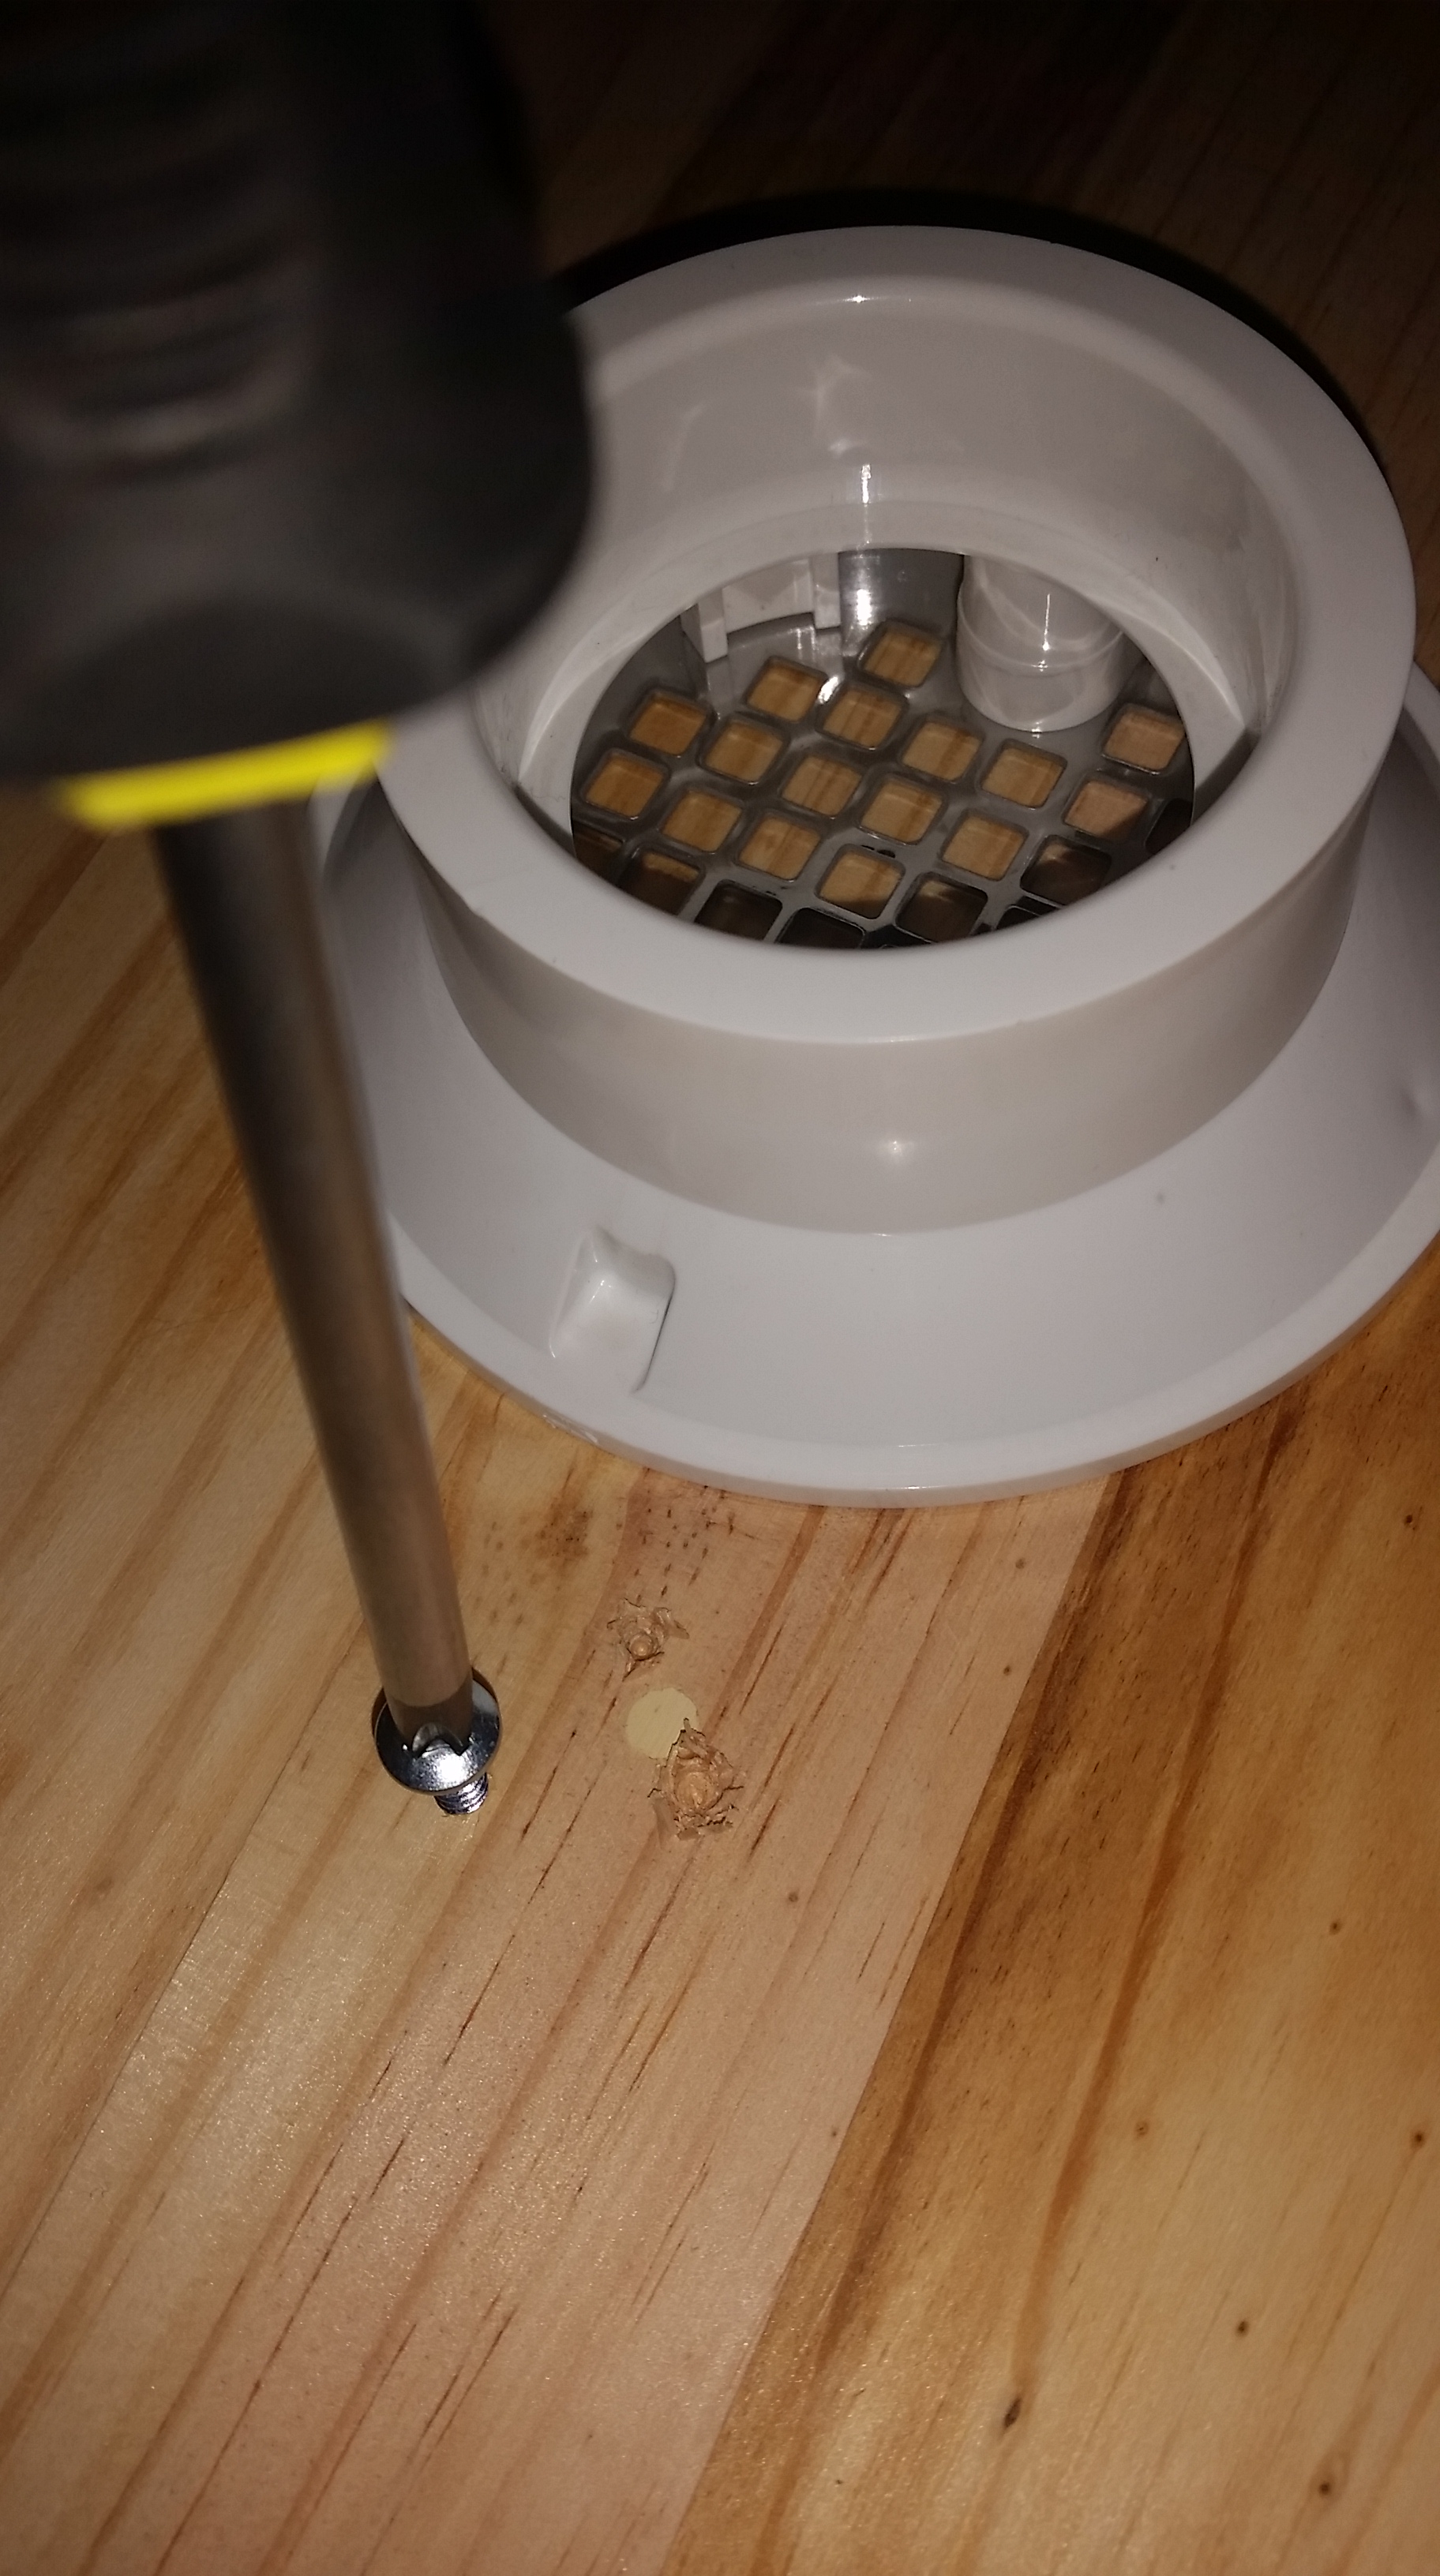
Starting the screws
The round wooden piece actually has a little light colored plug to tell you where the middle is (once again, I measured to make sure). Once I had my center, I aligned the middle of the drain with the center of the wood. I used a screw to poke through the holes where I felt they would hold the drain in best, then moved the drain and started each screw. Sure, you could screw them straight through, but this helped alleviate any issues I might have with the drain moving out of place on me.
All screwed in!
My videos will show how I screwed in the drain a bit better than this photo. But they’re in a diamond shape. And I only used four screws, six just seemed like over kill 😉
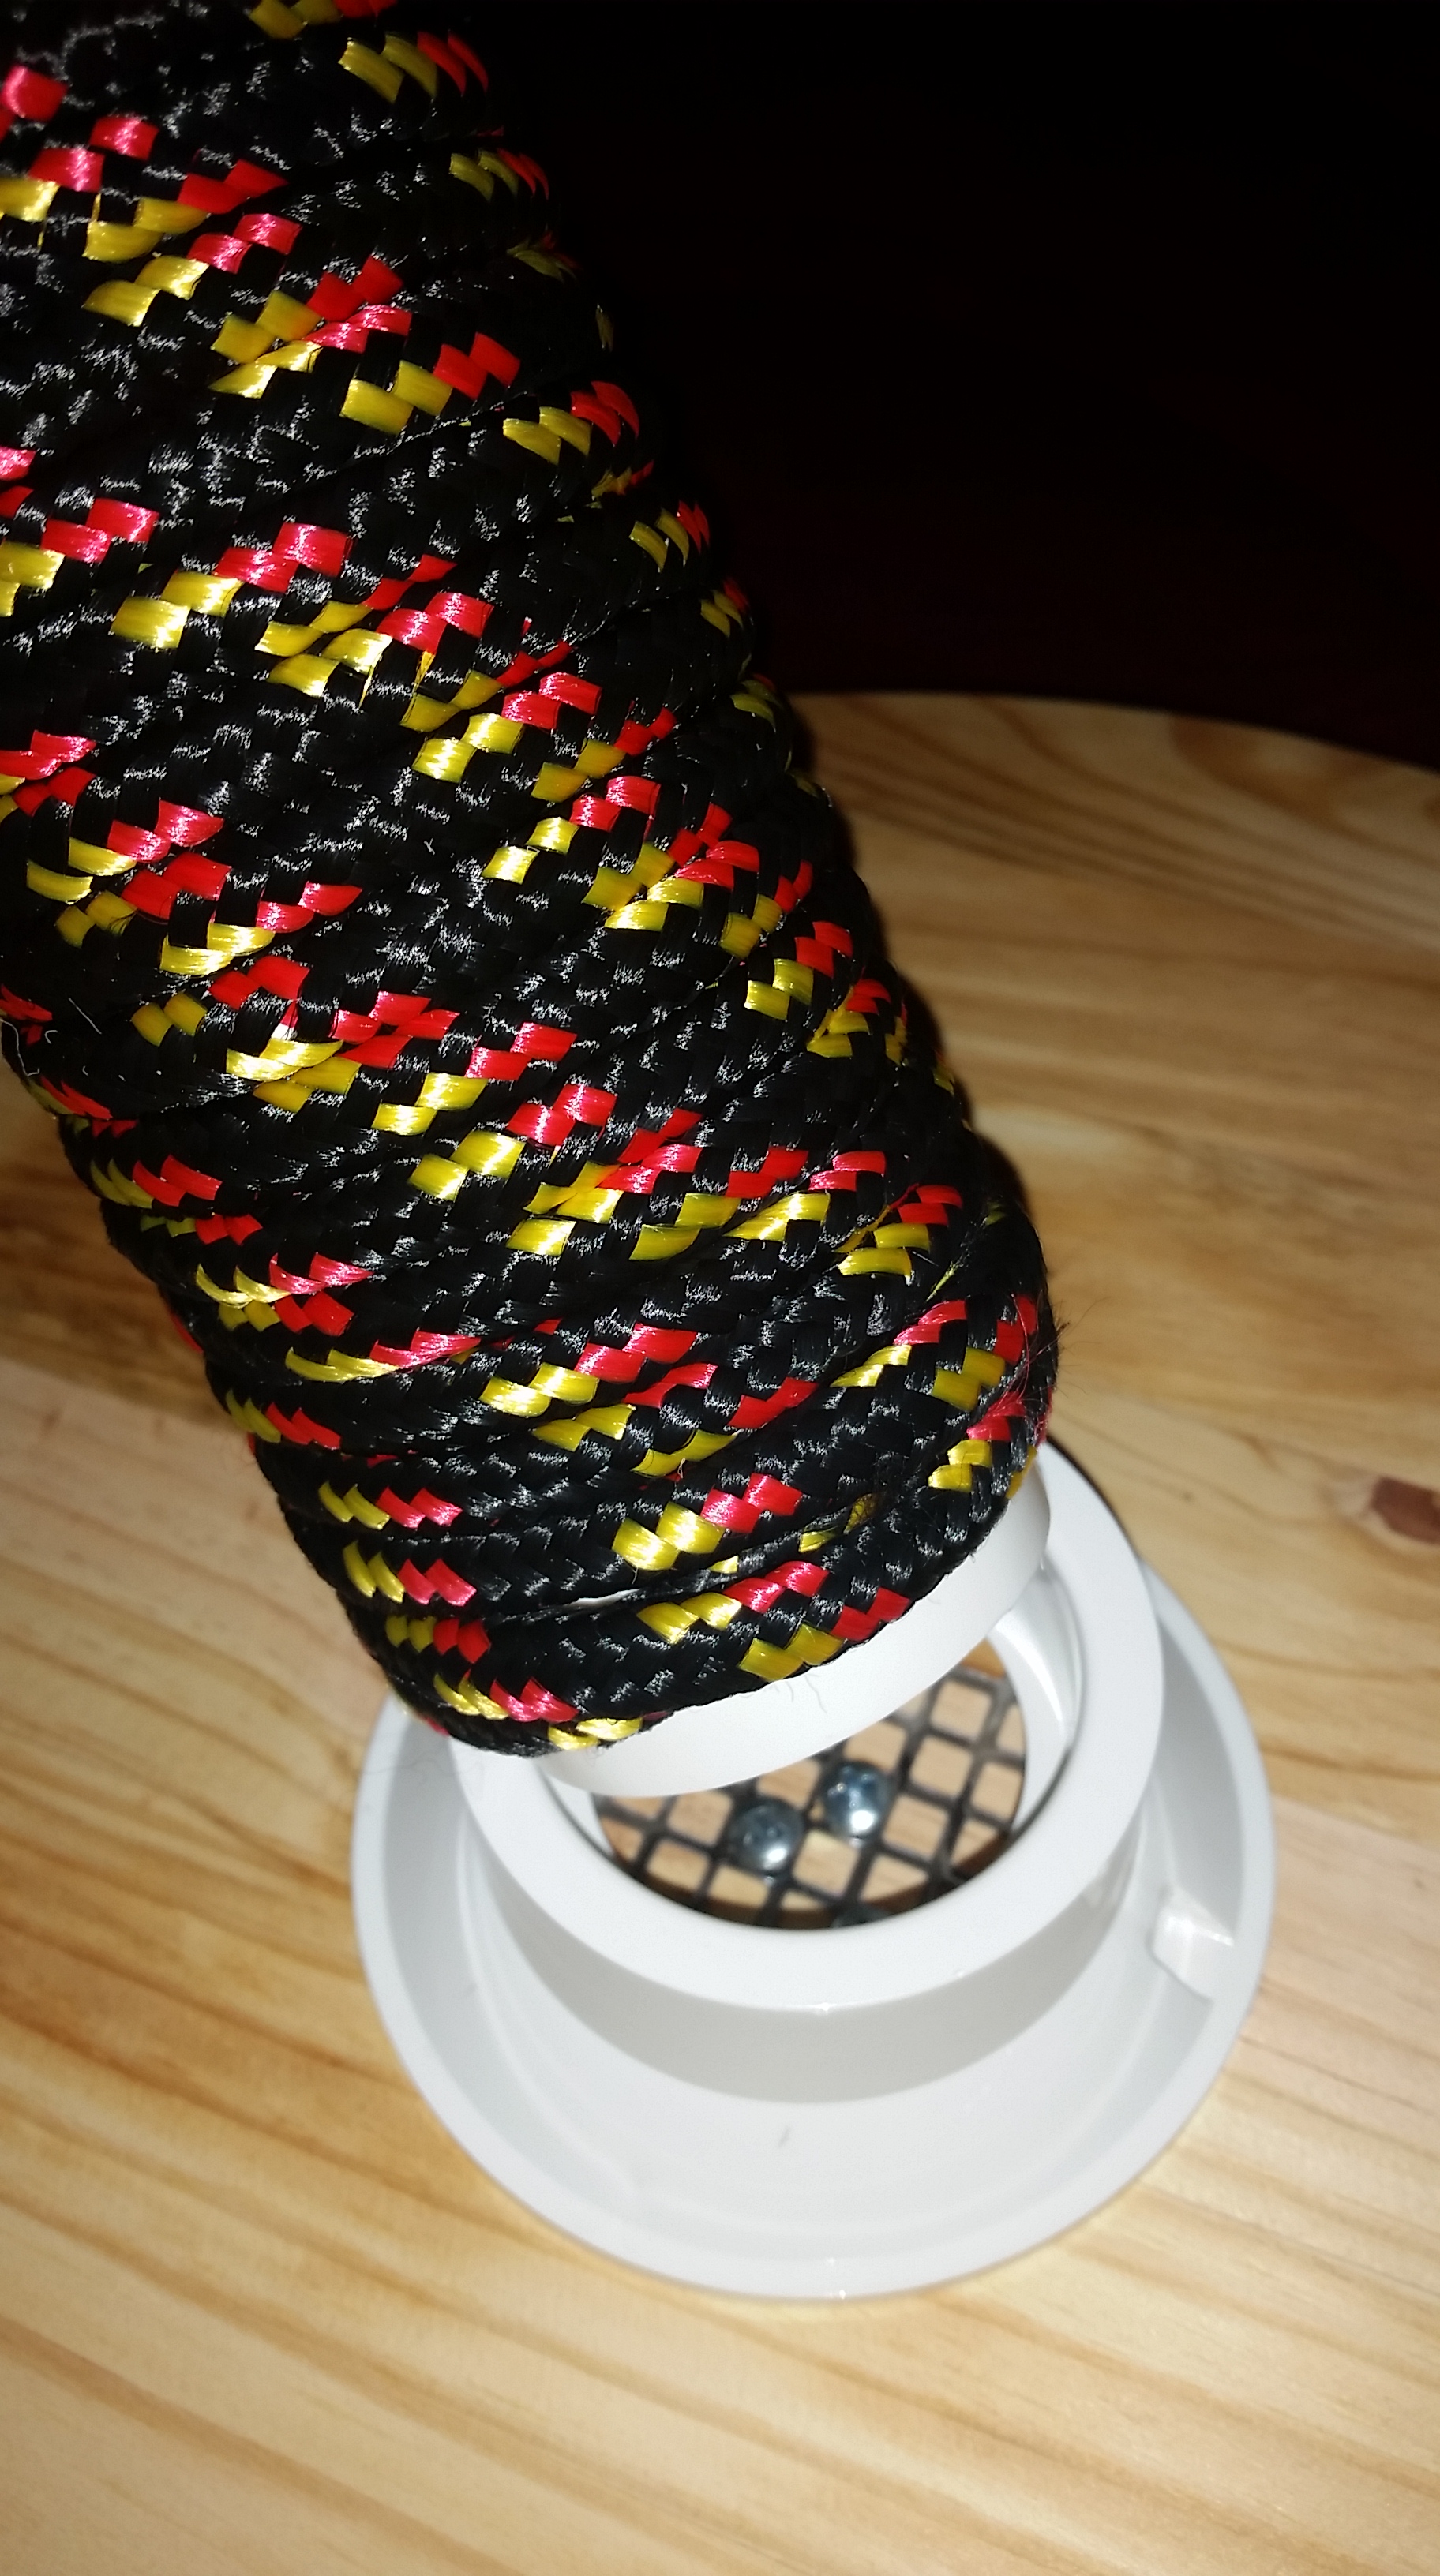
Before I started the rope, I put all my pieces together, including the cap and marked with a pencil where I needed to start the rope. Loctite glue doesn’t play around, so I wanted to make sure I left enough space at the top and bottom to insert back into the other peices.
Starting the rope.
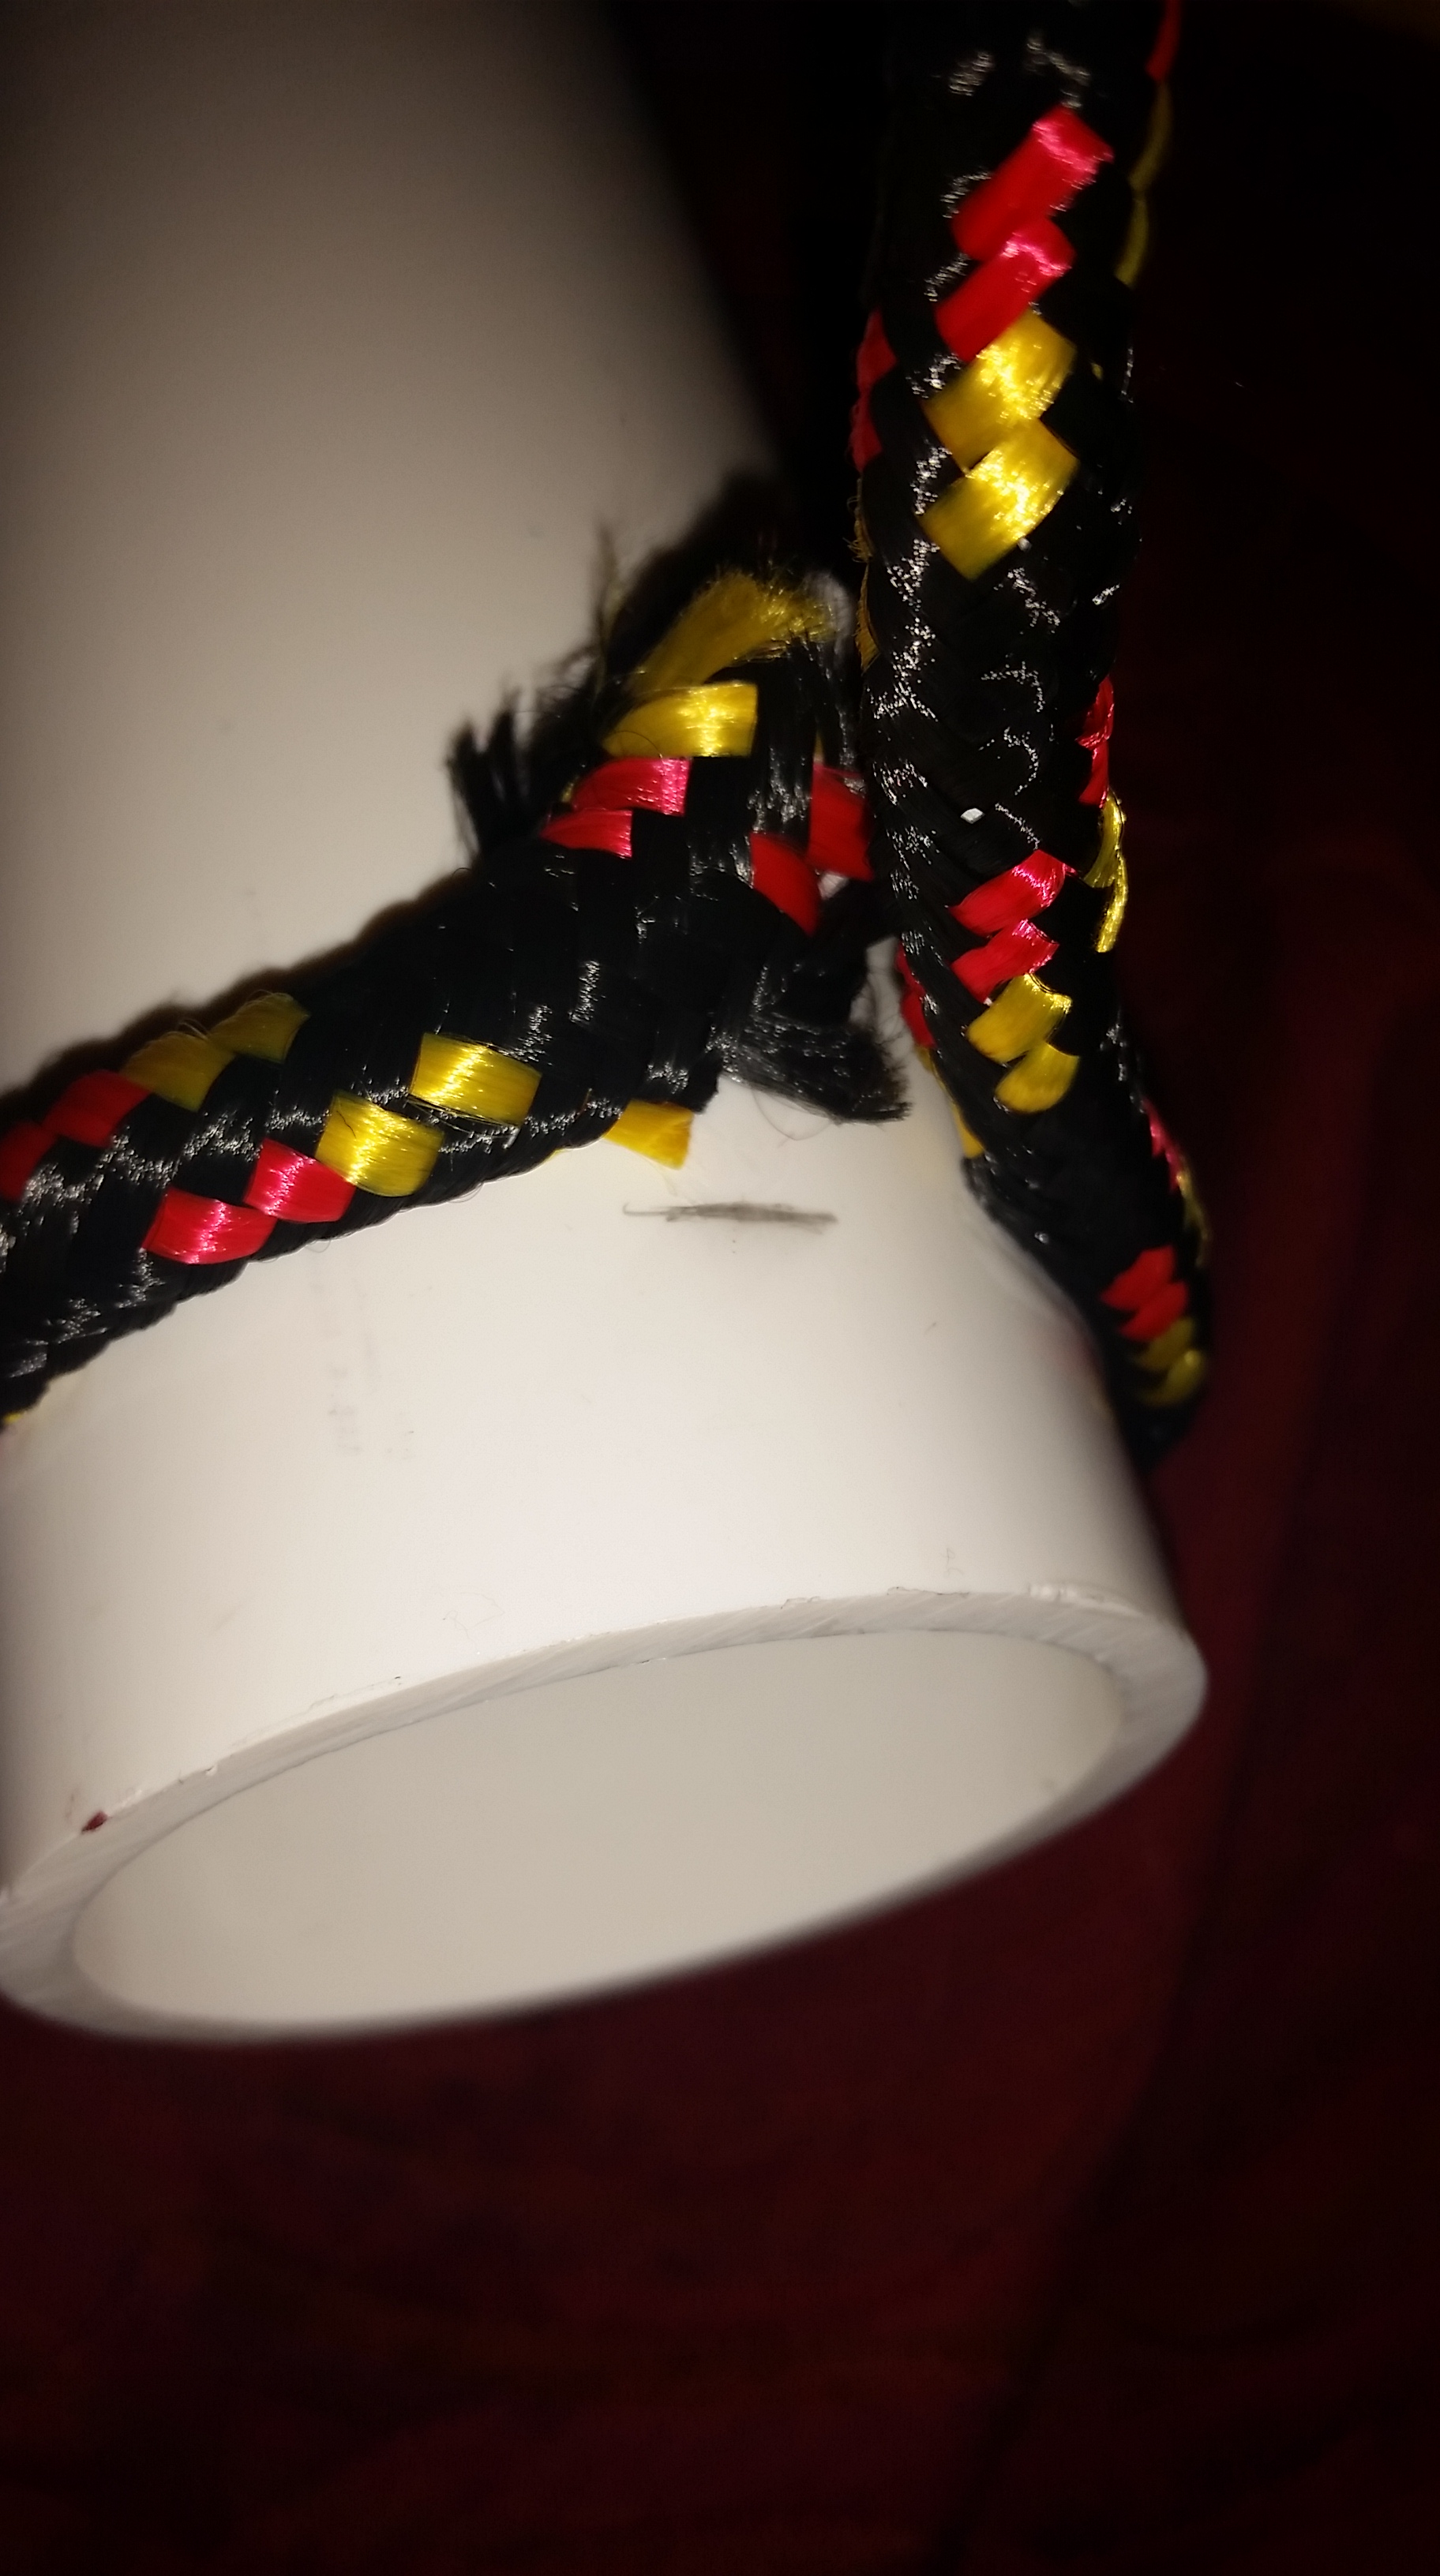
To start the rope, I put a little bit of glue slightly above my mark and attached the end. Loctite sets up pretty quickly. Once securely in place, I started wrapping the rope around and over the end.
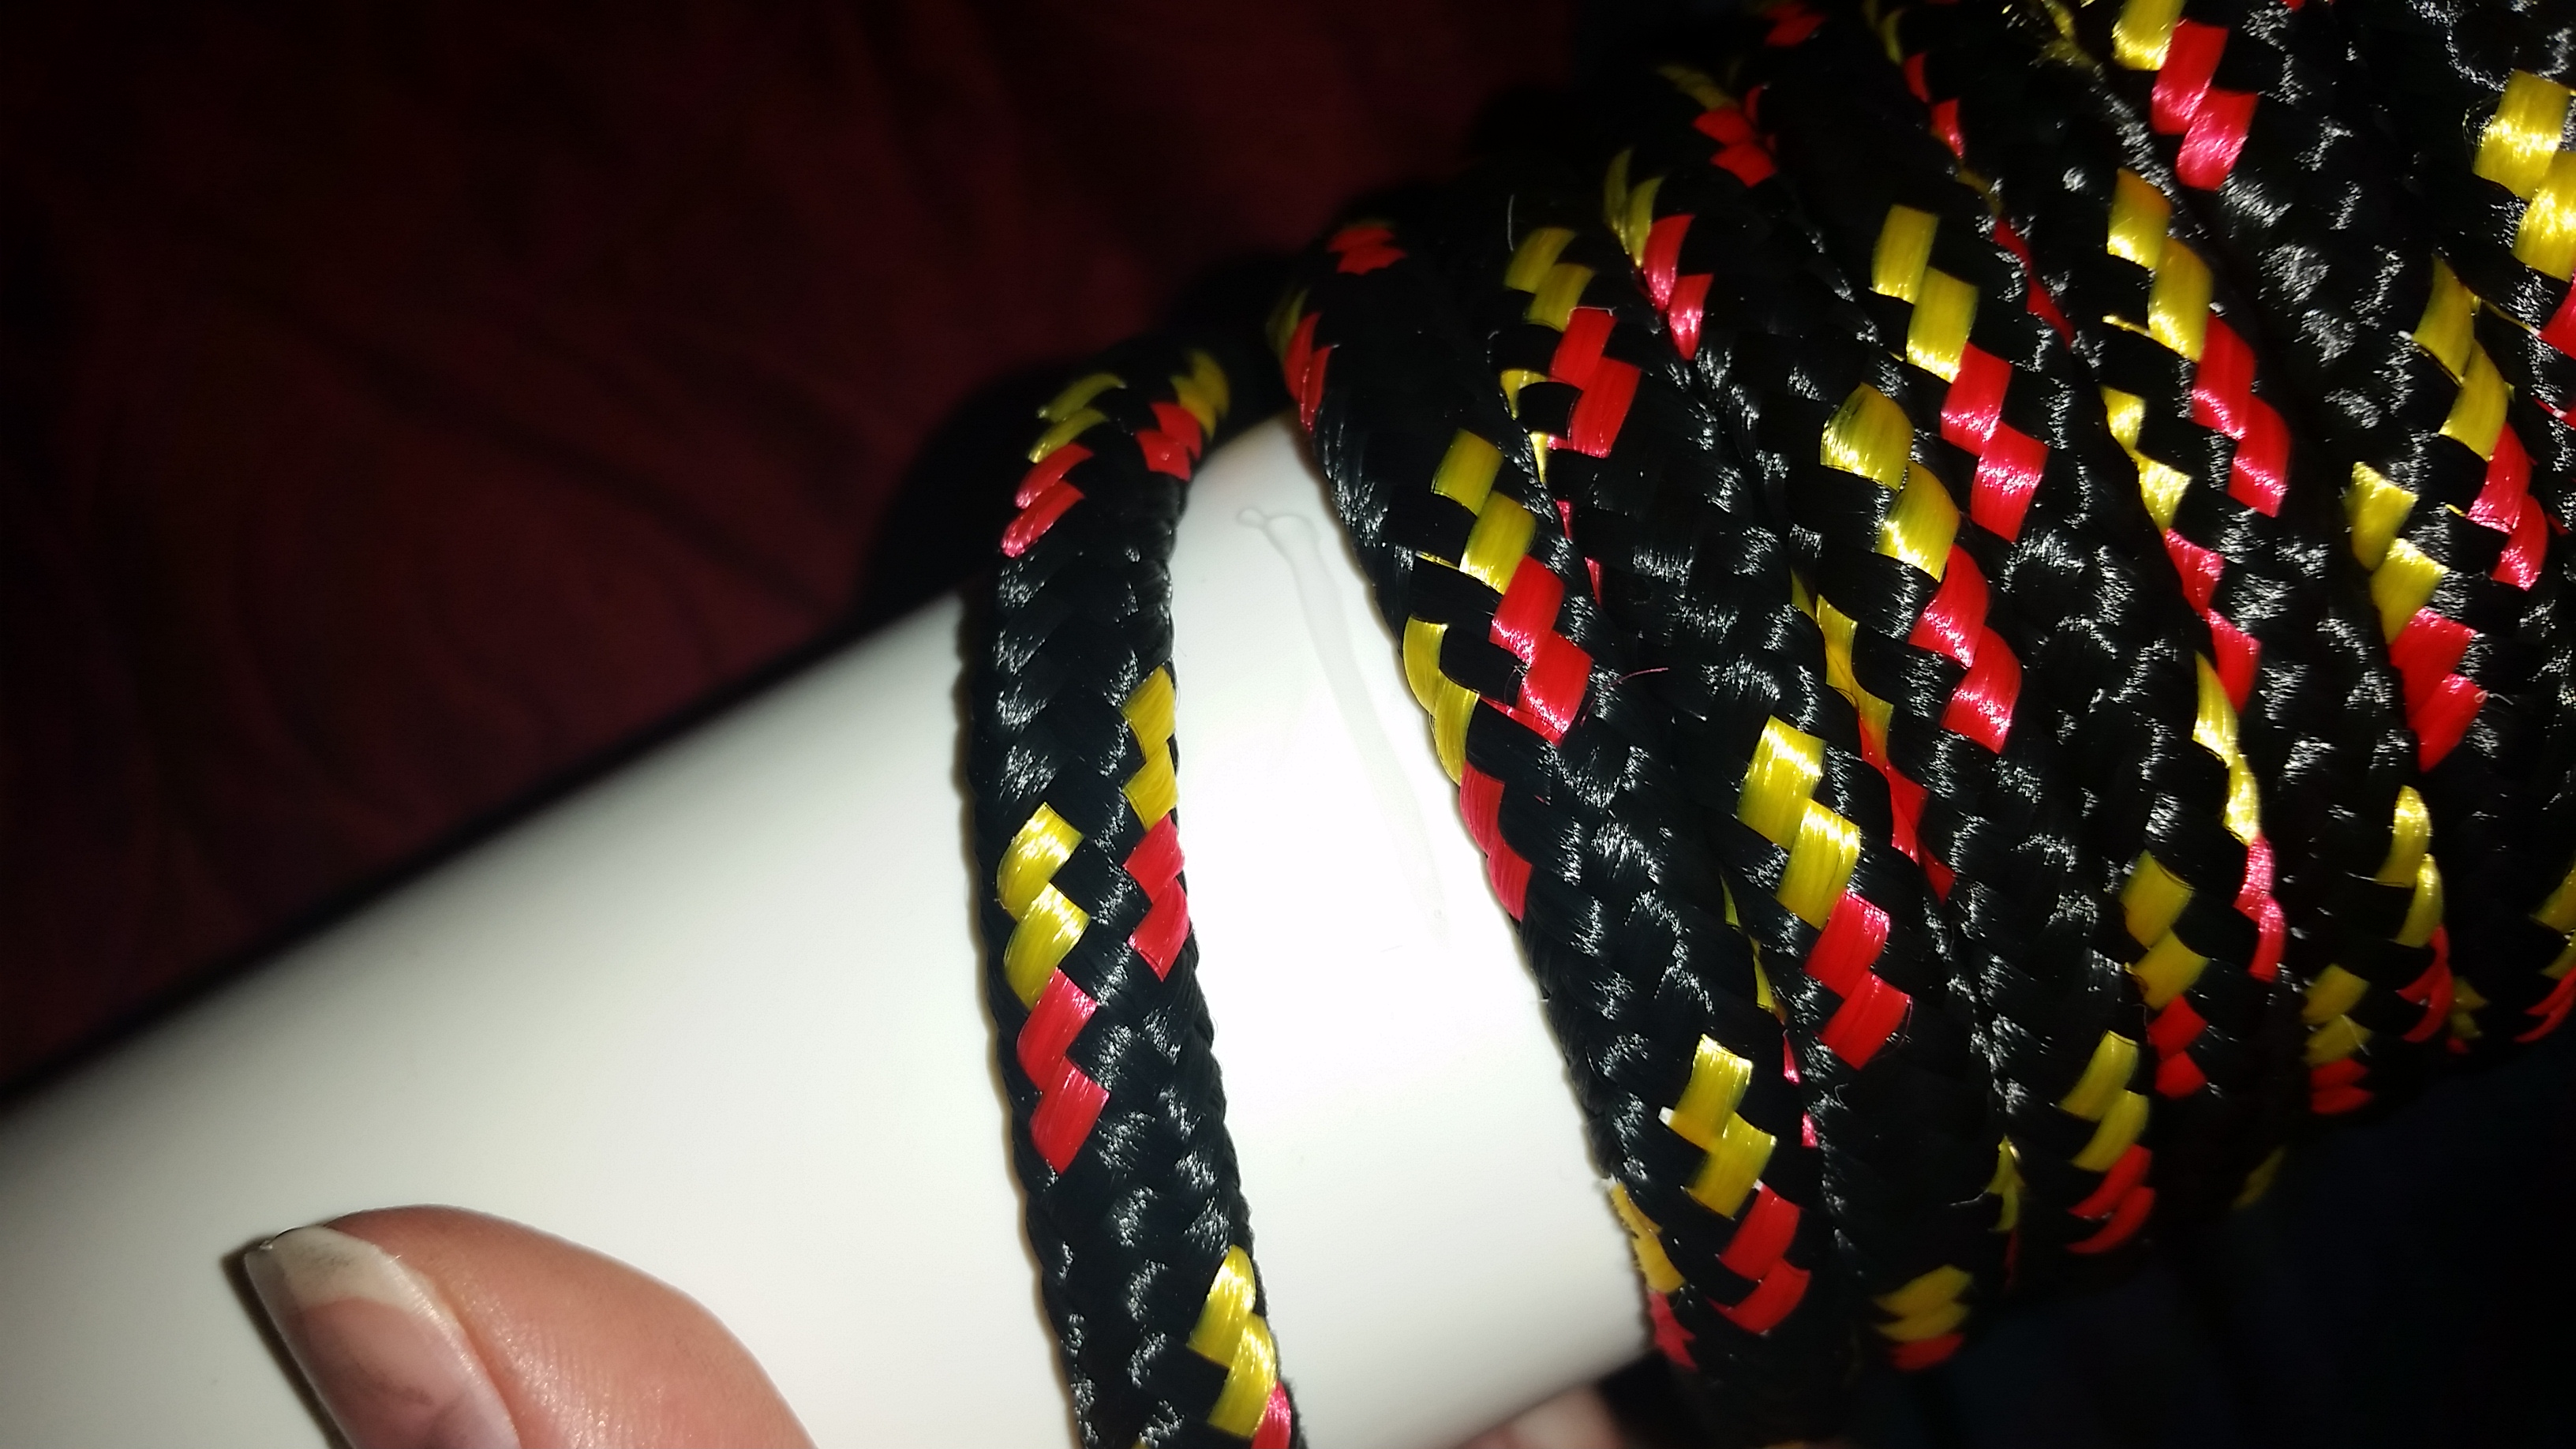
I intermittently drew long lines of glue as I wrapped the rope over the PVC.
I swear there is a streak of glue here somewhere…
Once I got to the top, I tucked the rope back under and twisted everything into place. I used the screwdriver to tuck the rope before I glued it into place:
The rope was the most time consuming part of this project (other than wandering aimlessly around Home Deopt wondering where on earth to start).
Rope all done!
Once that was done, all that was left was to attach everything into place 🙂
I did allow it to dry for a few days (whatever the recommended wait time was on the Loctite bottle). But here is the finished project:
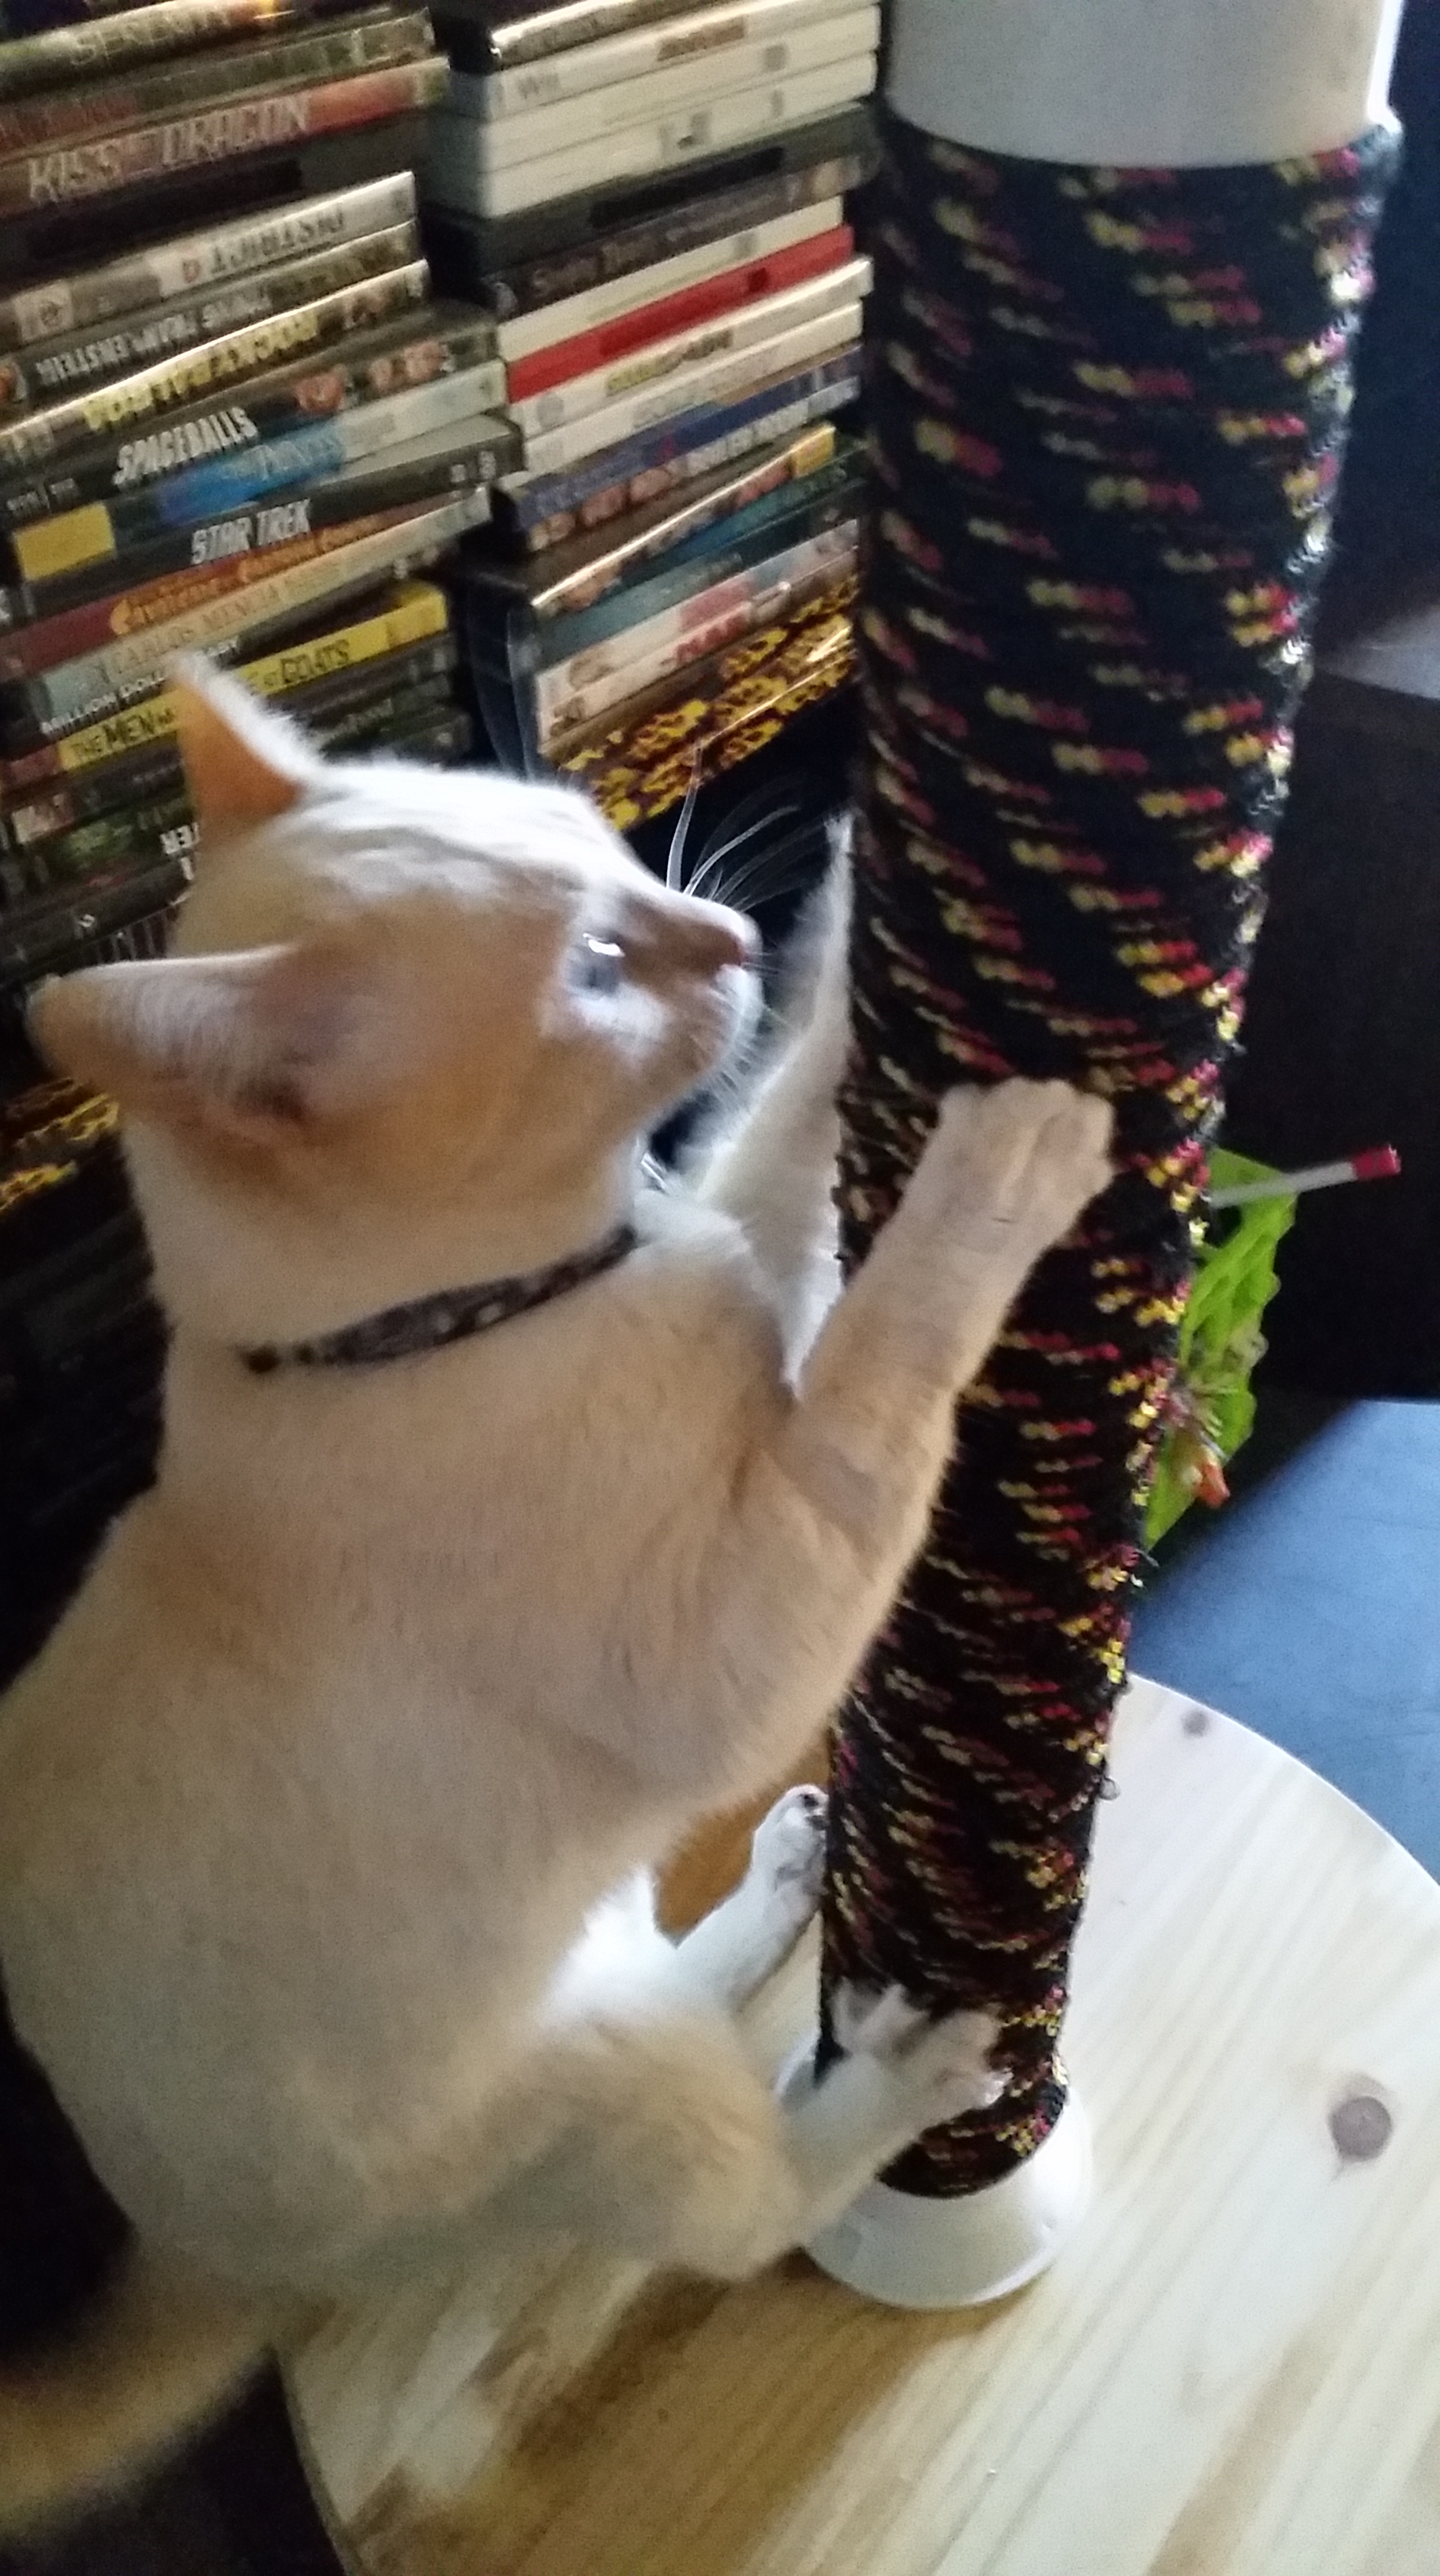
Willow, my mad scratcher!
And it is still together and in really good shape for a few months of use like this:
If you have any questions, I’ll be happy to answer them~ put them in the comments here, or feel free to find me on twitter or facebook. I’m certainly happy with the outcome of this project.
P.S. UPDATE: 07-06-2015 *Scratching post still taking a beating!*
Am I going to lecture you on setting? I could. However, I find more important than finding the proper setting for your story, is finding the proper setting for you as a writer. So here are some important factors to consider when picking a location for writing.
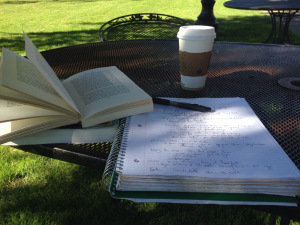
Example 1: Natural setting with table and chairs
1. How easily distracted are you? This is a key element of choosing a writing setting. If you’re someone who is chatty, maybe limit your contact with people, if you’re someone who finds noises irritating, maybe keep headphones for less distracting music, or try finding a more tranquil environment. It’s all about you as a person.
2. The Internet Question For some writers, the internet is a trap, something that will pull them away from their creativity into countless hours of Youtube or pointless games or too much time scrolling through Facebook, Twitter, or who…
Have you ever been writing a death scene in a novel and have this feeling that if your character was a real person he or she’d be giving you puppy eyes while pleading for his or her life? “Please don’t kill me!” he or she says. For me it happens all the time. Yep. Pretty much every time I go to kill off a character. Which I am currently trying to do at the moment with no success…
So today’s lovely post revolves around killing characters. Yes, killing characters.
From a reader’s perspective there is nothing worse than when an author decides to go and off one of your favorites, but honestly as a writer it’s painful too. My characters become special to me and that makes it all the more painful when I have to get rid of one of them. After all, I am their creator, and I…
I never feel like I have anything or important to post on this blog~ but maybe I can offer something helpful to my fellow writers.
I always want to make sure I write the most believable characters possible (even when they aren’t human). To do this I fill out a character questionnaire for every character I add to a storyline.
It’s a bit like filling out paperwork at a new doctor’s office, but it always helps me know my characters better.
And so without further ado, here is my personally created set of pdf character worksheets. Feel free to use and share 🙂