
I actually did this project a few months ago. After visiting the pet store and seeing that one of similar height ran about $60, I decided that making my own scratching post couldn’t be that hard. *I’m including YouTube videos at the bottom that might help should you decide to embark on this stupidly easy project :)*
Okay, so to be honest, I think I spent more time walking around Home Depot trying to figure out how I was going to attach the PVC to the wooden base than actually doing the project. This is what I came up with (the screwdriver and Loctite glue were already on hand at home):

Scratching Post Components
My total came out to $28 and change, but I do have enough rope left over for another scratching post (I measured).
The PVC was a pre-cut 2 foot long by 2 inch diameter. There were whole cart fulls of pre-cut PVC. On the same aisle I picked up a 2″ cap for the top.
The round wood was already cut and sanded as well~ exactly what I needed for $4.88. This was in a bin in the lumber area.
The screws are #10 x 3/4″. I bought a pack of 6, but only used 4. I determined the size of the screws by trying different screws through the holes of the drain. I made sure of two things: 1. The head of the screw wouldn’t go all the way through the drain, and 2. the screws wouldn’t go all the way through the wood. (My fuzzy morons are clumsy, and do tip over other scratching posts. I didn’t want any chance of cut paws).
The rope was standard diamond braided poly rope. 100ft it was $9.99. *They do have natural fiber ropes that are a little more expensive, but I was going for durability.*
Home depot had a great employee who helped lead me to the idea to use the drain (though he did look at me a little funny. I’m guessing scratching posts aren’t usual weekend projects). He recommended I use a toilet flange, which would’ve been an awesome idea… if they were just a little smaller. But the flanges were right next to the drains. The first one I picked up was a perfect fit! Had he not led me to that particular spot I’d probably still be walking around the store:
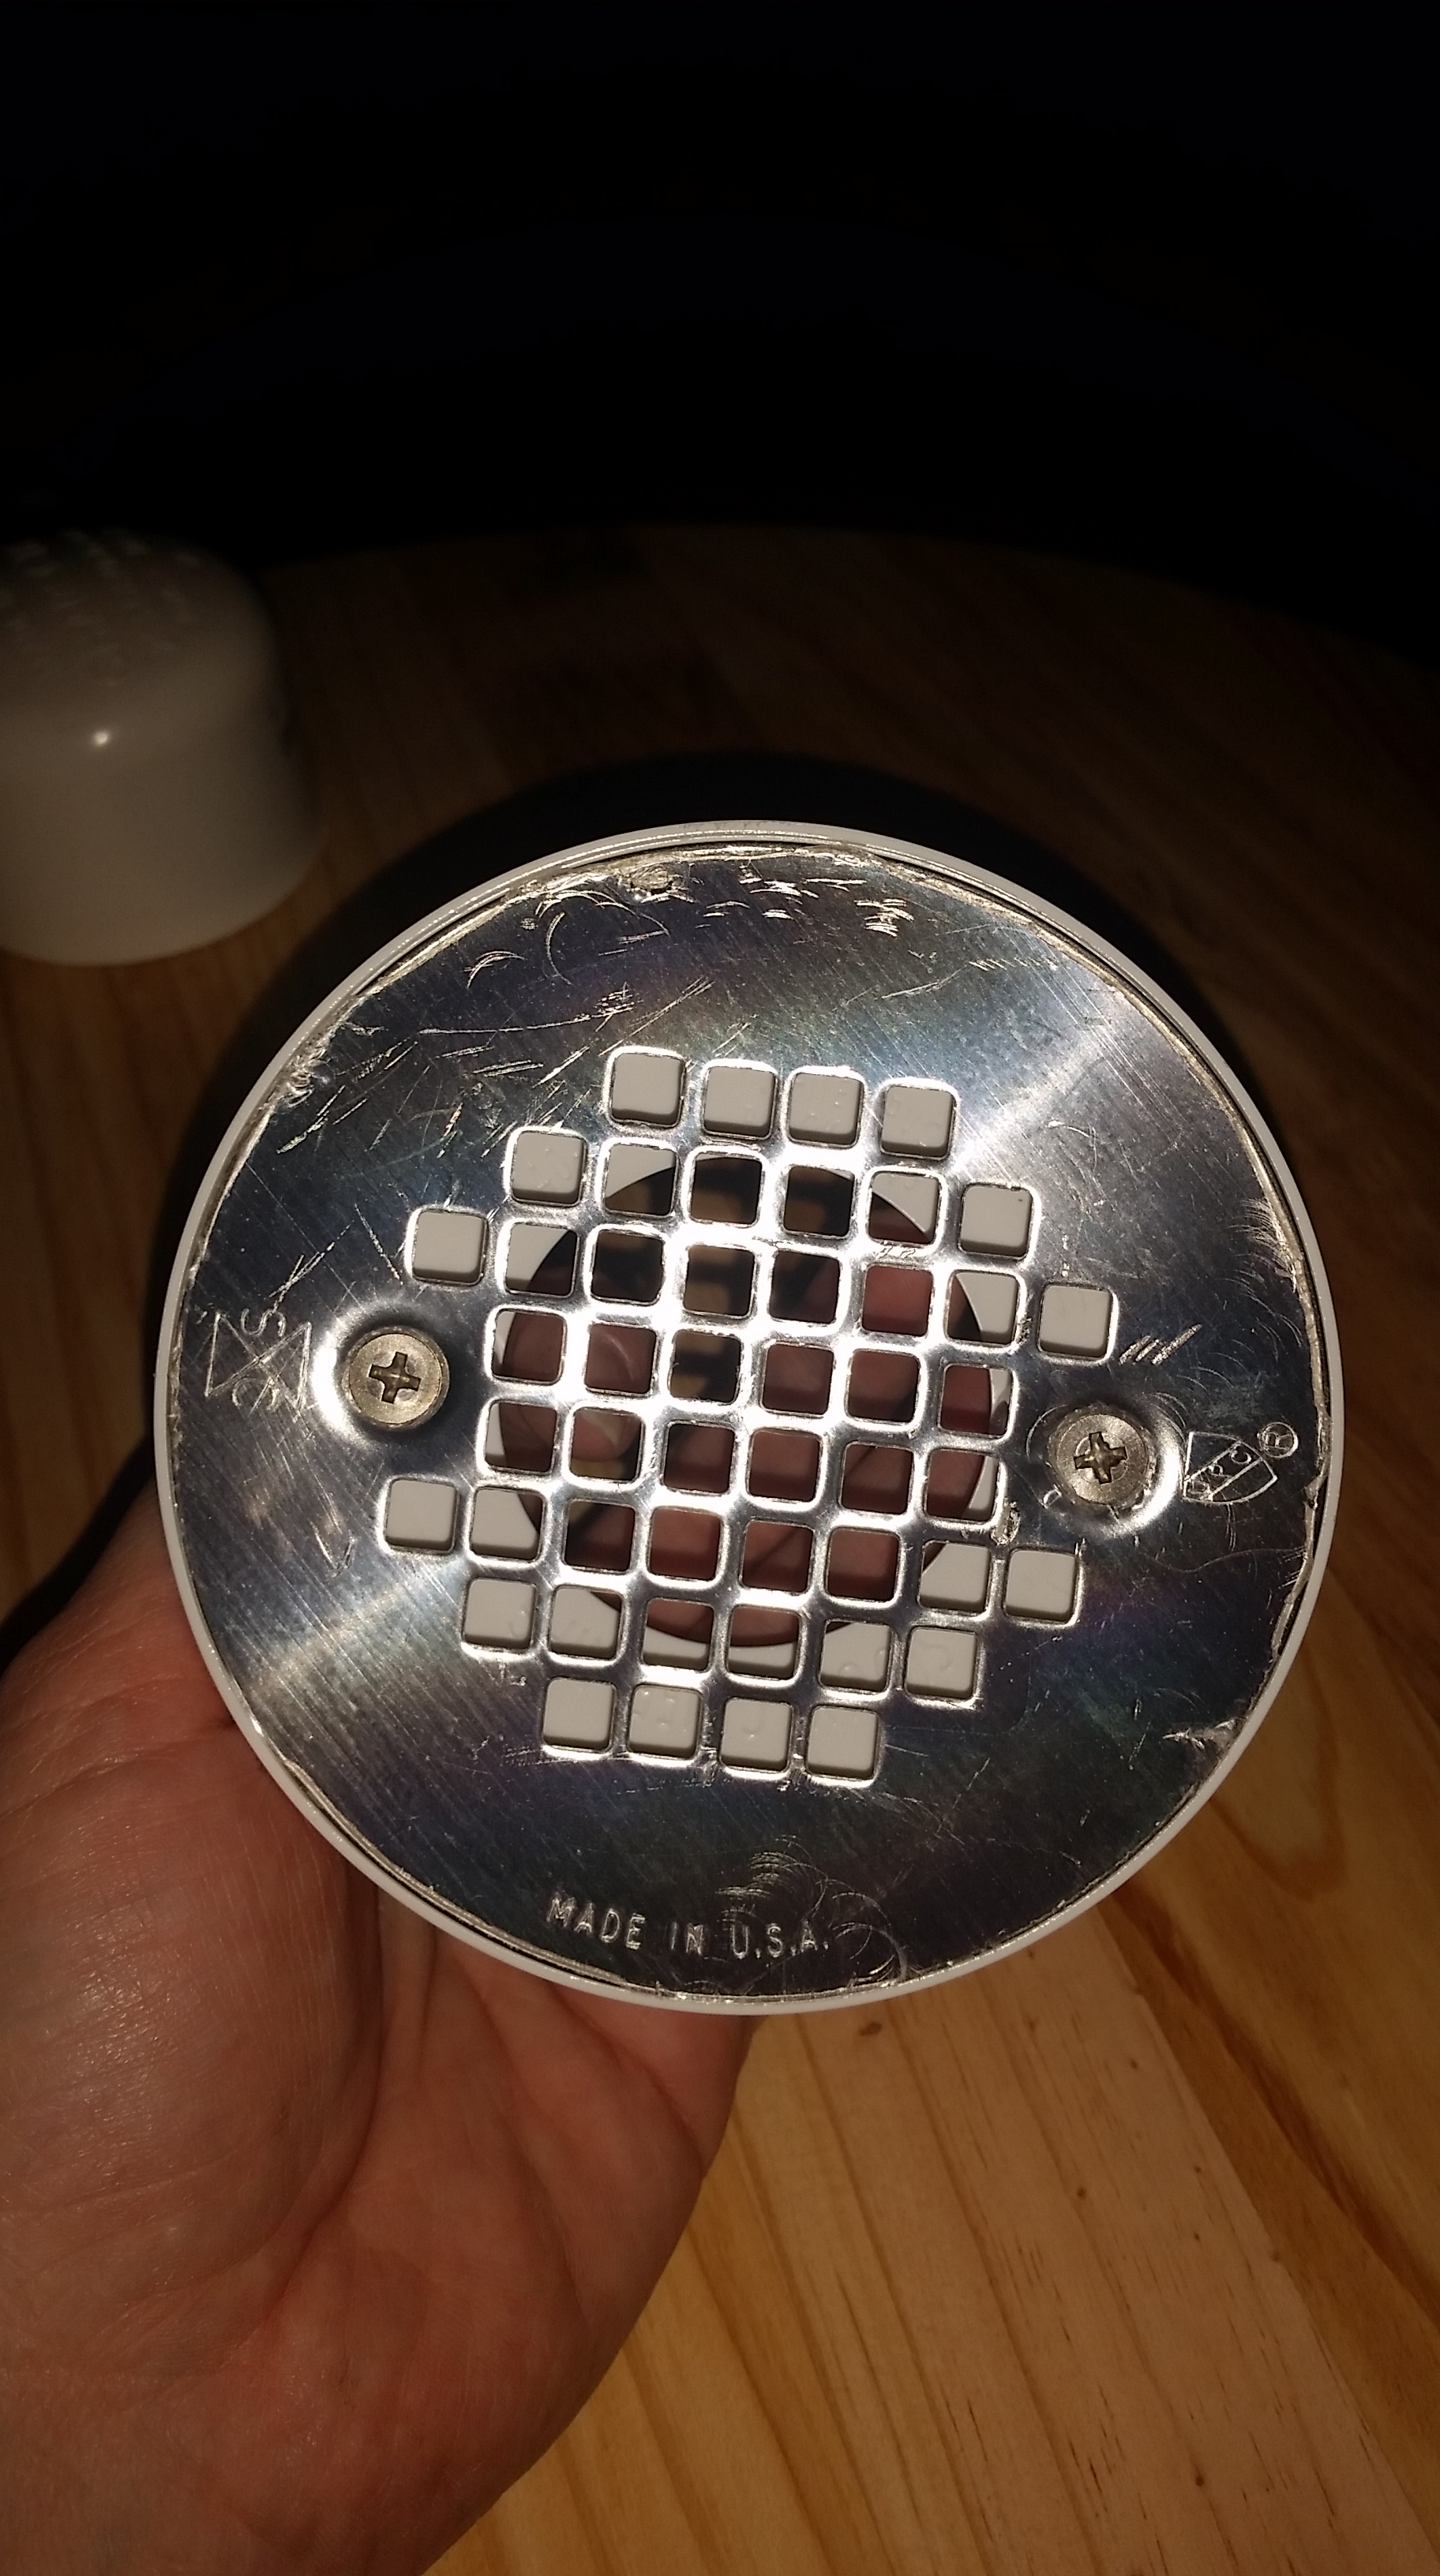
The awesome drain that makes this project really easy
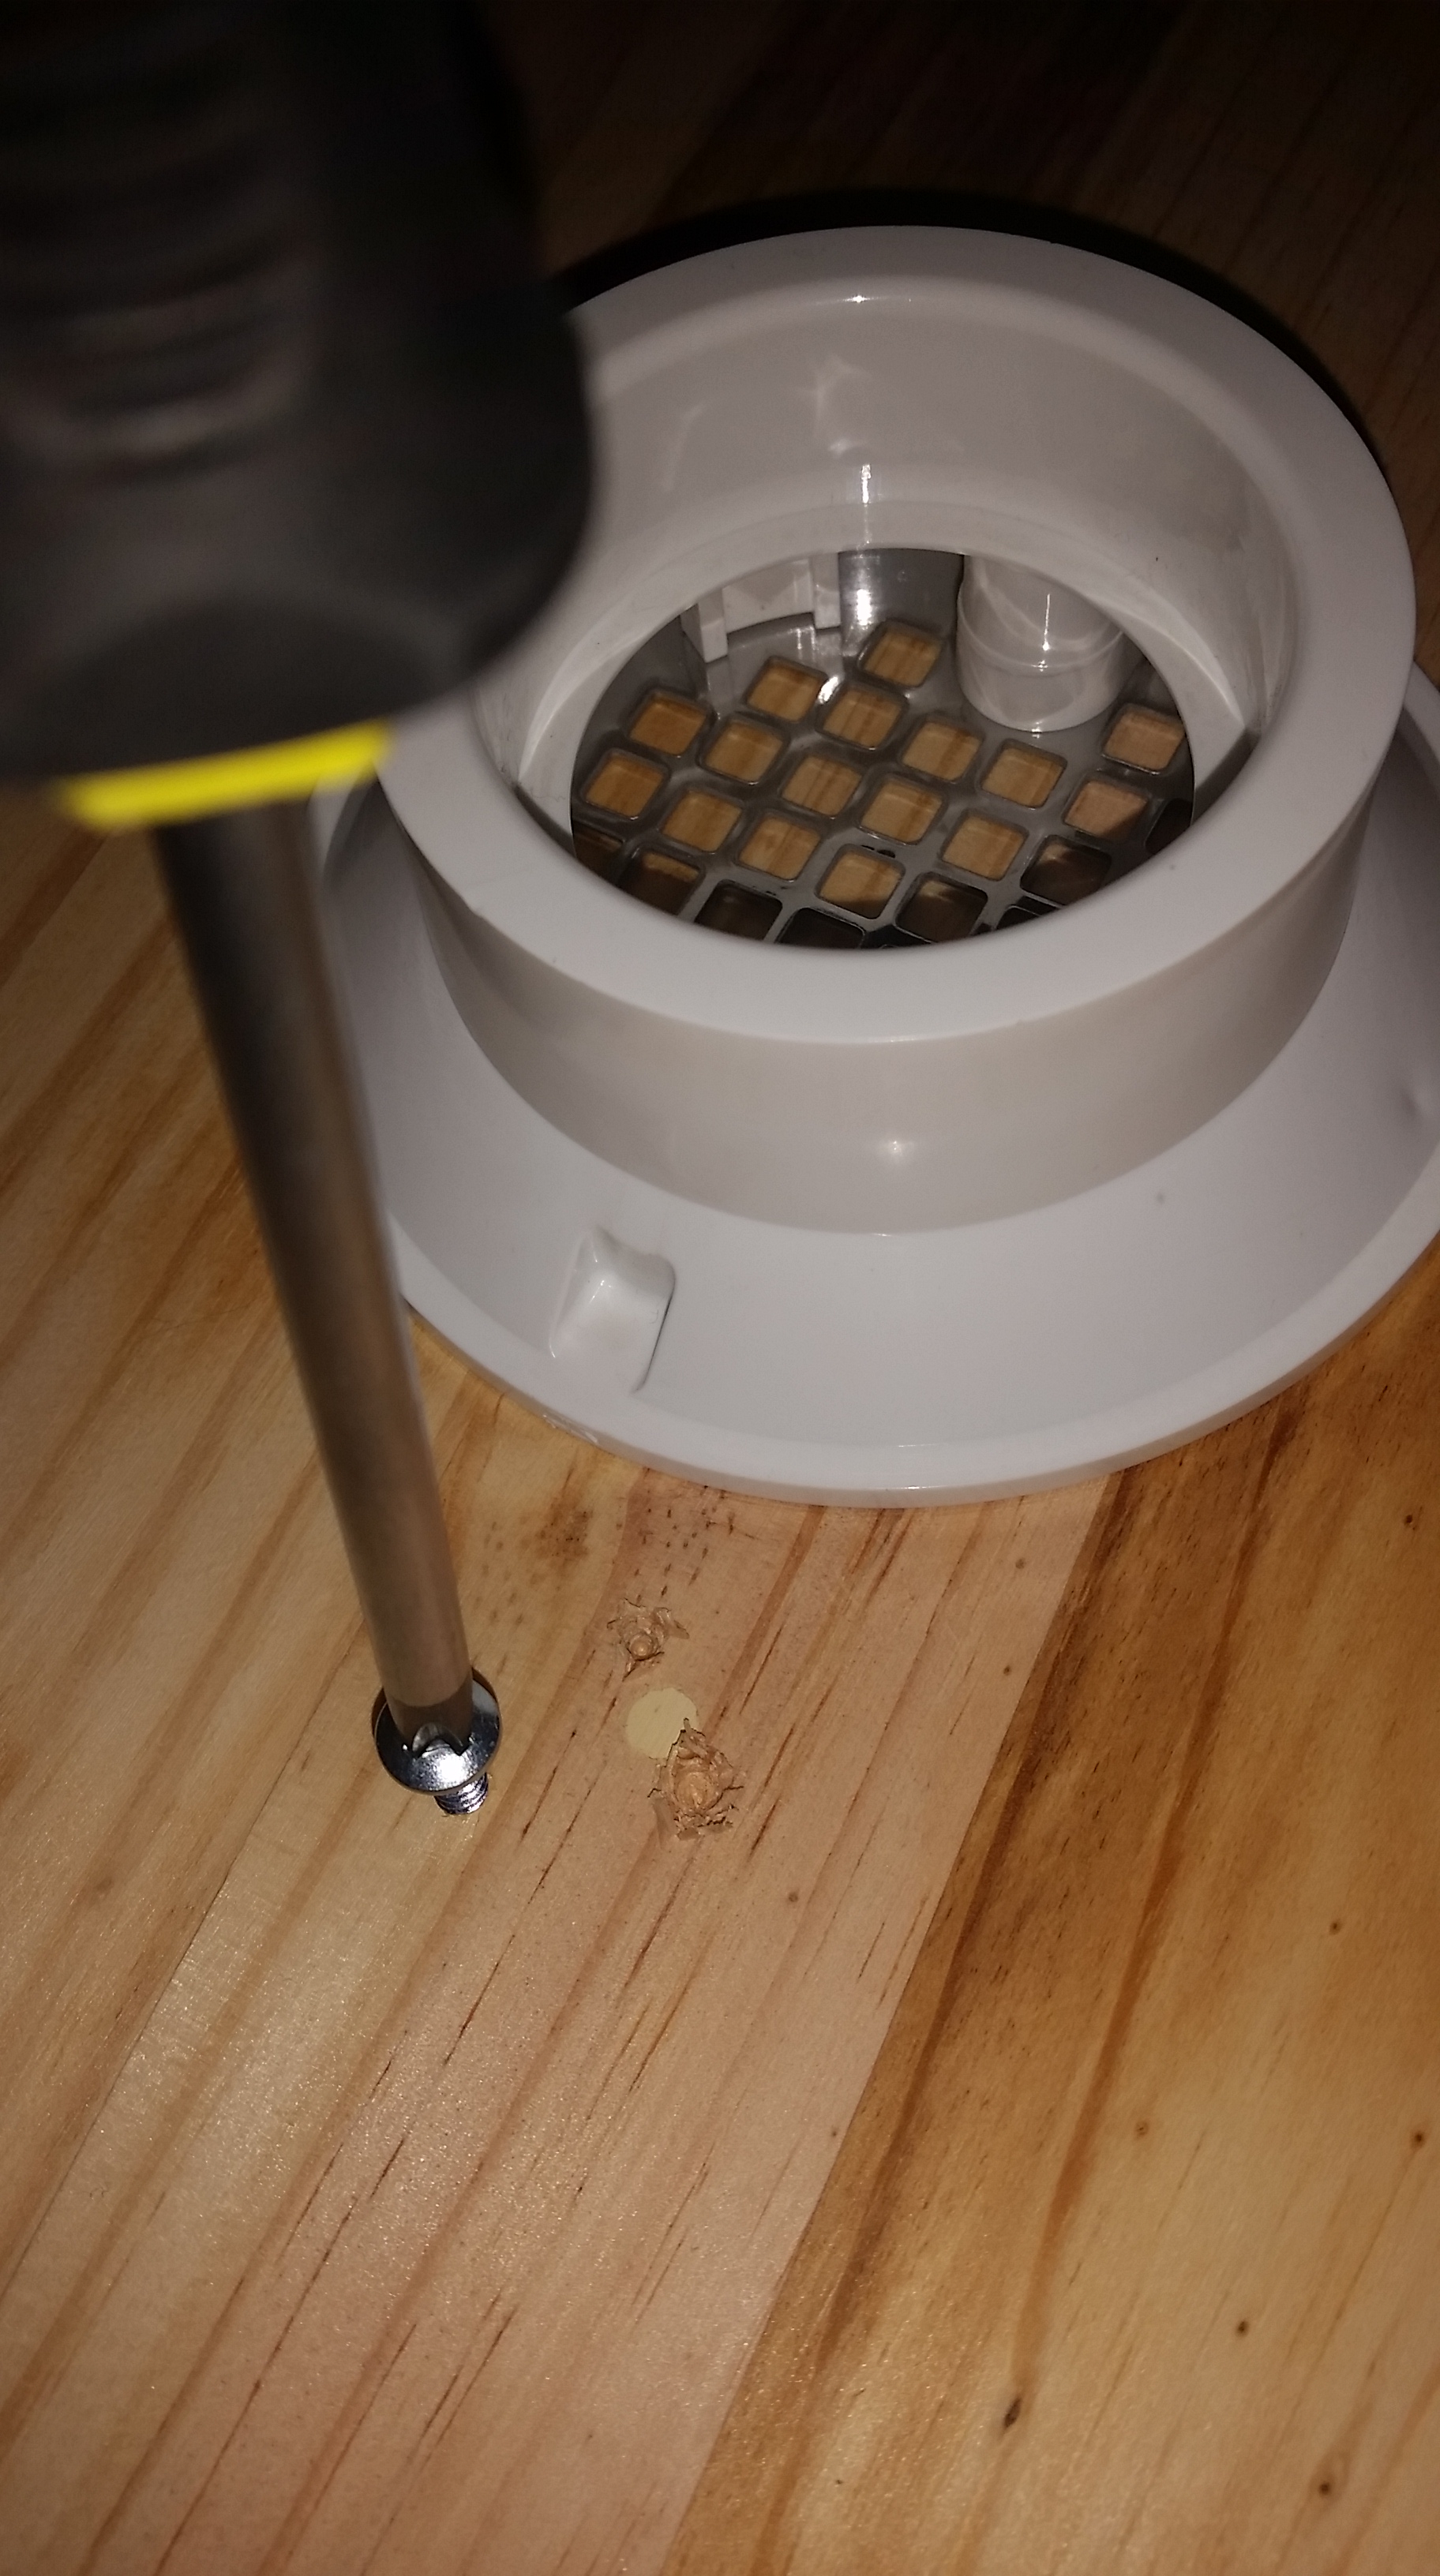
Starting the screws
The round wooden piece actually has a little light colored plug to tell you where the middle is (once again, I measured to make sure). Once I had my center, I aligned the middle of the drain with the center of the wood. I used a screw to poke through the holes where I felt they would hold the drain in best, then moved the drain and started each screw. Sure, you could screw them straight through, but this helped alleviate any issues I might have with the drain moving out of place on me.
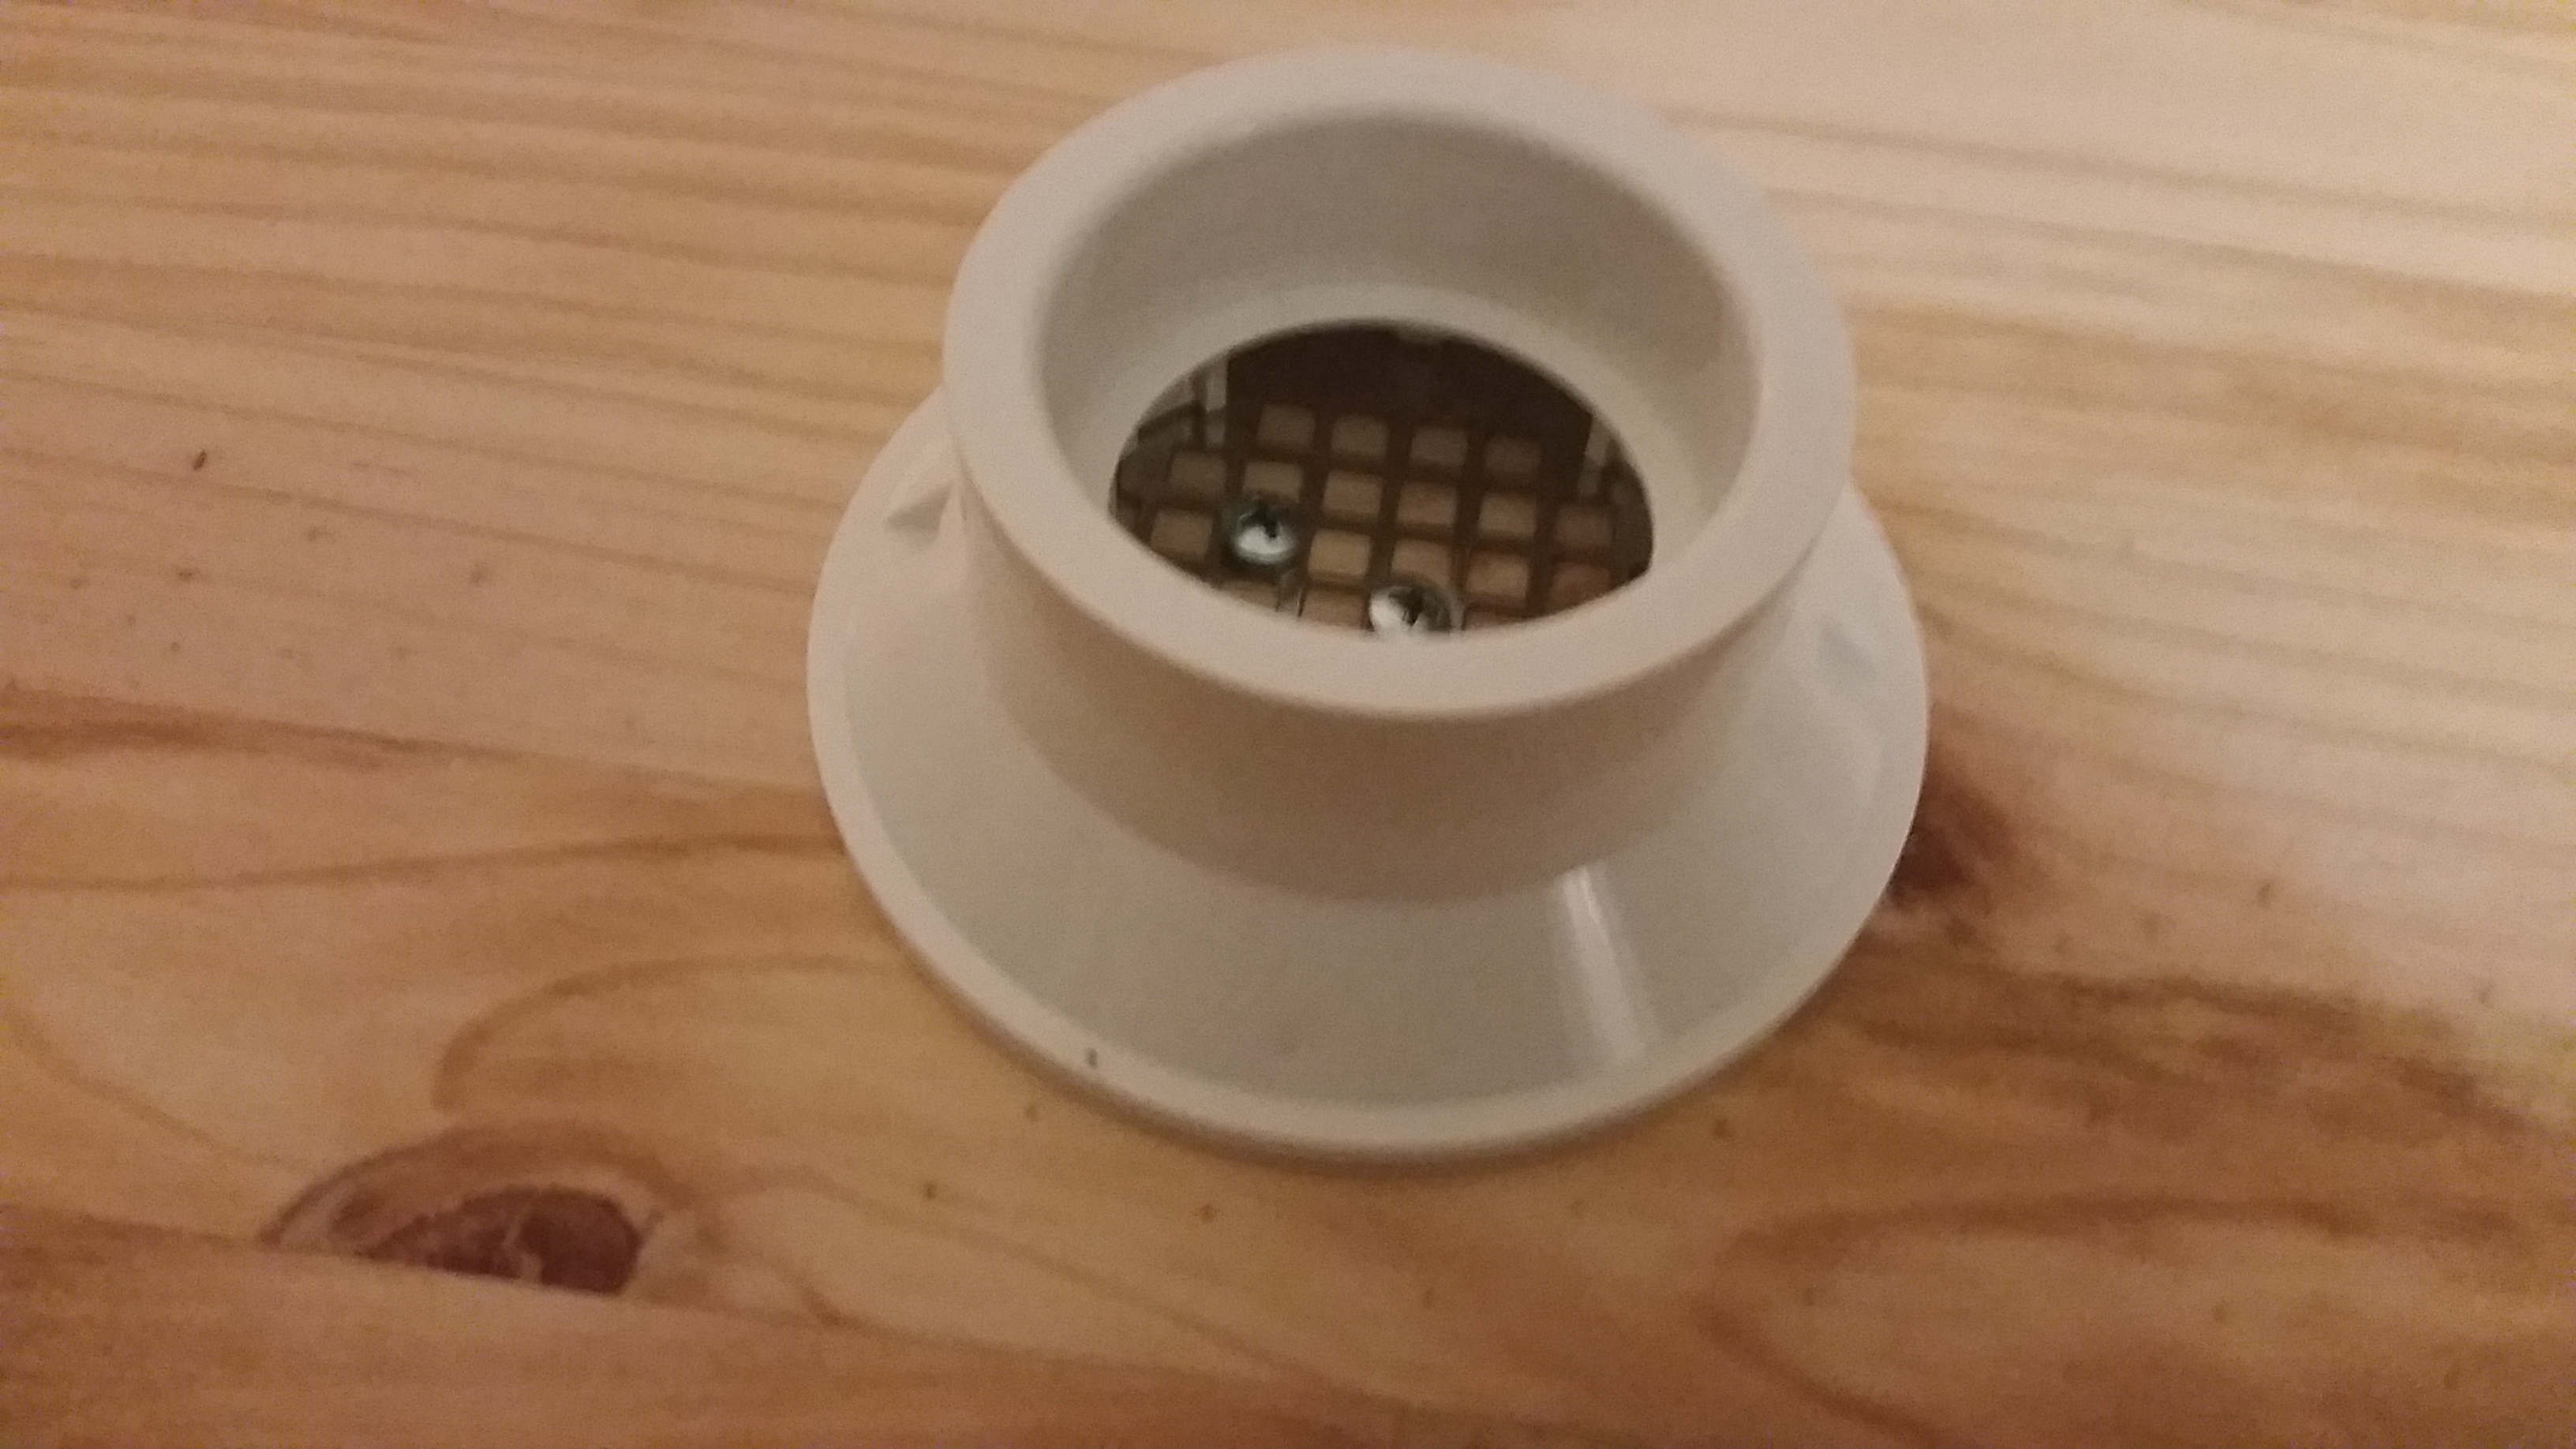
All screwed in!
My videos will show how I screwed in the drain a bit better than this photo. But they’re in a diamond shape. And I only used four screws, six just seemed like over kill 😉
Before I started the rope, I put all my pieces together, including the cap and marked with a pencil where I needed to start the rope. Loctite glue doesn’t play around, so I wanted to make sure I left enough space at the top and bottom to insert back into the other peices.
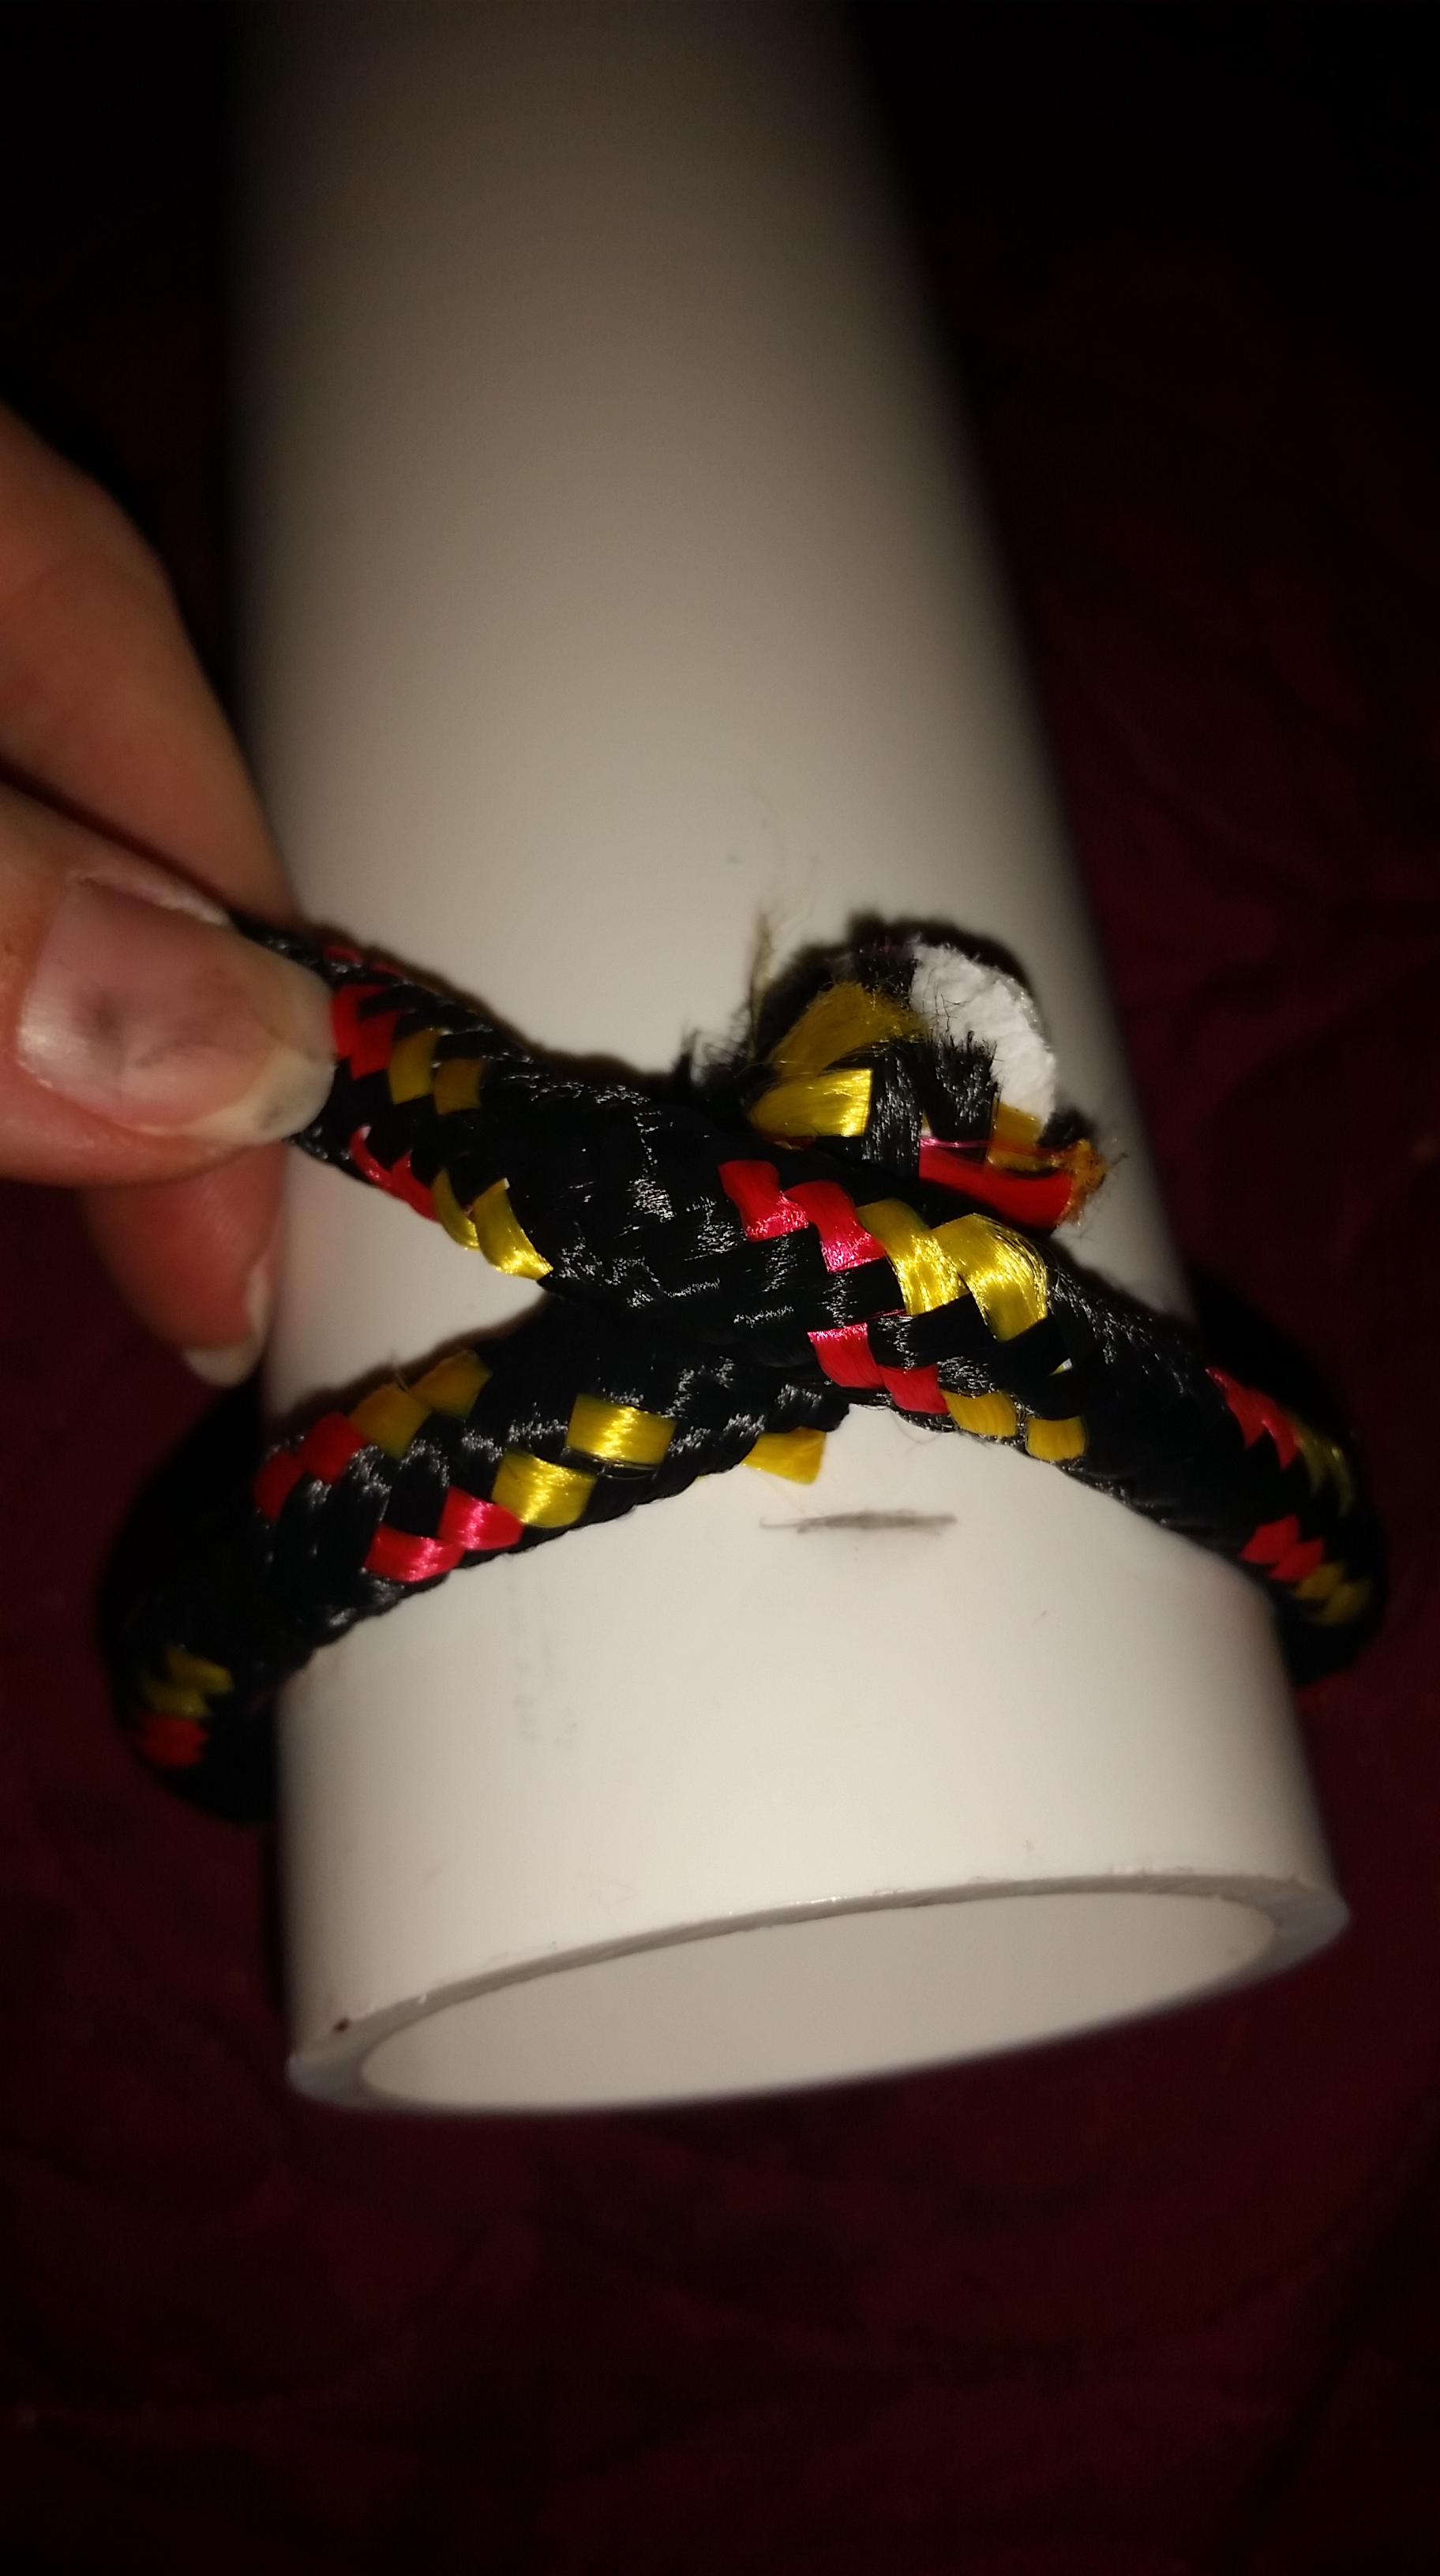
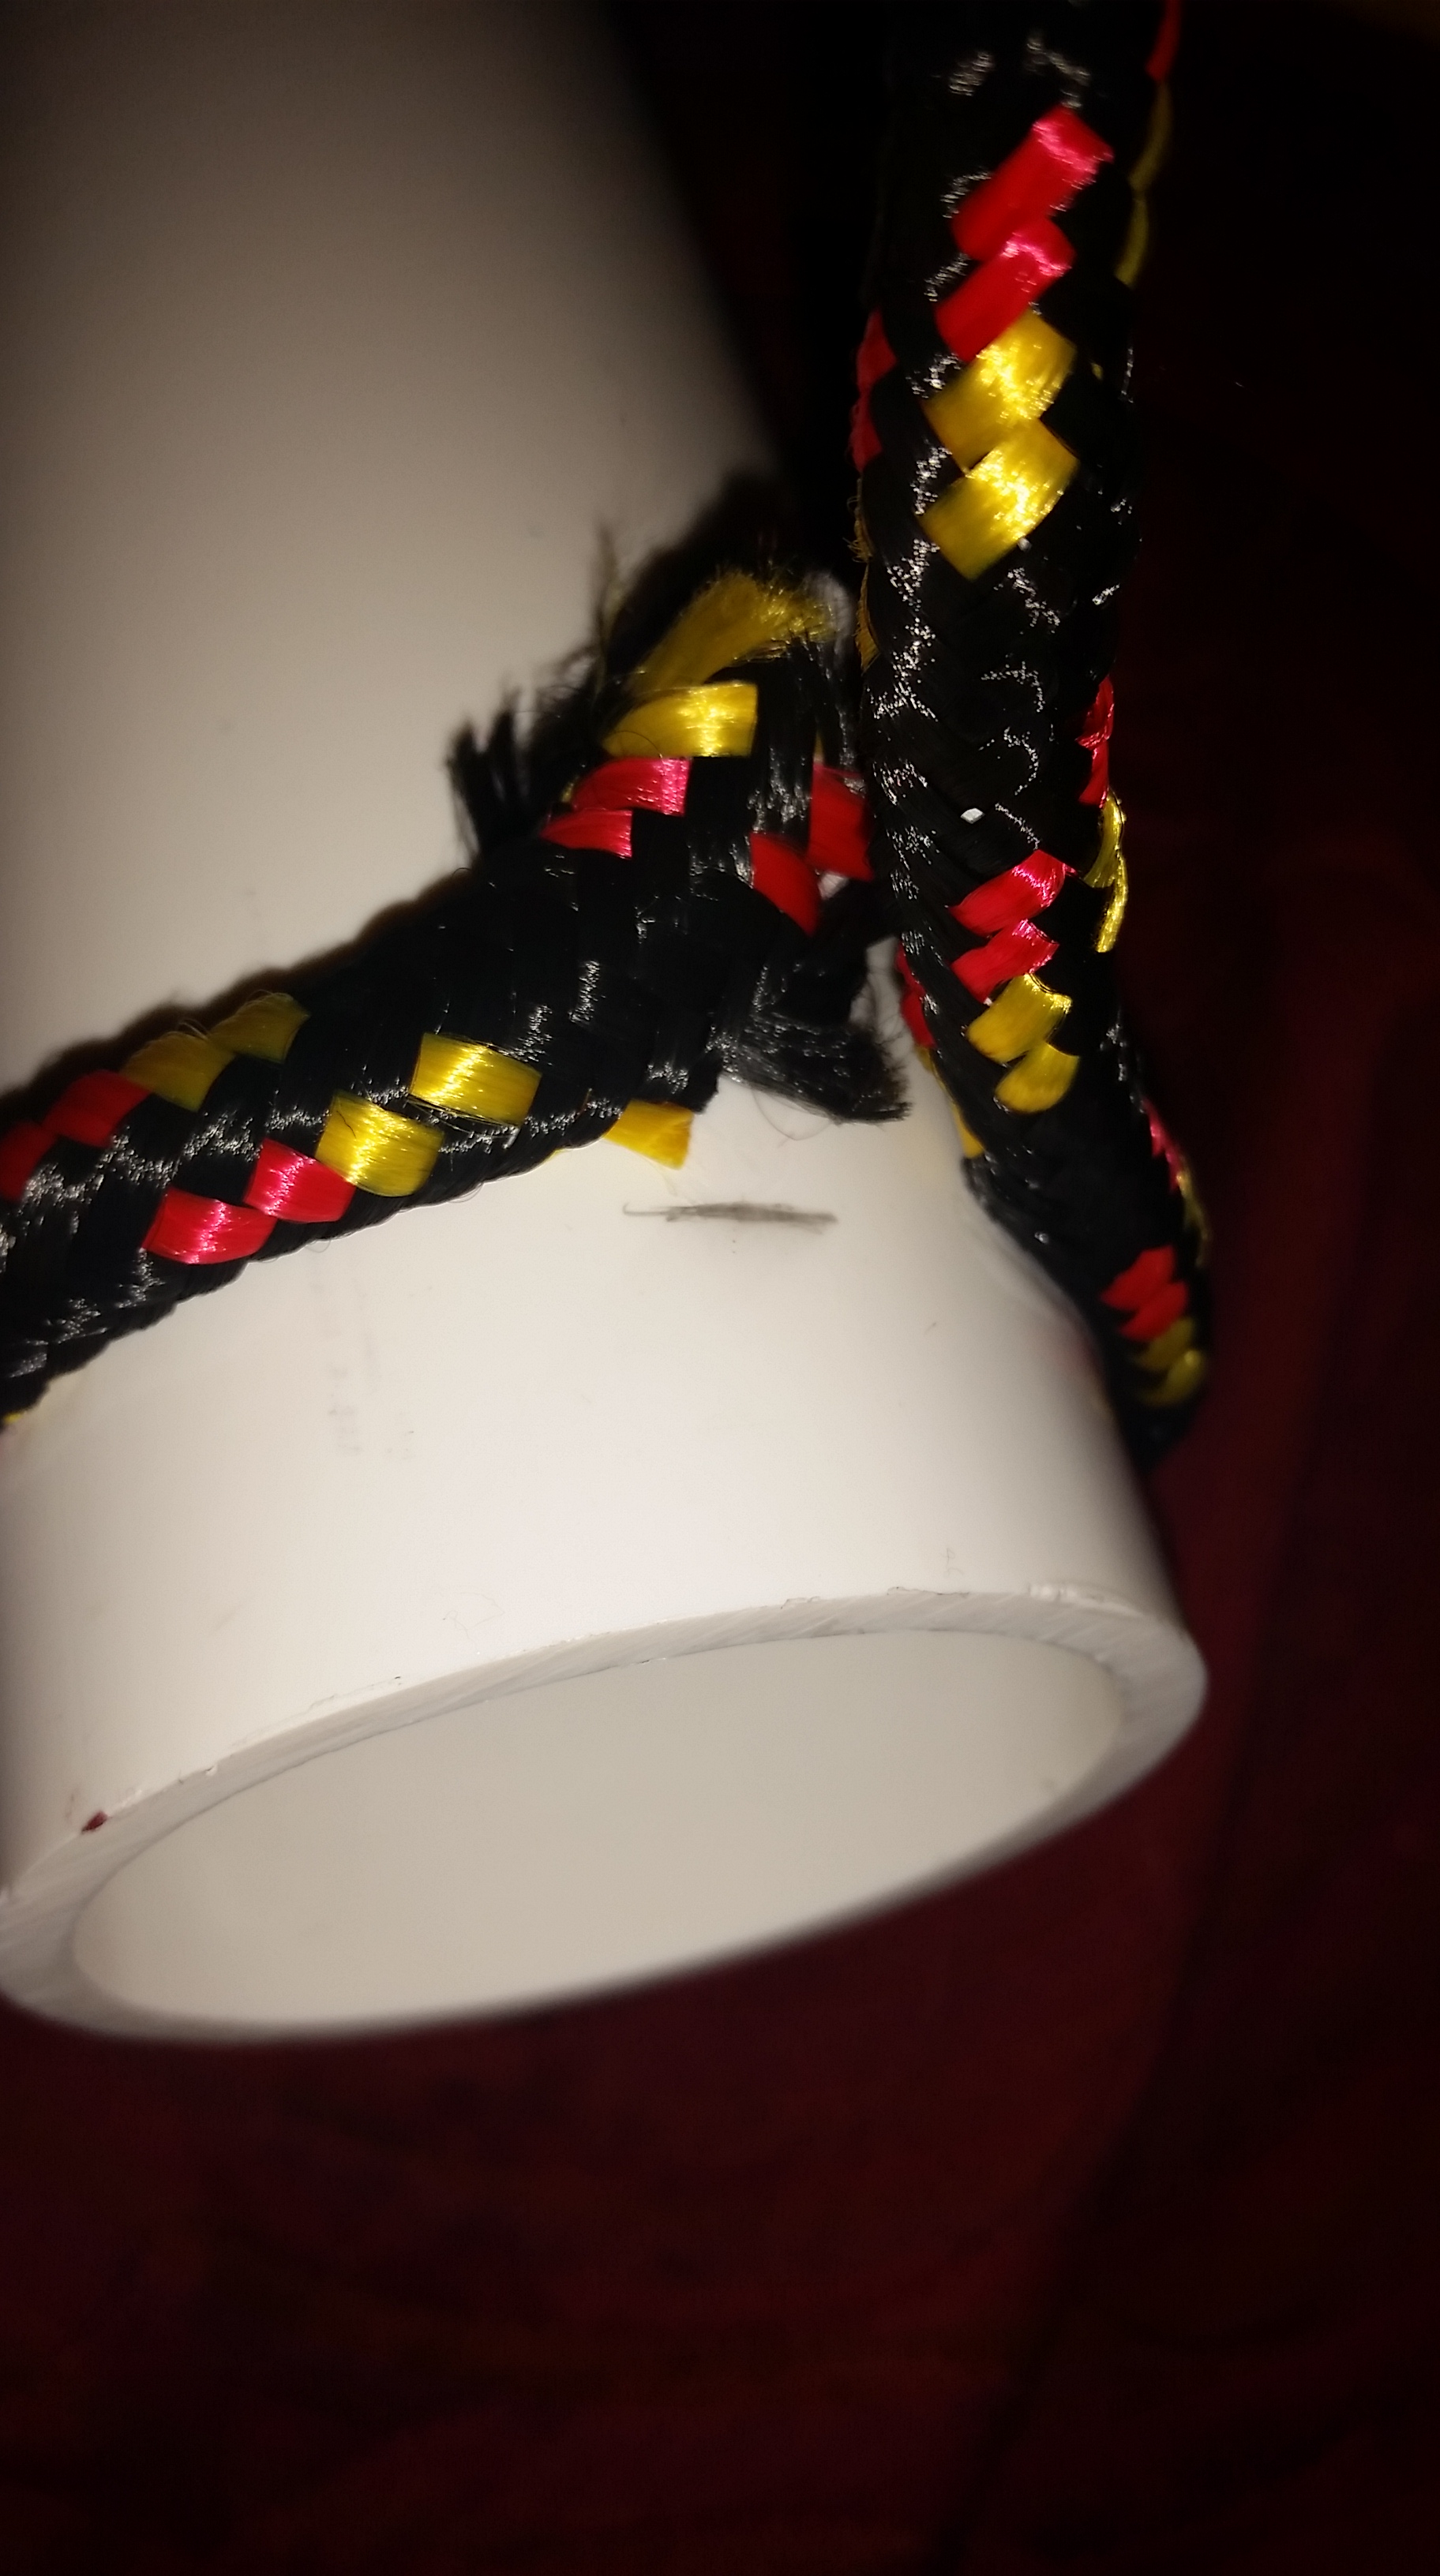
Starting the rope.
To start the rope, I put a little bit of glue slightly above my mark and attached the end. Loctite sets up pretty quickly. Once securely in place, I started wrapping the rope around and over the end.
I intermittently drew long lines of glue as I wrapped the rope over the PVC.
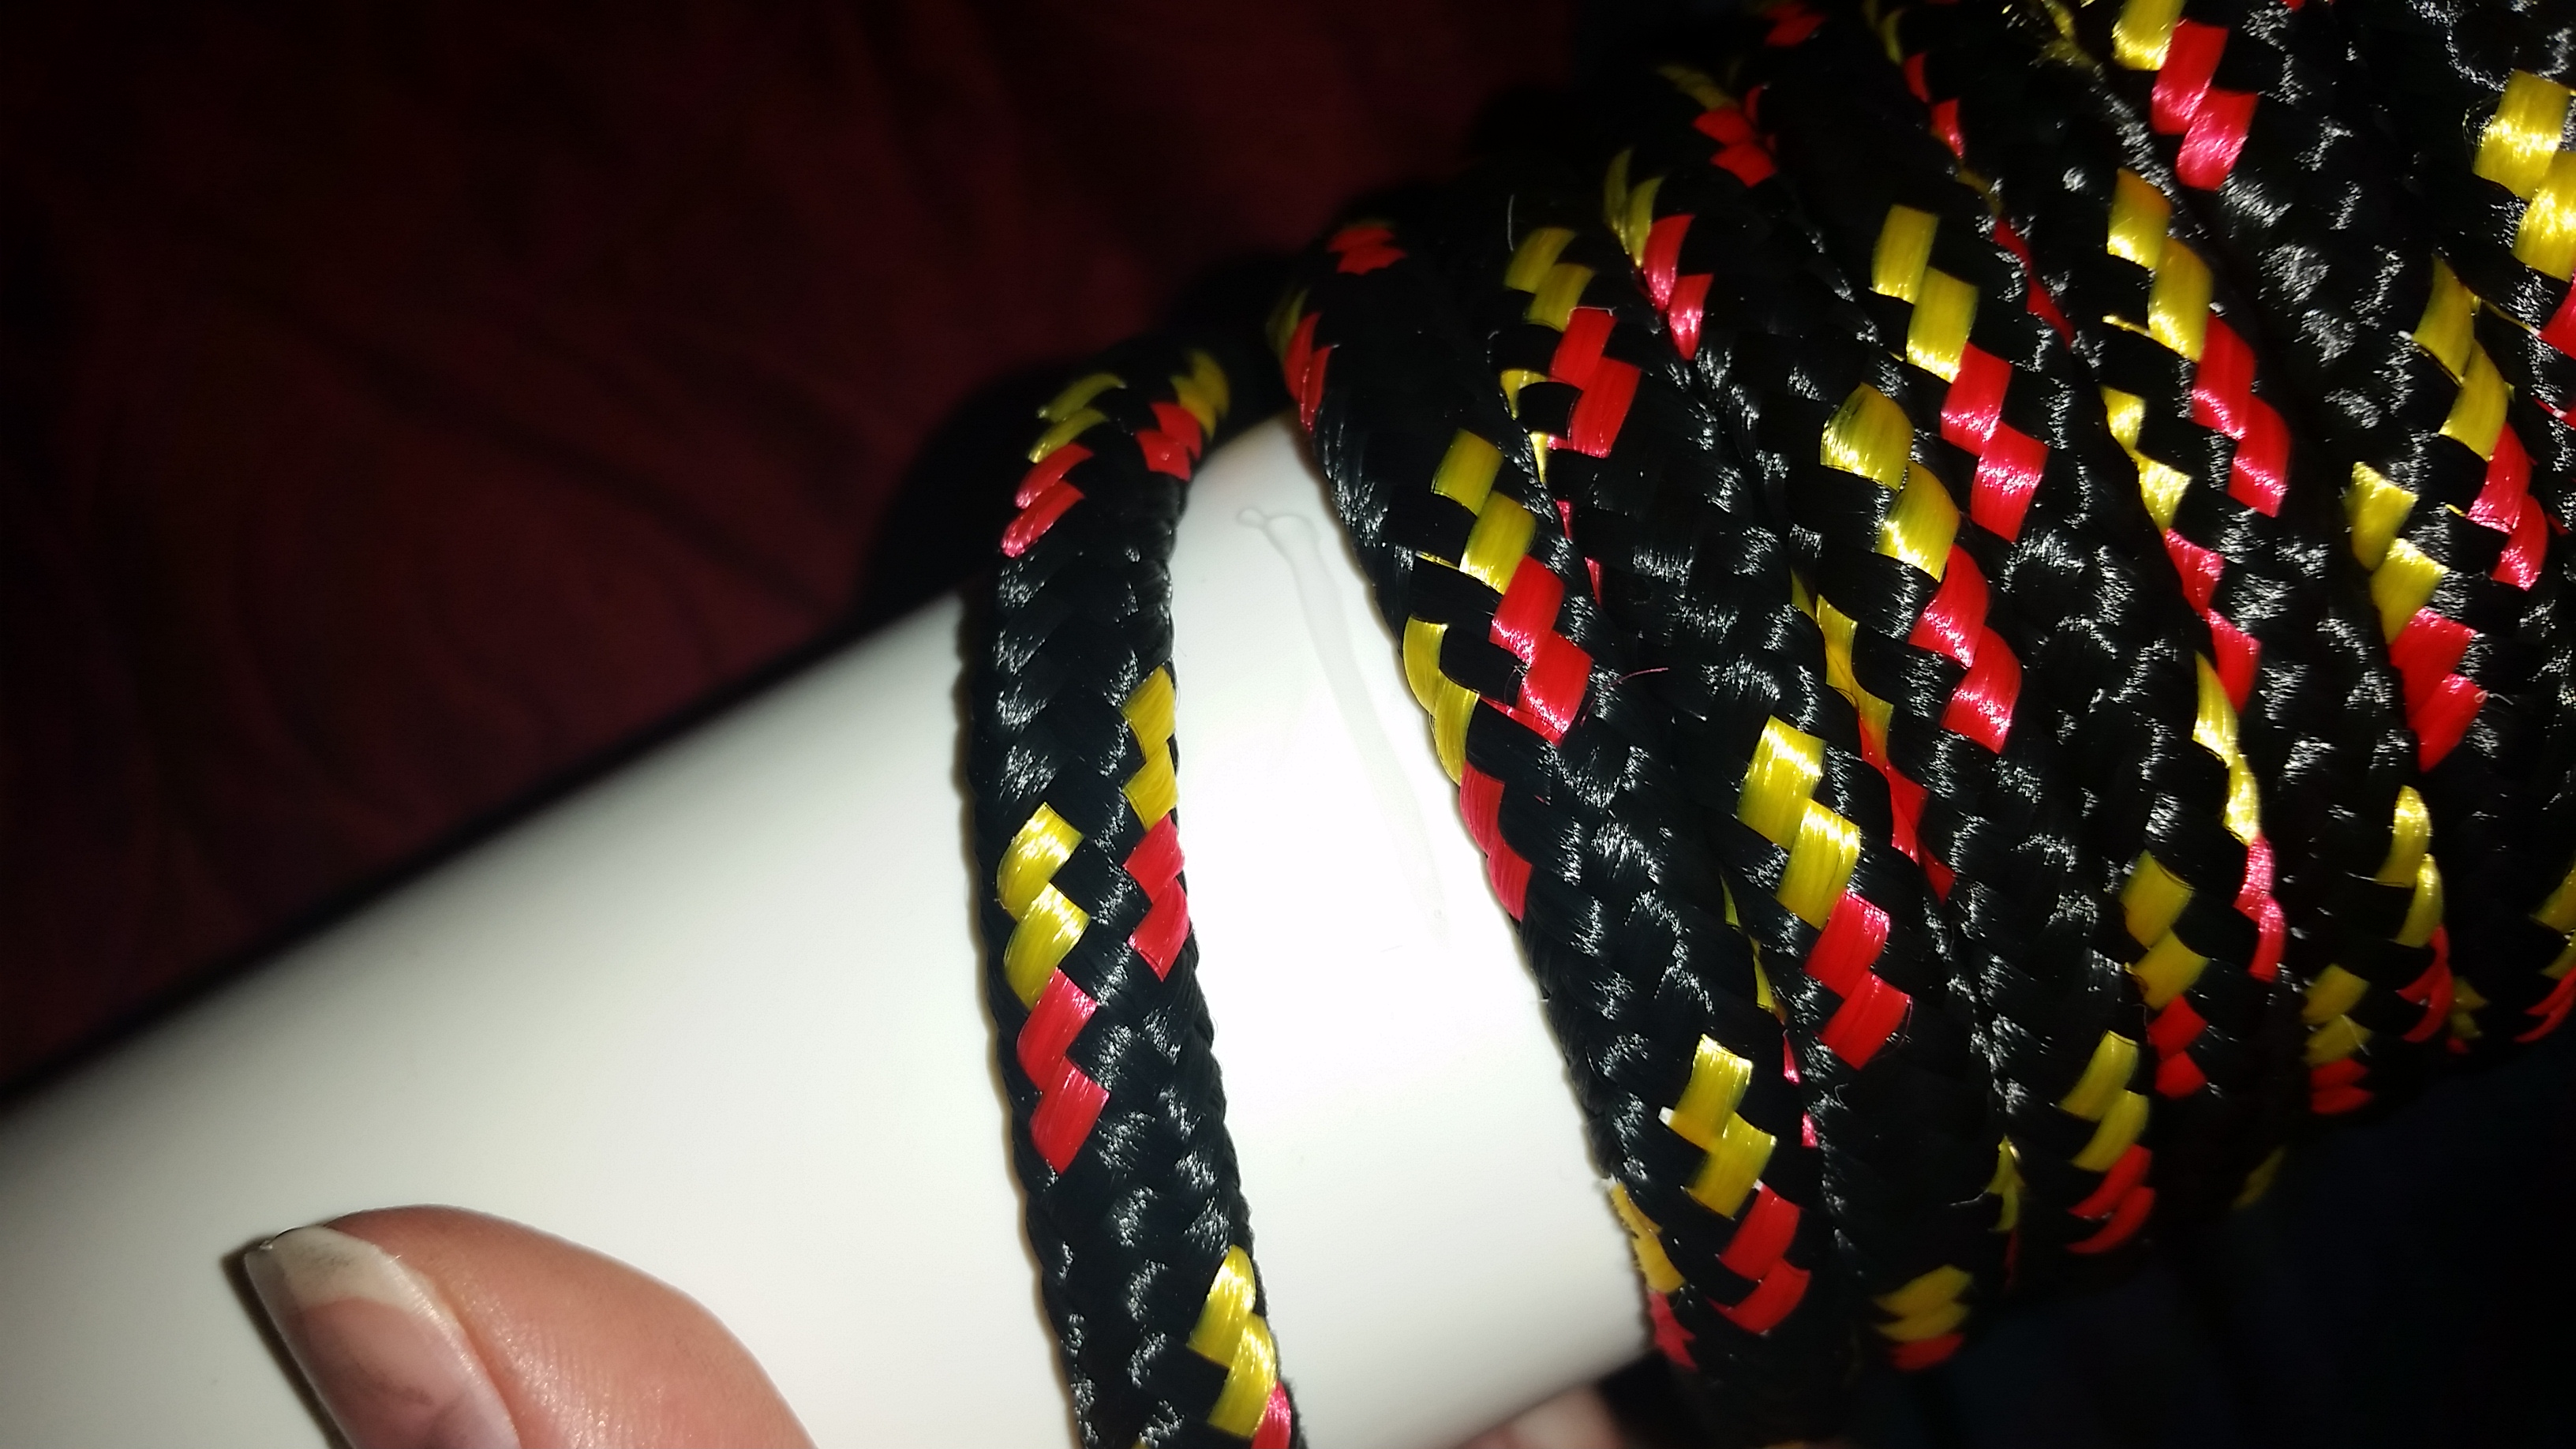
I swear there is a streak of glue here somewhere…
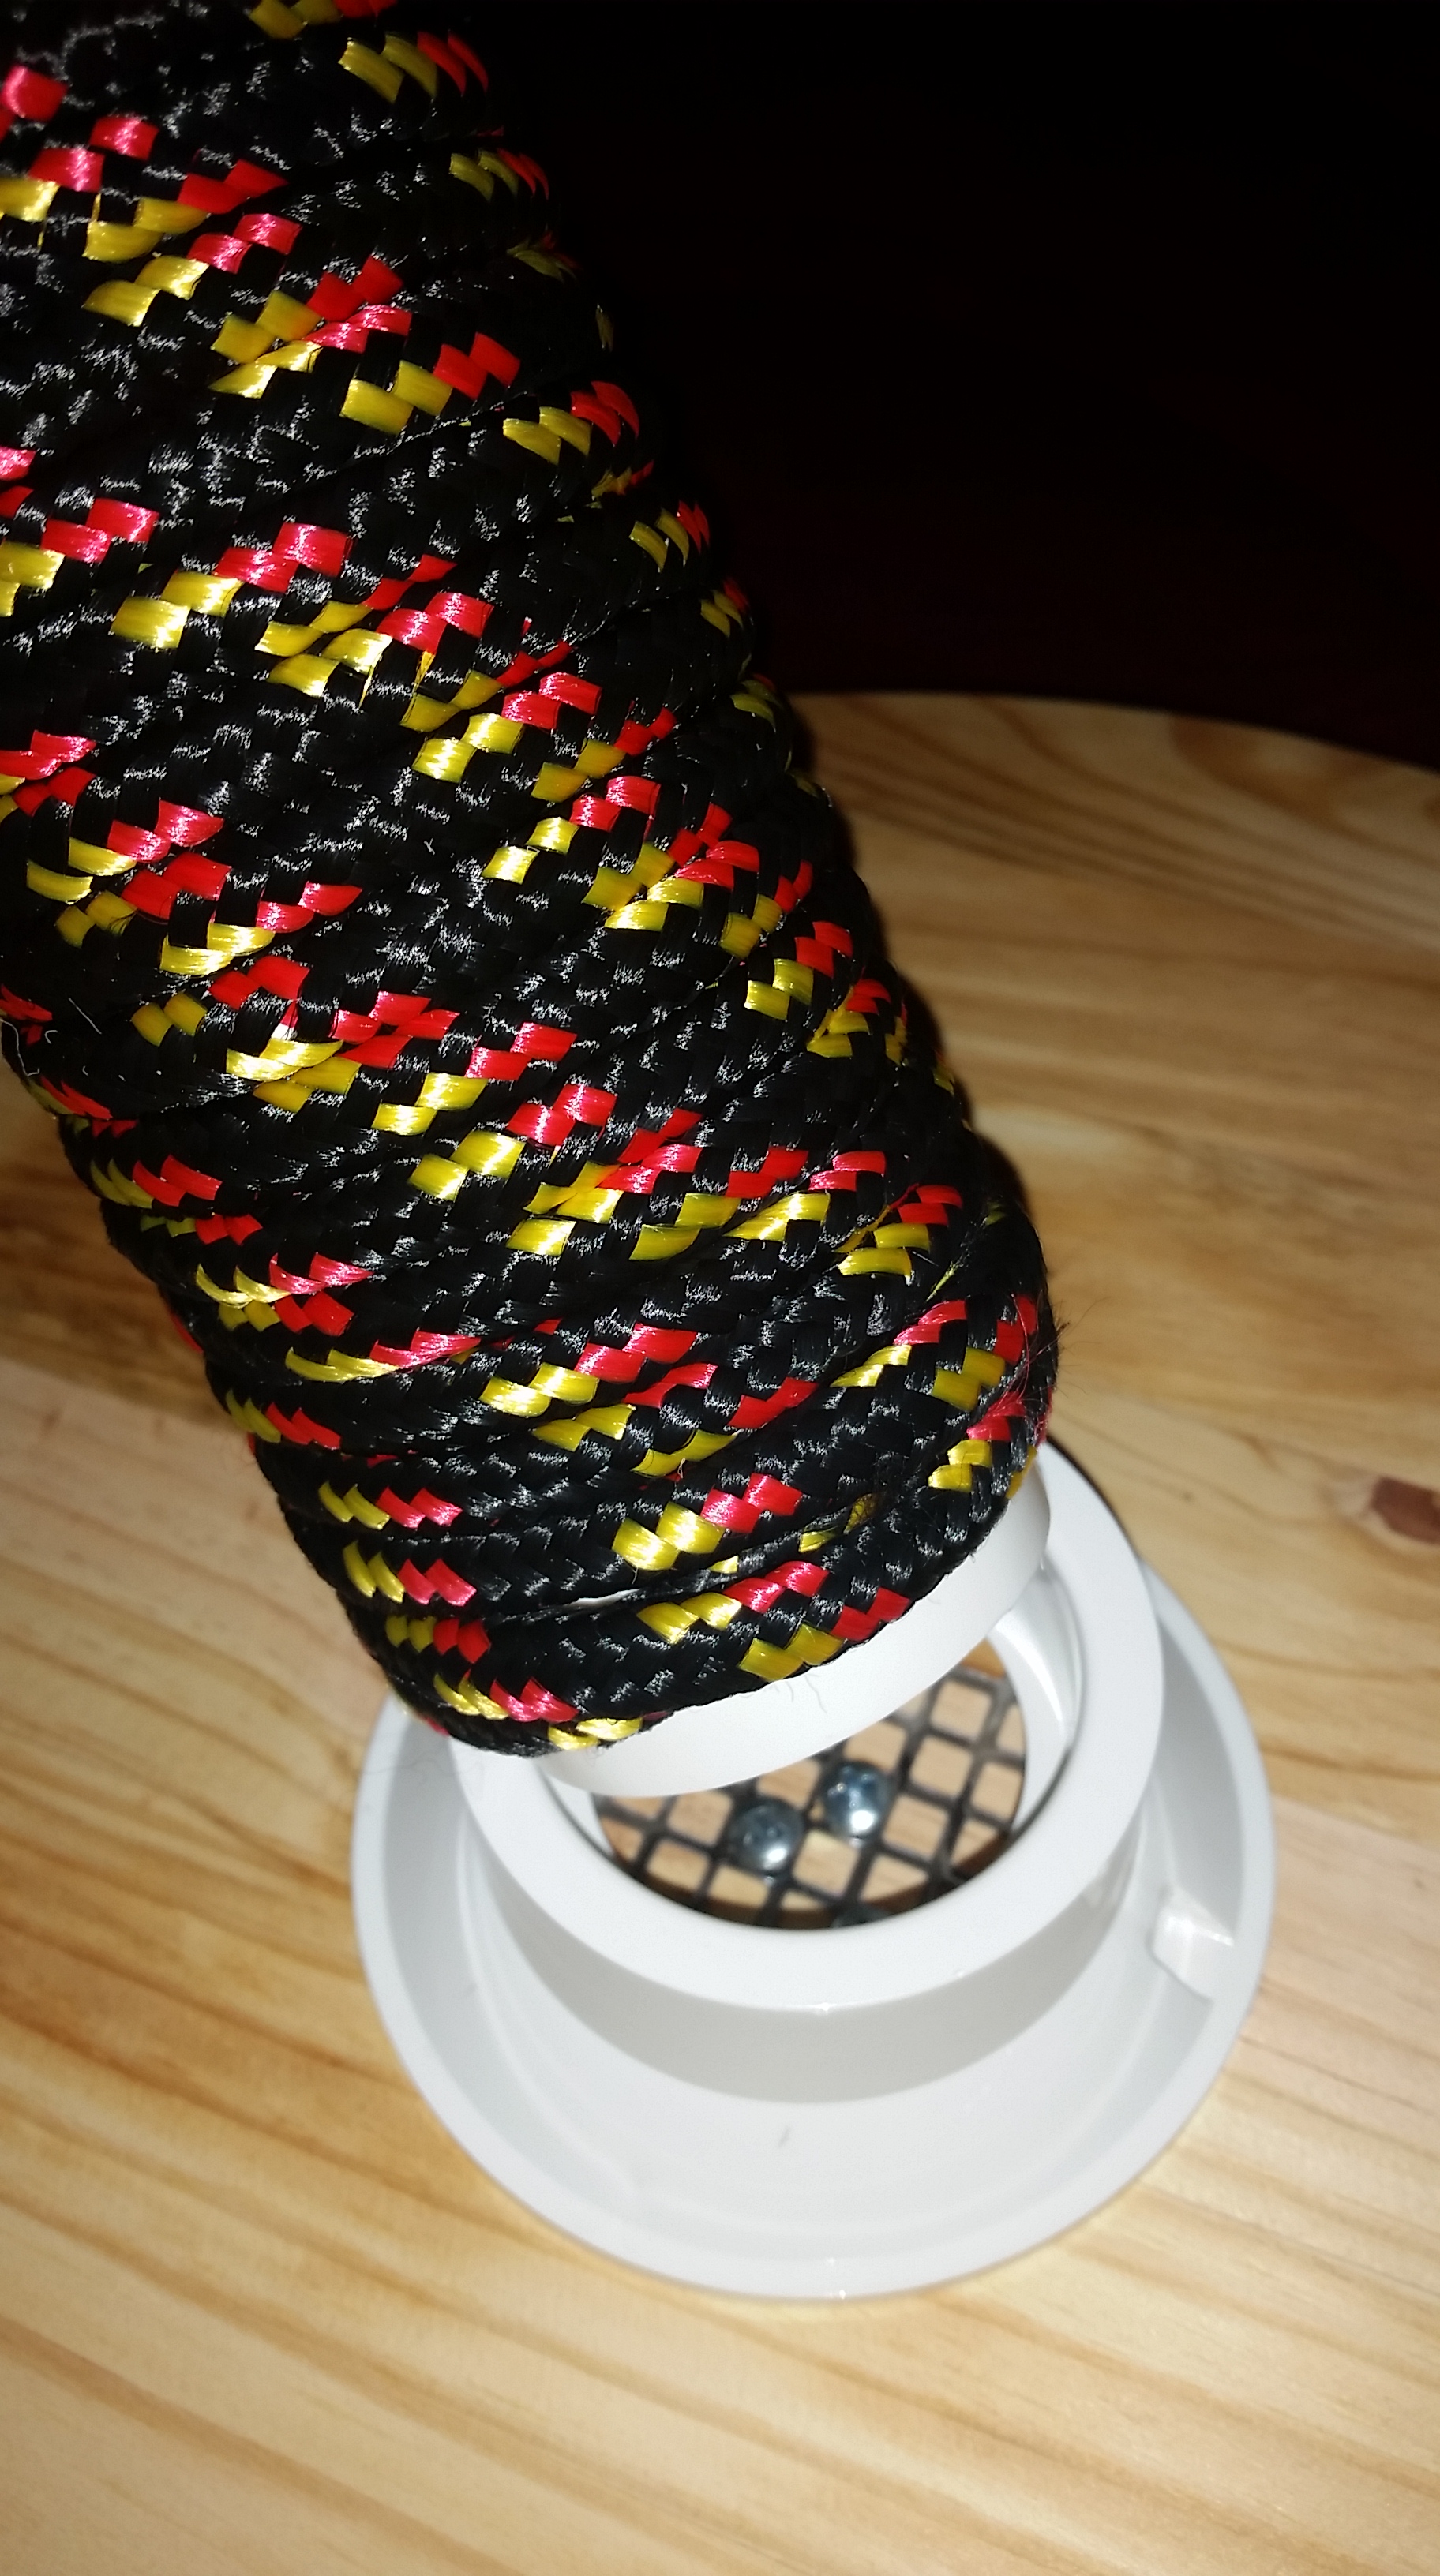
Once I got to the top, I tucked the rope back under and twisted everything into place. I used the screwdriver to tuck the rope before I glued it into place:


The rope was the most time consuming part of this project (other than wandering aimlessly around Home Deopt wondering where on earth to start).
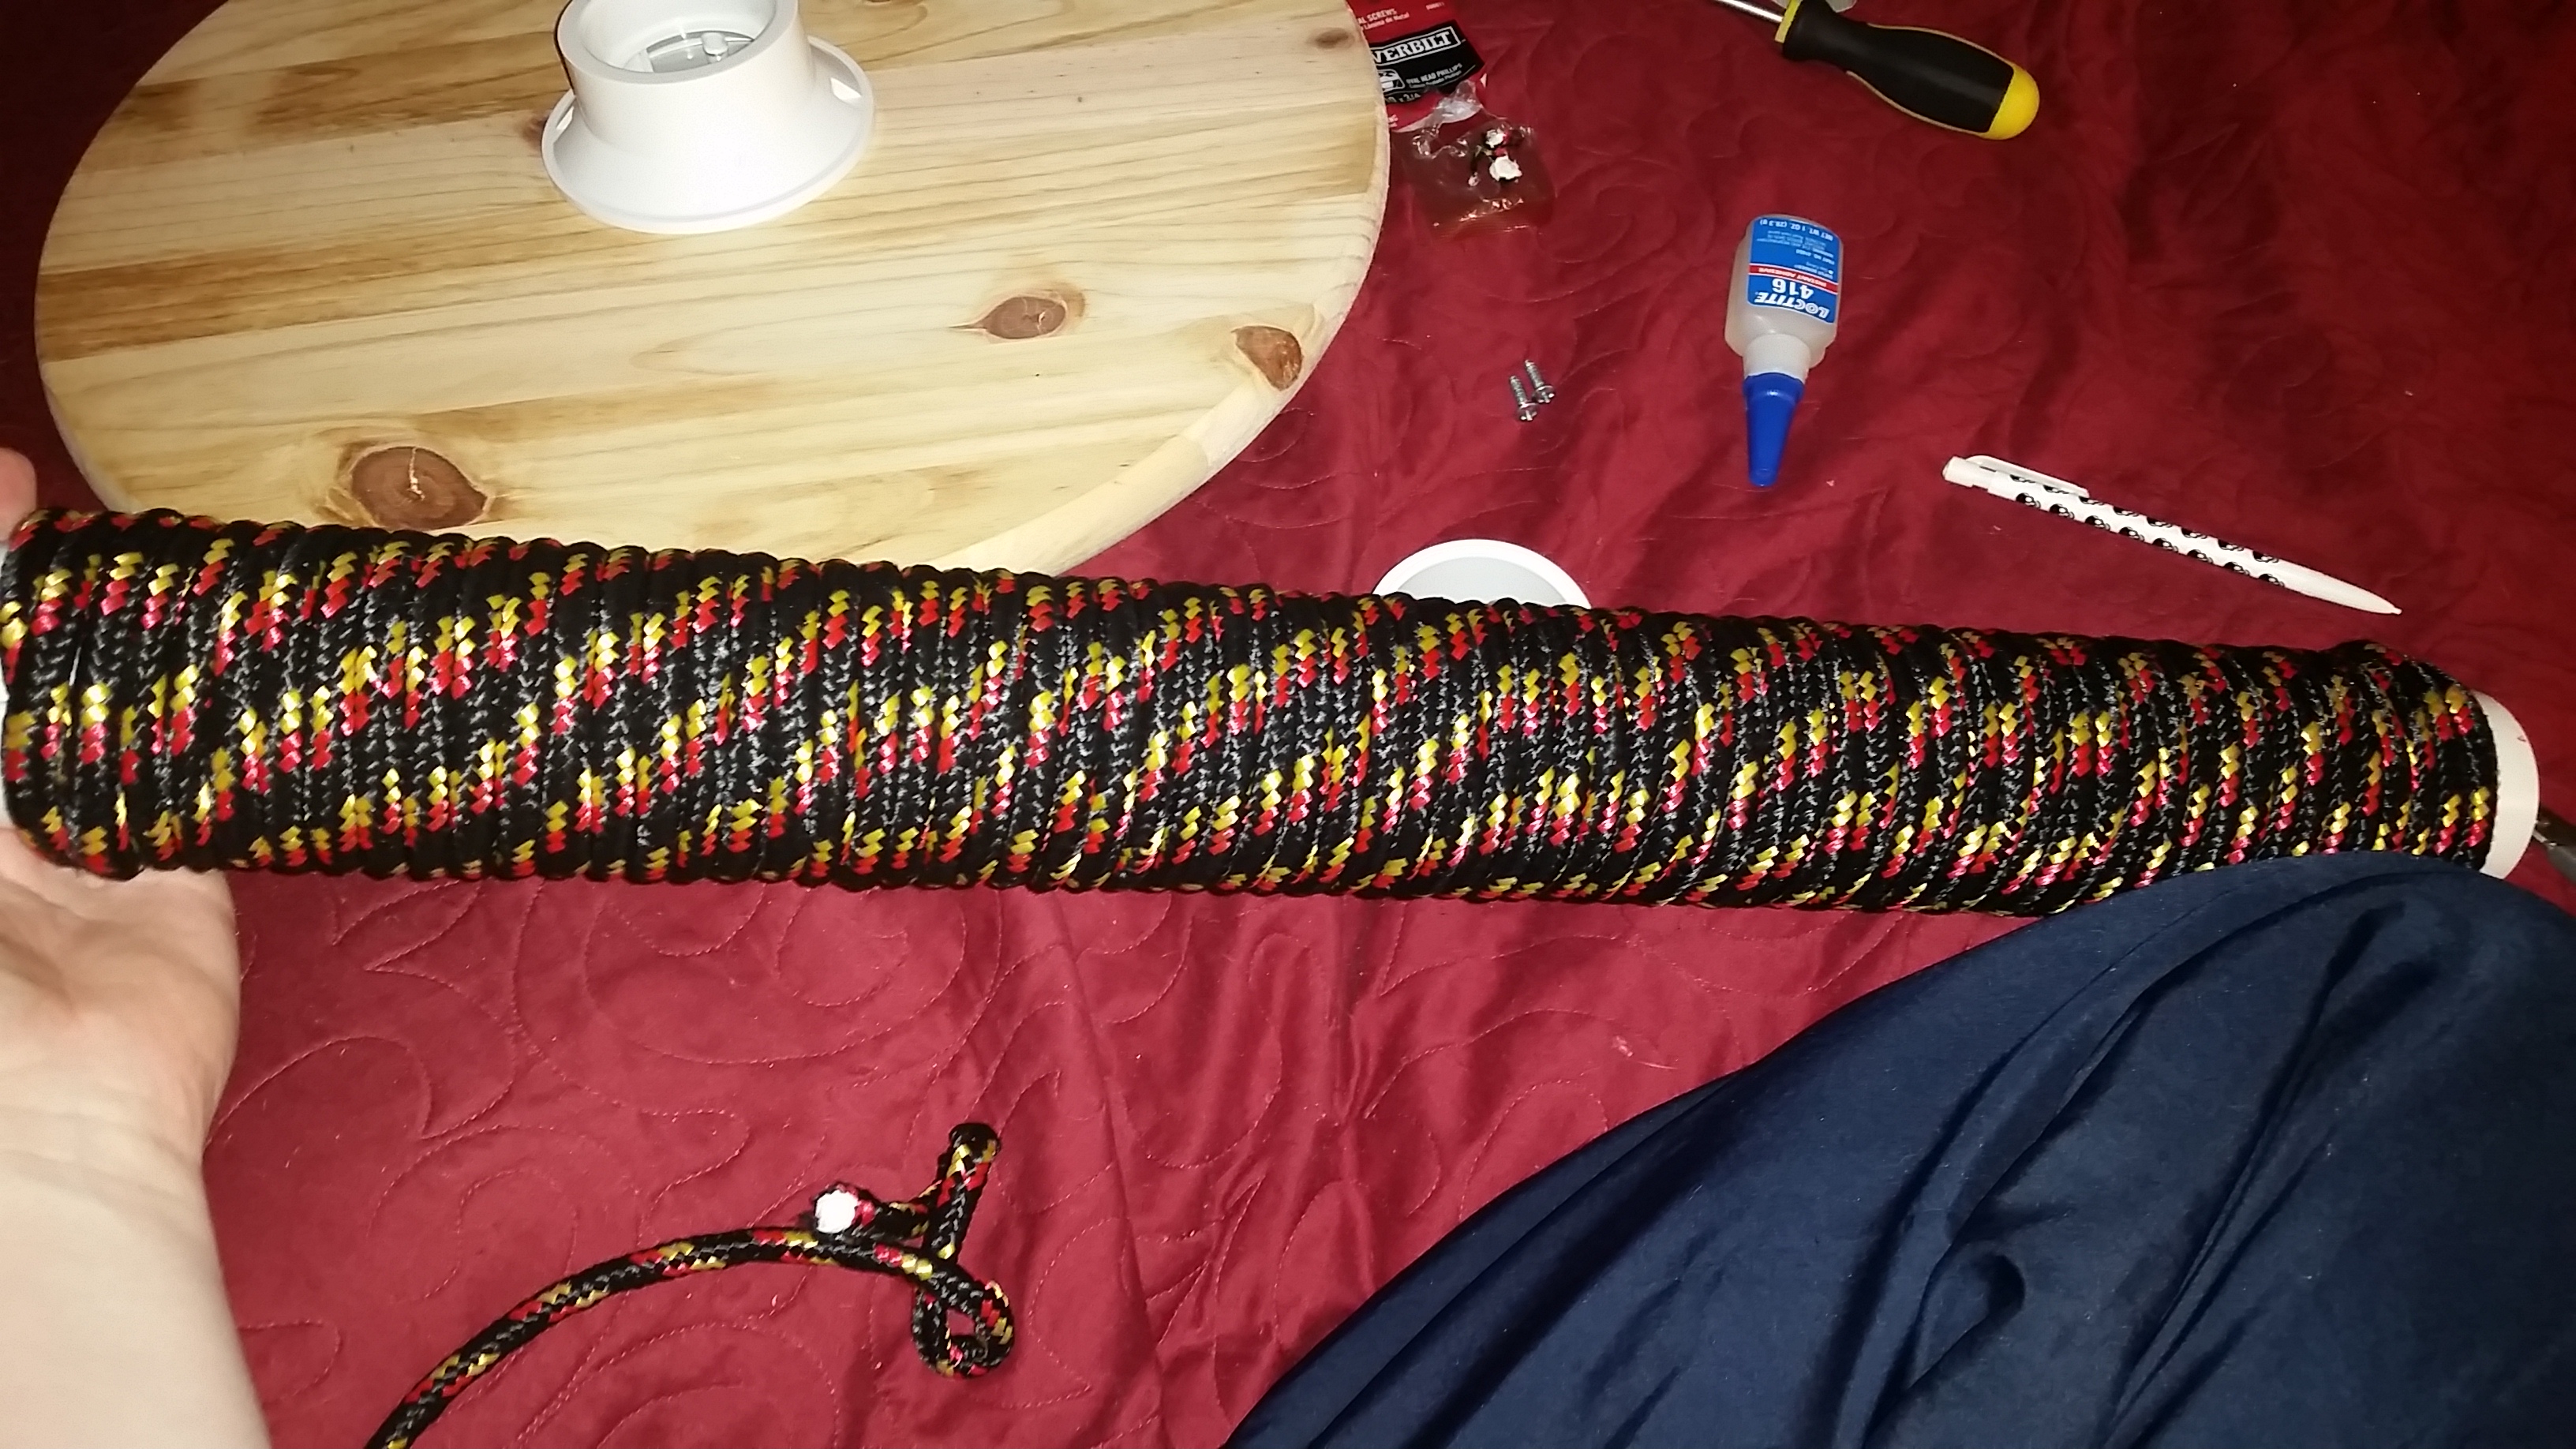
Rope all done!
Once that was done, all that was left was to attach everything into place 🙂

I did allow it to dry for a few days (whatever the recommended wait time was on the Loctite bottle). But here is the finished project:

Willow, my mad scratcher!
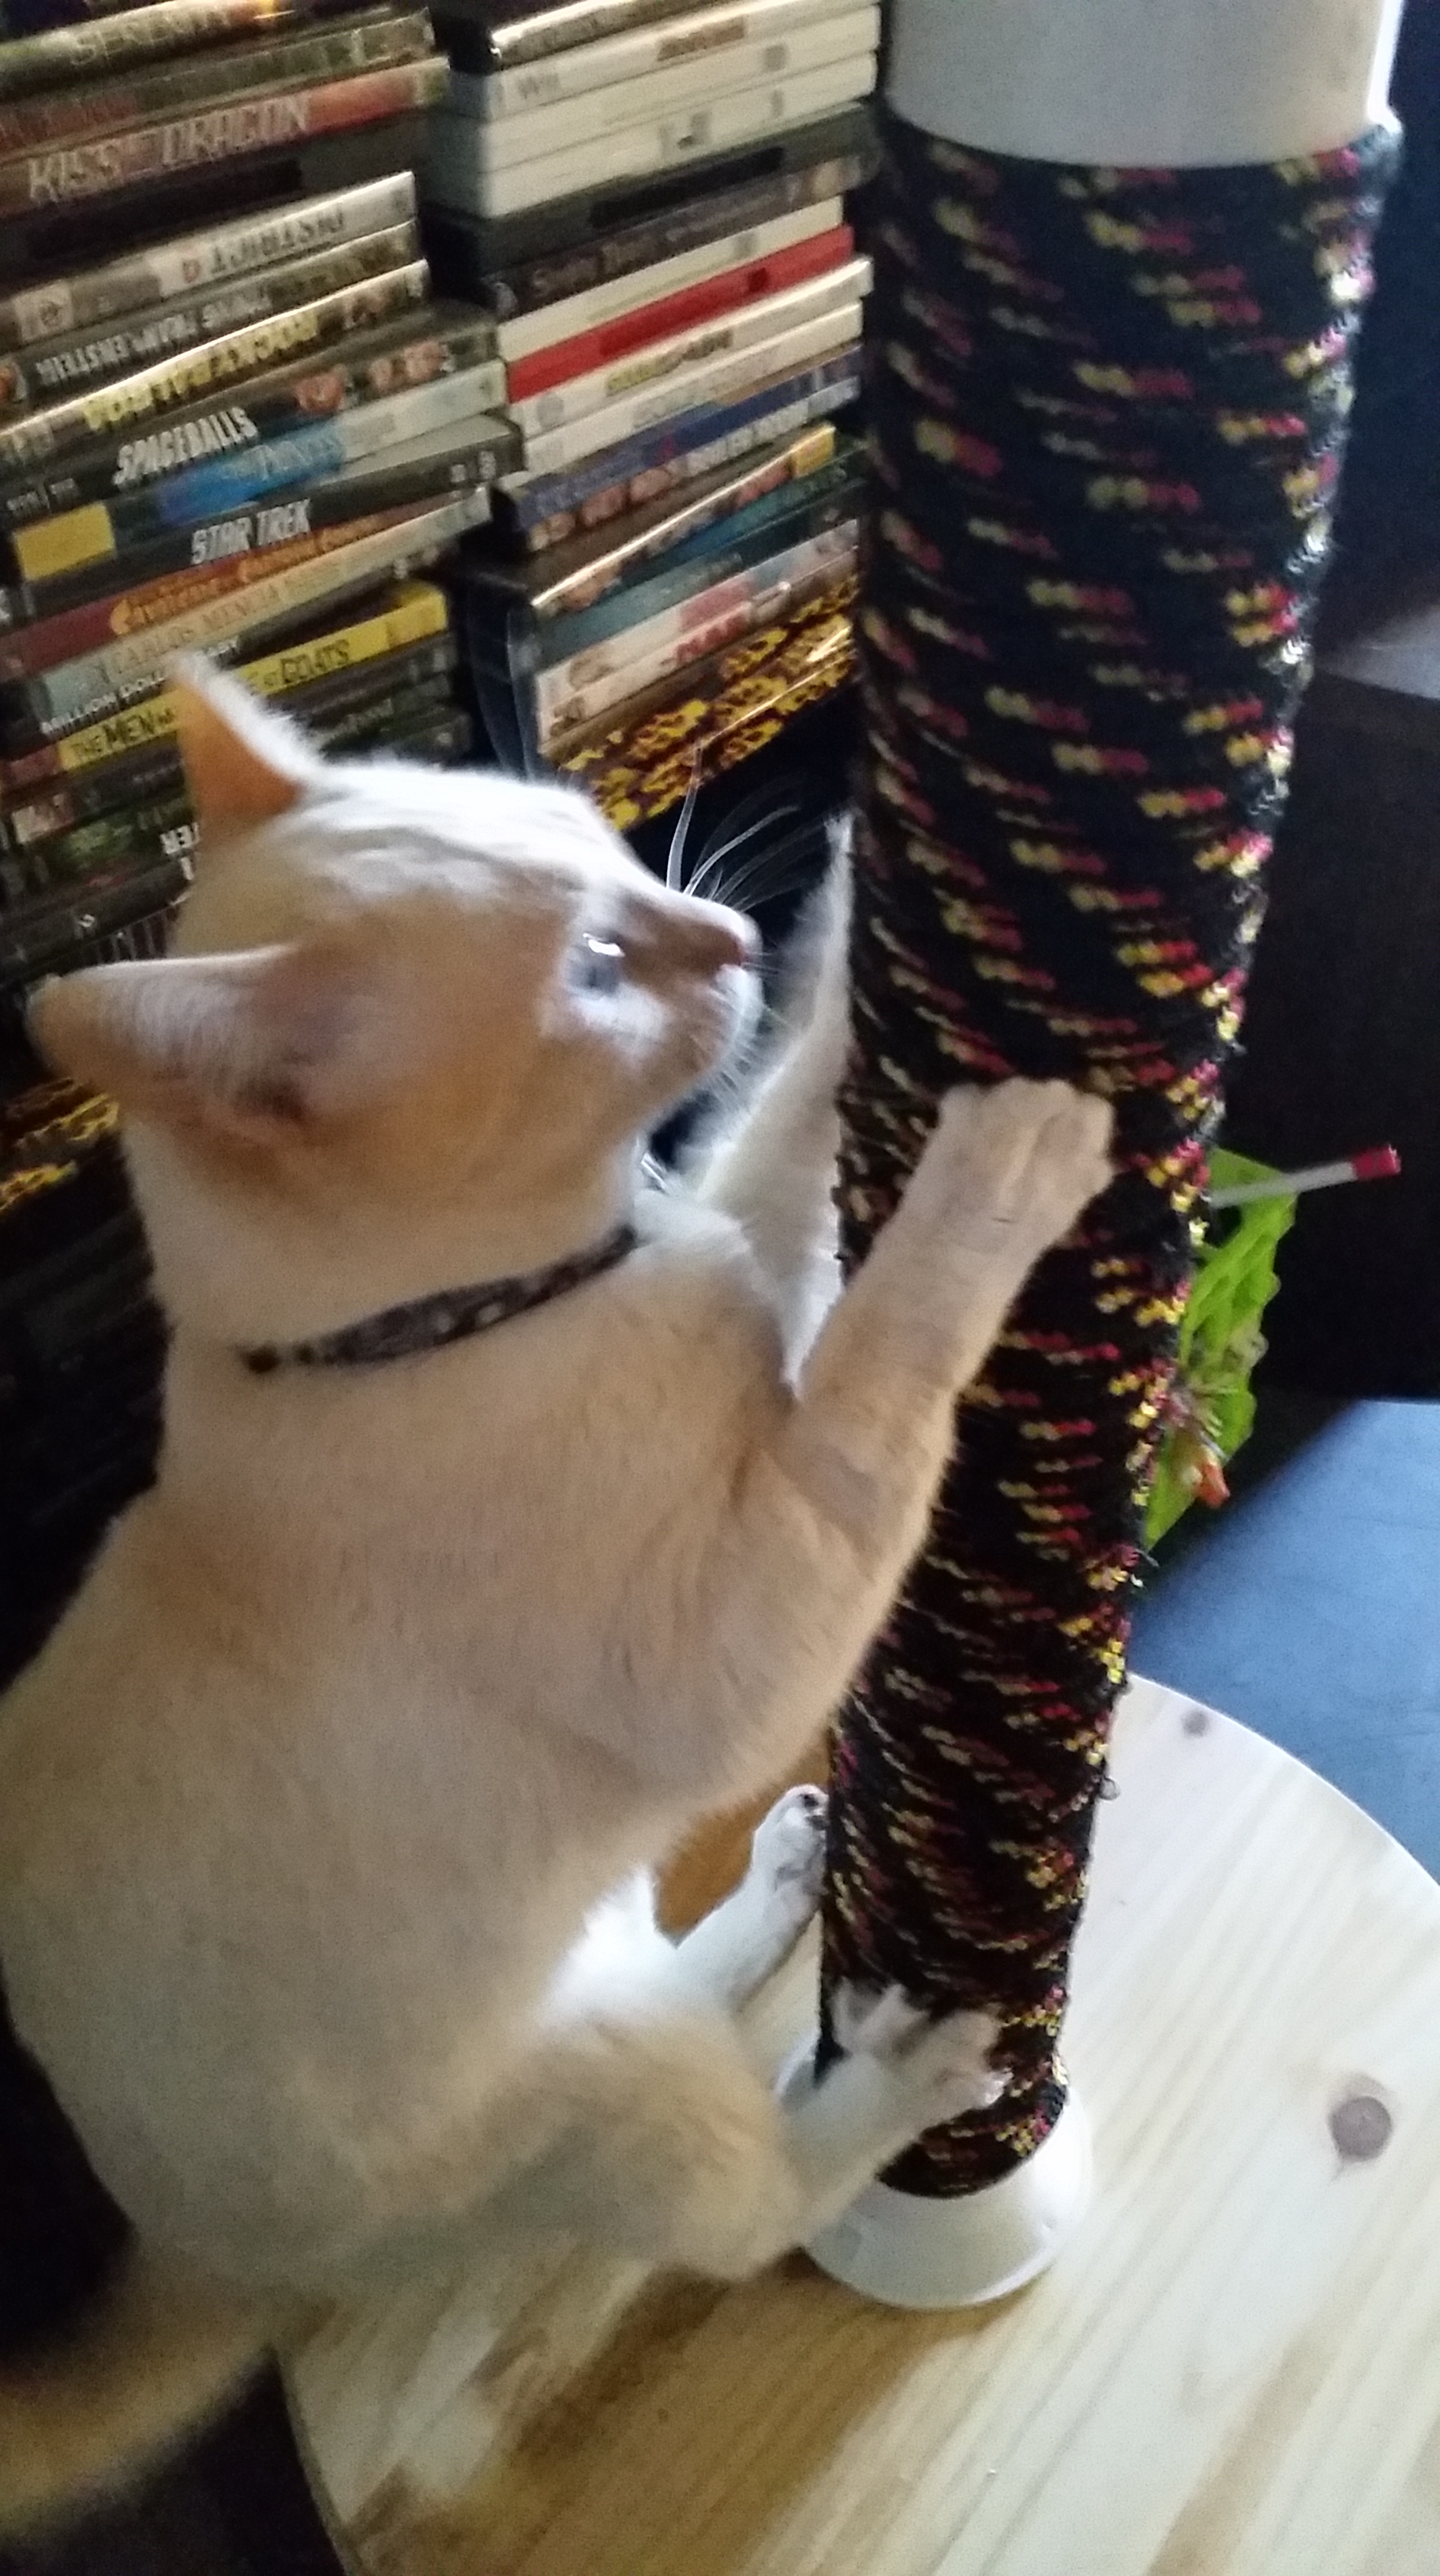
And it is still together and in really good shape for a few months of use like this:
If you have any questions, I’ll be happy to answer them~ put them in the comments here, or feel free to find me on twitter or facebook. I’m certainly happy with the outcome of this project.
P.S. UPDATE: 07-06-2015 *Scratching post still taking a beating!*
